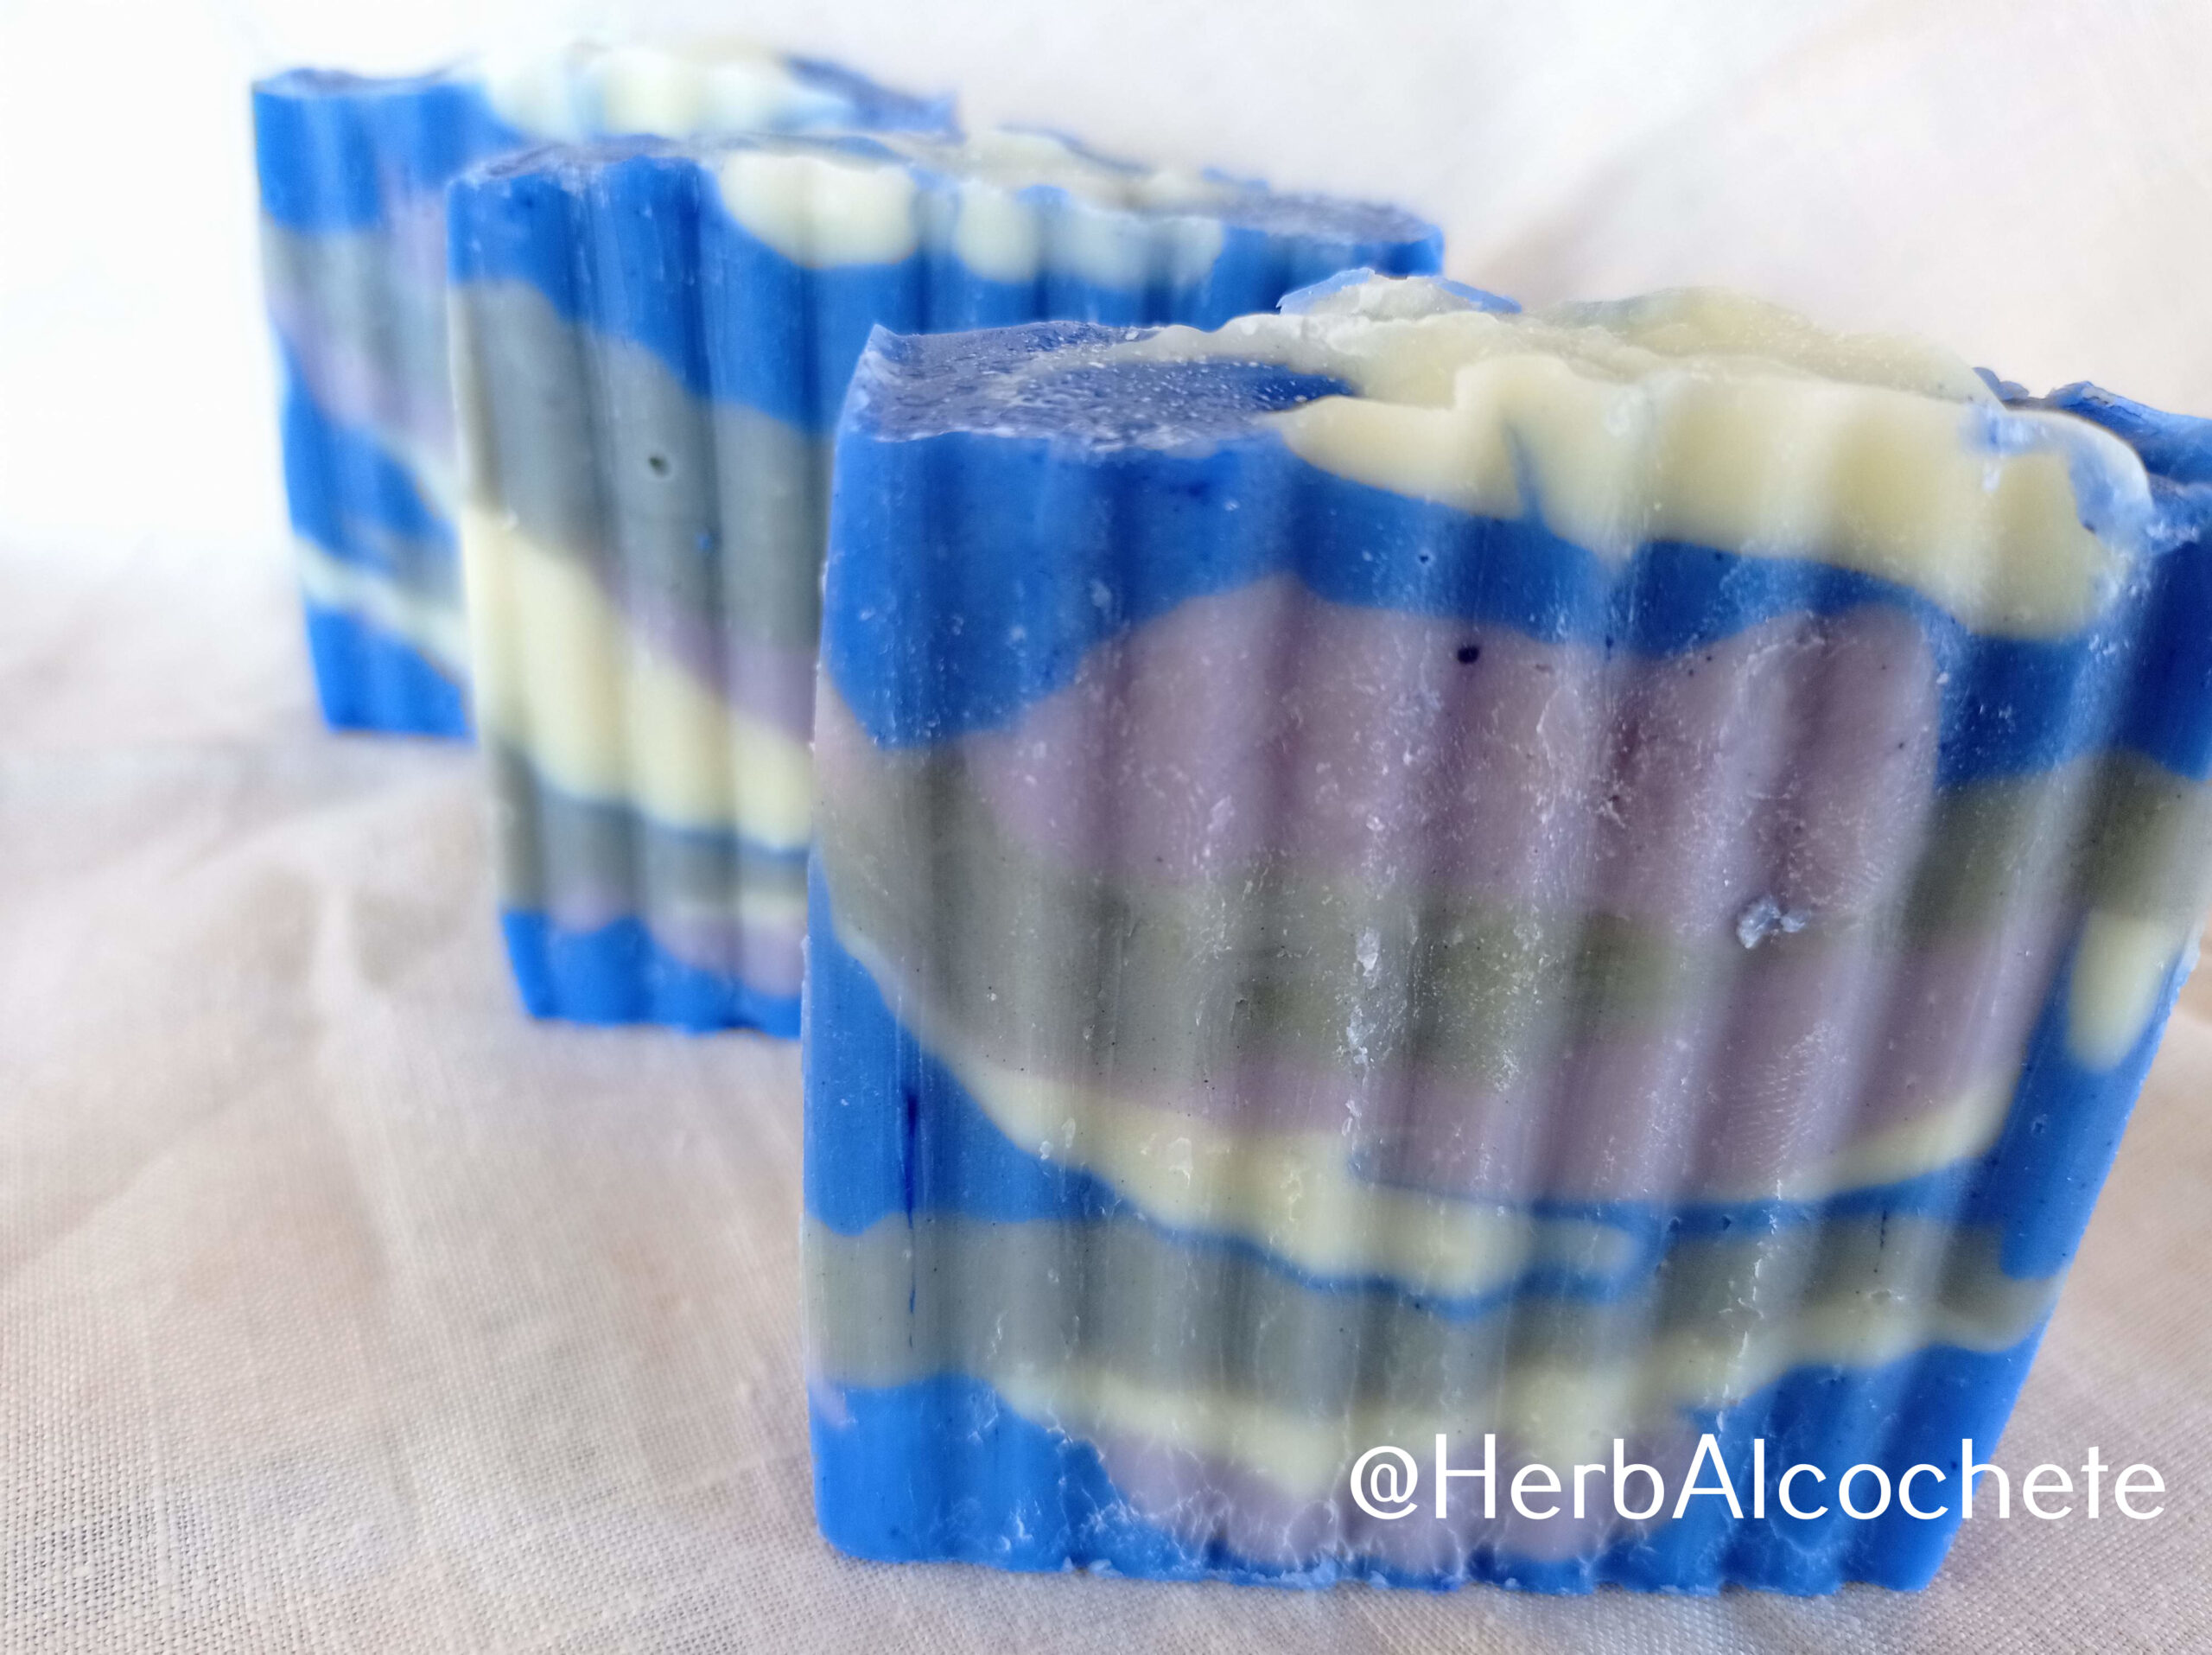
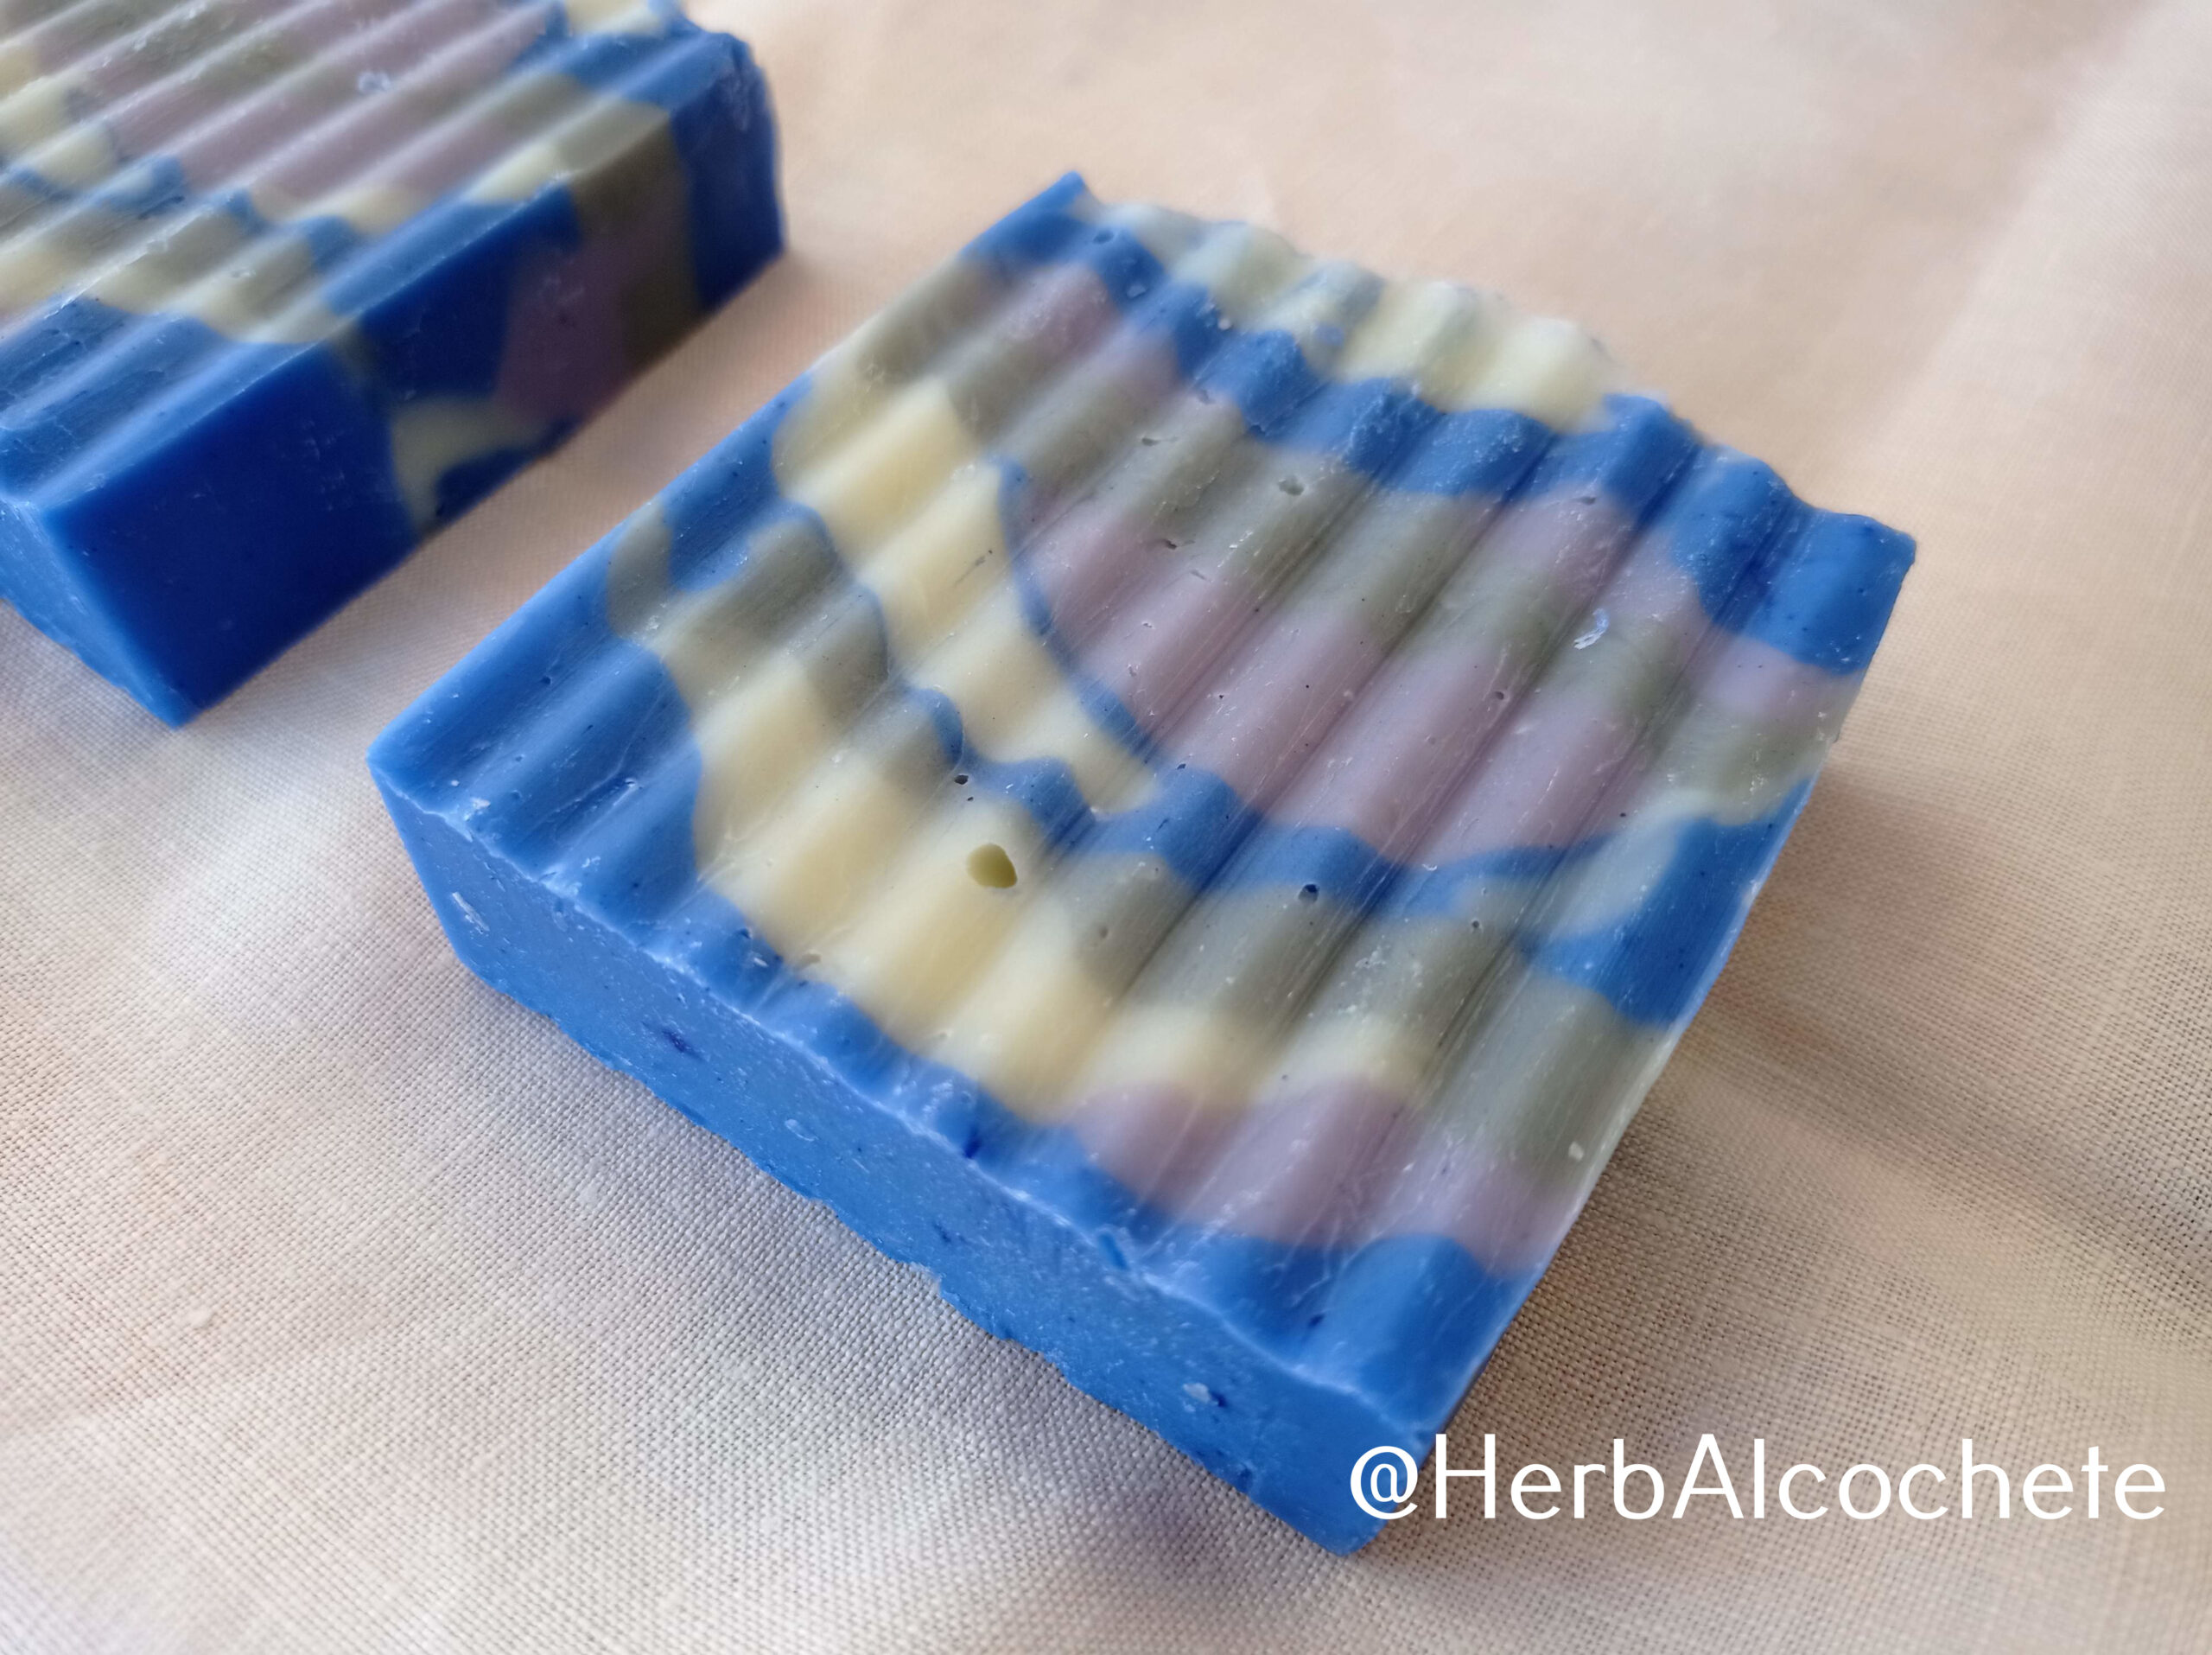
Try this colorful cedarwood soap recipe, where we use the drop swirl technique to make a beautiful design in blue, violet, gray and creamy white. It’s scented with cedarwood as the base note, also with scots pine, eucalyptus, rosemary, and peppermint, for a great woodsy and herbal aroma.
Table of Contents
- What Does Cedarwood Blend Well With?
- Natural Colorants For This Soap
- The Drop Swirl Technique
- Cedarwood Soap Recipe
- Find Where To Buy Handmade Soaps With Designs
- How To Use This Soap
- Related Posts
- Watch This Video About Safety
- Cold Process Soap Making Tutorial Video
- Cold Process Soap Making Lessons
What Does Cedarwood Blend Well With?
In this soap, cedarwood essential oil blends beautifully with eucalyptus, rosemary, peppermint and a hint of scots pine. The final scent is woodsy, camphorous and fresh. It recalls a pine forest after rain. Cedarwood, a base note, is the main scent note as 50% of the blend, giving the name to this soap.
Cedarwood essential oil comes from the needles, leaves, bark, and berries of cedar trees. There are many varieties of cedar trees around the world. The one I use, unless it’s out of stock, is cedarwood from Atlas trees.
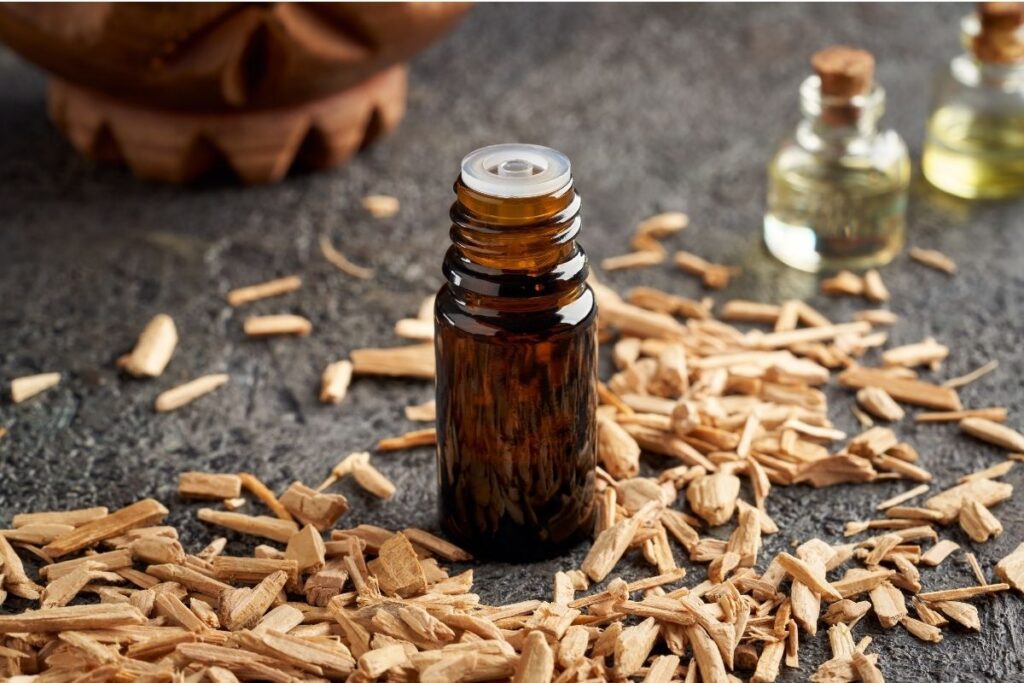
This essential oil can be extracted via several techniques, including steam distillation, carbon dioxide distillation, and cold pressing. Products like insect repellent, cologne, shampoo, and deodorant use cedarwood essential oil as its ingredient, but of course you can purchase it on its own.
Cedarwood is a strong base note that lasts in soap, like other base notes like patchouli or sandalwood amyris. The scent is not exactly the one you smell from the bottle, but a mix between cedarwood and soap. Scents that last in soap are usually softer than the original essential oil.
Natural Colorants For This Soap
In this soap, I use ultramarine blue and ultramarine violet, two mineral colorants. Ultramarine blue is a mineral-derived blue pigment composed of sodium, aluminum, silicate and sulfate, purified to eliminate heavy metals like mercury or lead.
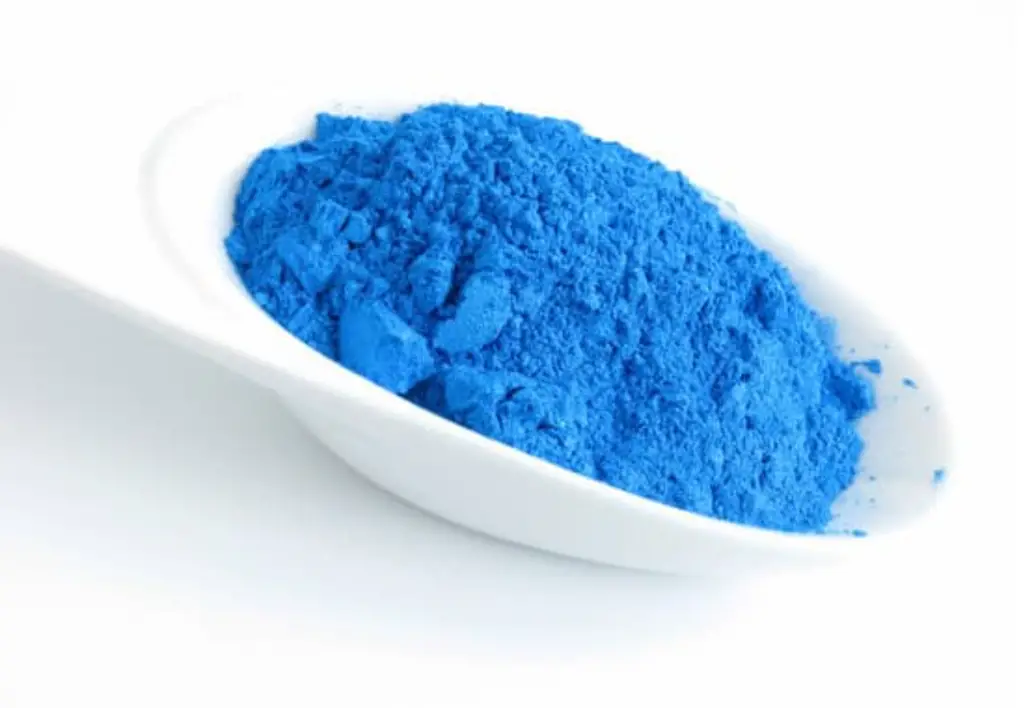
Ultramarine violet has a similar chemical composition to ultramarine blue. These are synthetic ingredients in the sense that they are composed of minerals treated and processed in a lab.
I tend to use less often these pigments, preffering to use natural kitchen ingredients to color soap. But if you want to have bright and steady colors and make designs, ultramarines, oxides and chromes are the best options.
The third colorant is activated charcoal, a black, fine powder sometimes used to help treat a drug overdose or a poisoning. In cosmetics, it helps to trap and clear toxins, oil and dirt from your skin. At least in theory. But theories aside, it is safe to use and a much more natural alternative to other black dyes. Depending on the amount you use, your soap can get a light blue-grey shade, a grey, or a black color. In this recipe, we use only 1/16 of a teaspoon to get a grey color for our swirl.
The Drop Swirl Technique
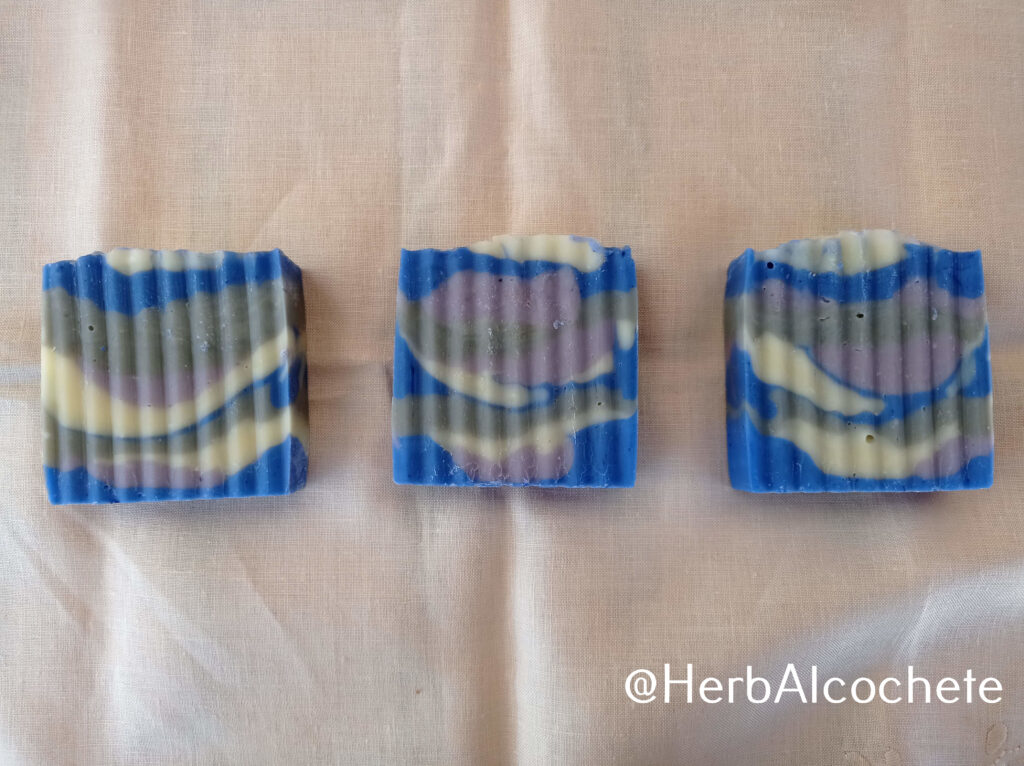
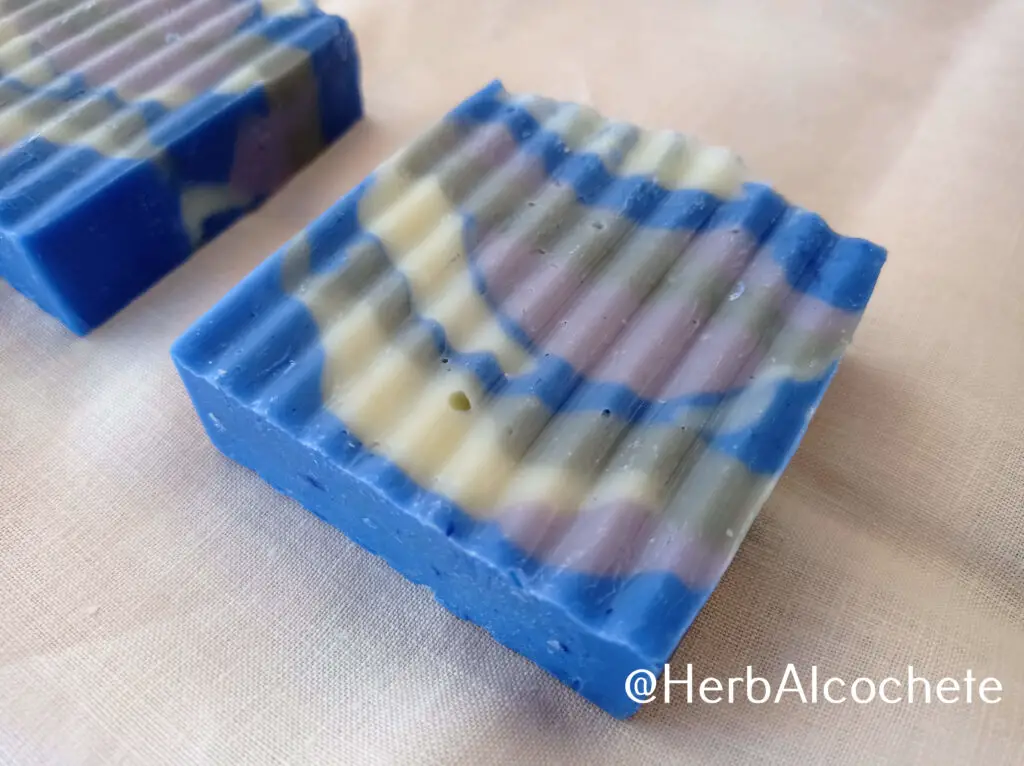
This soap uses a design technique called drop swirling: you pour the liquid soap in layers, with some height from the soap mold and the soap drops tend to go downwards and into the lower layers with gravity. It makes a sort of “crescent moon” effect. My soap base was not very liquid to show the full effect of this technique, but the resulting soap has a beautiful design I was very happy with.
Here is a video tutorial about the drop swirl technique:
And here is the result for this recipe:
The soap base must have a high percentage of liquid oils, in order to delay trace as much as possible. This way, you have time to work with a liquid soap while you add colorants and pour layers. Just don’t forget to mix all soap every now and then. It is a good idea to keep a spoon or spatula per pitcher, to keep mixing the soap while you work it.
It is important to take into account temperatures and water discount as well. Basically, you should use as low temperatures as possible and no water discount. A lye concentration of 30% is a good balance between avoiding soda ash and no water discount. The mixture temperature can be as low as room temperature, but you can start your recipe with 38ºC (100ºF).
Cedarwood Soap Recipe
This soap recipe is for advanced soap makers only. The recipe steps are plenty and somehow complex, and it requires some soapmaking knowledge in advance, namely, how to reach light trace.
The result is a very pretty, colorful, soft and foamy soap that will make any soap maker proud of it. It’s scented with cedarwood essential oil and a mix of other herbal, woodsy oils, giving the soap a crisp and fresh scent.
It’s great as a gift for family or friends. The soap is so pretty you might just keep it for decoration instead of using it in your shower!
Find Where To Buy Handmade Soaps With Designs
Still not inspired to make your own soap at home? But you do wish to use or give it a try at this beautiful handmade soaps with pretty designs? You can find a few options online to buy handmade soap below:
- Natural Vegan Handmade Design Soap (Etsy)
- Black Raspberry Vanilla Design Soap (Etsy)
- Natural Handmade Design Soap (Etsy)
- Etsy Lavender Layered Soap
How To Use This Soap
In the shower or bath, wet your hands and rub your soap in them to create a lather. Wash your hands first, then repeat the process and apply soap to your whole body using the soap directly and your hands. You may also wash your face with it. Rinse hands and body abundantly. Also wash your soap from lather before placing it in your soap dish or bag saver.
Washcloths and sponges should be avoided. Avoid washing your intimate zone and your hair, soap pH in not adequate for those parts of your body. Avoid eye contact with soap to prevent stinging. Make a patch test before using your soap. Stop using your soap if you feel any immediate adverse reaction in your skin (red skin, rashes, itching).
To take best advantage of your handmade soap (made by yourself or store-bougth), read How Do You Use Handmade Soap?
Related Posts
Ingredients and Recipes
- Vegetable oils: Oil Properties For Soap Making
- Essential oils: Best Essential Oils for Soap Making
- Colorants: How To Color Your Soap With Kitchen Ingredients
- Beginner Recipes: Soap Recipes for Beginners
- Cold Process Soap Recipes: Free Cold Process Soap Recipes
Soap Making Techniques and Troubleshooting
- Cold Process Tutorial Guide: Learn To Make Cold Process Soap?
- Soap Making Methods: How To Make Soap At Home
- Soap Making Trace: Know Everything About Trace in Soap Making
- Soap Acceleration: Causes, How To Avoid It Or How To Fix It
- Soda Ash In Soap: What It Is, How to Remove It
Watch This Video About Safety
Cold Process Soap Making Tutorial Video
Cold Process Soap Making Lessons
The tutorials in this blog are a great – and free! – help to start with cold process soap making. Practice is the next step to harness the art of making soaps at home. However, I understand if you prefer to have some formal lessons, where you will feel more supported with the steps. Feel free to join these courses at Udemy.
Equipment
- 4 Pitcher
Ingredients
Lye Water
- 380 g distilled water
- 142 g lye (100% sodium hydroxide)
- 2 tsp sodium lactate fine salt
Oils
- 300 g extra virgin olive oil
- 300 g refined or organic coconut oil
- 180 g sunflower oil
- 120 g castor oil
- 510 g sweet almond oil
After Trace
- 16 drops grapefruit seed extract (GSE) (anti-oxidant)
- 1 tsp ultramarine violet (CI 77007) ultramarine violte
- 1 tsp ultramarine blue (CI 77007) ultramarine blue
- ⅛ tsp activated charcoal
- 30 ml essential oils blend
Essential Oils Blend
Instructions
Get Ready!
- Wear goggles and gloves! Look at “Safety Precautions” in the video above or in Soap Making Safety Precautions
- Watch the video above about "Cold Process Soap Making Tutorial" or read the post Learn To Make Cold Process Soap for instructions on cold process soap making before starting. These are generic but important steps for all recipes.
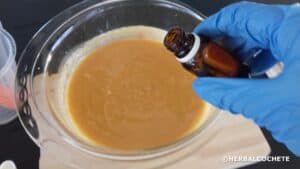
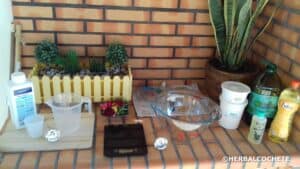
- Assemble everything: ingredients, equipment, safety equipment. Prepare your workstations. Measure all the ingredients. Don’t start the recipe without having everything ready!
Prepare the colorants
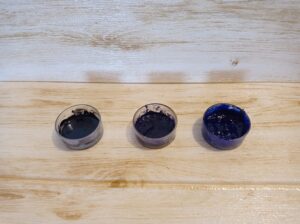
- After measuring your oils, retrieve 1 tbsp from the liquid oils, and add it to the ultramarine blue in a small cup. Mix well, and use a milk frother if necessary to prevent colorant lumps.
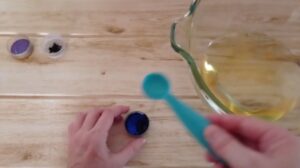
- Do the same for the ultramarine violet and the charcoal
Heat the Oils
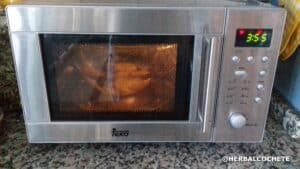
- Heat the oils until the solid oils are completely melted (it is not necessary to heat all the time). Up to around 60ºC.
Make The Lye Water
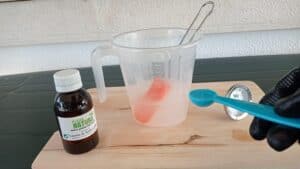
- Make the lye solution according to How To Make Lye Water. Add the salt or sodium lactate to the water and mix. Add the lye and mix well until the vapors start to dissipate. Strain the lye water to avoid any lye crystals in your soap.
Make The Soap Batter
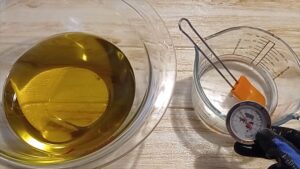
- Use as a target temperature 40ºC – 38ºC (104ºF – 100ºF) for the oil-solution mixture. It can be lower, and with this recipe it's advised to make the soap with low temperatures.
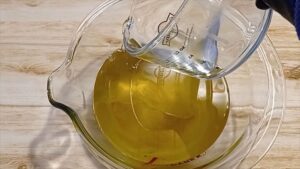
- Add the lye water to the oils carefully, without slipping.
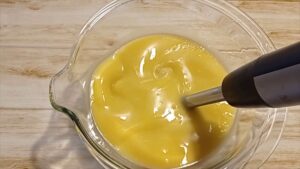
- Reach light trace with the immersion blender.
Add After Trace Ingredients
- Add after trace ingredients: essential oils blend and grapefruit extract. Mix well the batter only with a spoon / spatula.
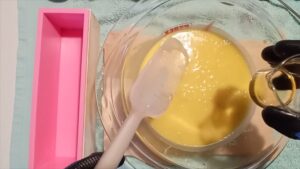
Make The Layers and Mold The Soap
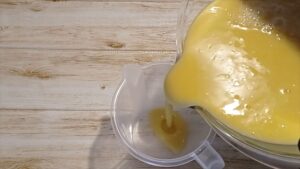
- Pour around 250 ml of soap in each pitcher.
- Add the violet ultramarine to one of the pitchers and mix well with a spoon or spatula, until the soap is homogeneous.
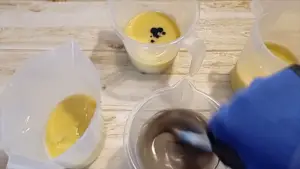
- Add the blue ultramarine to another pitcher and mix well.
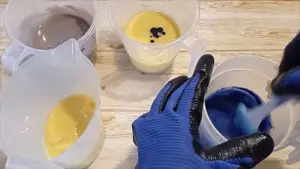
- Add the activated charcoal to a third pitcher and mix well. Mix also the white soap batter in order to not harden too much. By now the soap batter should be like medium/heavy trace.
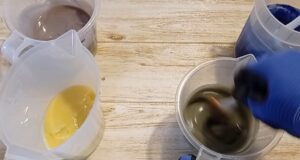
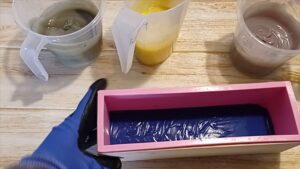
- Using a loaf soap mold, pour first a layer of the blue soap batter covering the soap mold bottom completely.
- With the violet pitcher, pour a layer of soap, with some distance from the soap mold (around 10-15 cm). This distance allows the drops to fall with some speed, entering the previous layer and making a natural swirl with a crescent moon shape.
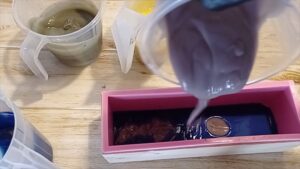
- Do the same with the white and grey soap pitchers. The order color is totally up to you.
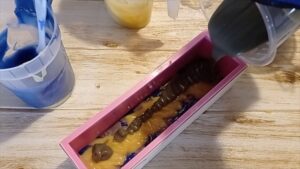
- Restart with the blue soap pitcher and pour all soap in the same way, until you are left with some blue or violet soap and a bit of white soap.
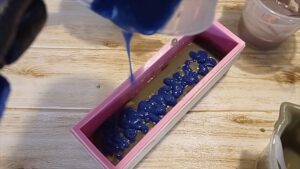
- Pour the last layer with blue or violet soap, and shake the soap mold to even out the soap (not too hard or you might lose the swirling).
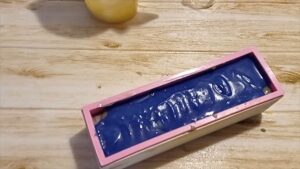
Decorate The Soap
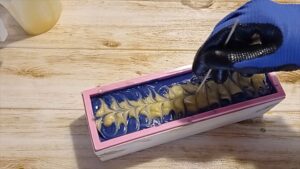
- Pour a small line of white soap along the soap surface. My soap was already too thick to pour, I had to spoon it.
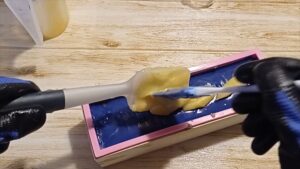
- Make a top design with a wooden stick: draw "S" along the soap surface then a middle line. Sprinkle the top of your soap with alcohol or witch hazel.
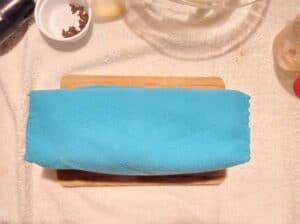
- Now you need to insulate the loaf mold, so that the soap gels uniformly. You can cover it all around with a blanket or a thick towel. You can also use your oven: pre-heat the oven with 40ºC. Turn it off then place the loaf mold inside.
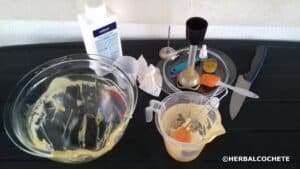
- Learn how to clean all equipment with How to Clean Soap Making Equipment.
Unmolding and Curing
- After 48 hours, unmold the soap and cut it into bars. See How To Cure Soap, in the chapter "Unmoulding And Cutting Soap" for more detail on how to cut soap.
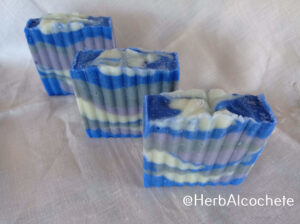
- Let the bars cure for 4 to 6 weeks. See How To Cure Soap and How Do You Store Homemade Soap? Enjoy your soaps!!
