Instructions and tips on how to clean soap making equipment after making soap at home, including how to deal with dirty pans, soap-encrusted stick blenders, utensils and counter tops, and most important, how to do it safely and avoid irritating your skin.
Table of Contents
1 – Cleaning soap batter: never leave your gloves and glasses!
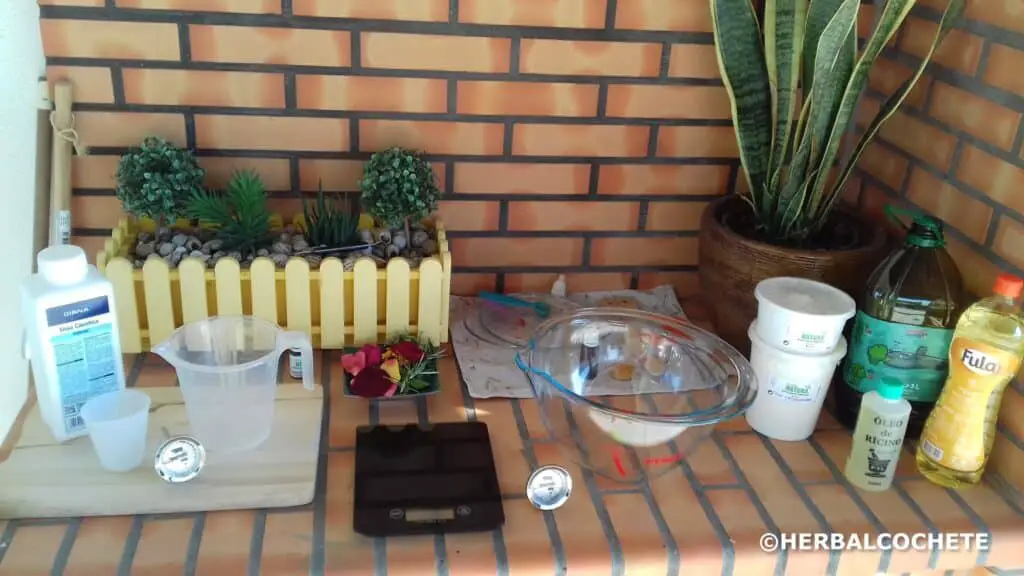
Ok, so now you’ve made your soap and it’s setting in the molds. It’s time to clean up. As you’ve made your batch of soap, it’s normal to be standing in front of a bunch of pans, bowls, spoons, molds, and other equipment.
Be careful as the soap batter remains are lye-heavy, and you can burn yourself from touching it! It takes at least 48 hours for saponification, the process of oils transforming into soap, to fully occur. That means that directly after soap making, your equipment is covered with an oily and slightly caustic mess.
Always wear gloves and an appron during cleaning. You should go as far as wearing protection goggles. You can have nasty rashes and burns caused by a drop of soap batter on your skin that might take days to heal. I’ve always used my protection gear and I don’t regret (better safe than sorry!).
2 – Reduce your mess
Another thing that will help greatly is to redcue your own mess and work cleany as you go, rather than after. If you’re the kind of person who leaves the kitchen as if a bomb went off and has spaghetti sauce on the ceiling then be especially careful when making soap. Splatters of un-saponified soap can contaminate food, burn several surfaces, or land someplace that a bare foot or paw could walk through.
Another reason to work cleany is that any large amount of soap residue will end up someplace it shouldn’t. It could be down the sink to clog up your pipes, septic tank, or eventually get into the water system and potentially the ocean.
Here are some tips to work cleany and avoid bigger concerns:
- Use a rubber spatula to scrape wet soap out of the pan and off utensils
- That same spatula should be used to scrape liquid oils and other ingredients out of jugs as you work. Try to get every last drop. Some oils are quite dificult to clean afterwards.
- Work on kitchen counter-tops that won’t react with lye. Avoid marble and wood, or make sure you line your counter-top completely (see next point).
- Line your counter-top with thick old towels, a thick layer of newspaper or baking paper. You can throw the paper in the garbage or wash the towel afterwards (the latter is more sustainable 🙂 ).
- Be very careful with the stick blender. I recommend keeping the stick blender at a stand-still while it’s pulsing, and do not incline it. Only move it around in a stirring motion if the blades are turned off.
3 – Wait 48 hours or clean immediately
Now you have two choices on how to wash up. You can do it immediately or wait 48 hours.
The idea with waiting 48 hours is that after that time, any soap residue will have finished saponifying and would be safe to clean. However, until that time is up, It will need to be kept in a safe place. I’ve seen recommendations of putting everything in a plastic bag and stashing it in the garage. There are some major downsides to this though.
Aside from using a plastic bag, which some people might not like the idea of as soap making is all about going natural and sustainable, the equipment is so much harder to clean after it hardens. It’s literally caked on and everything will need to be thouroughly soaked before washing. Don’t put it in the dishwasher either since that soap will create too much foam that can come out of the machine and onto your floor.
The other downside comes down to pure procrastination. Out of sight, out of mind, and you have a bag of dirty soap dishes cluttering your garage for goodness knows how long.
Though I am lazy, I’ve only used the wait-method twice. I really recommend that you get it cleaned immediately, it gives you less work in the end. All the tips from here on out are taking the route of cleaning your soap making equipment immediately.
One note about the usage of paper towels: if you have concerns about it, you can always use old cleaning cloth scraps as an alternative to remove your soap batter from your equipment. Then you can wash those scraps with soap and water, and use it a next time. Be sure to remove big chunks of soap batter to the garbage, and it’s better to wash them separated or only with cleaning cloths in the same batch.
4 – Cleaning stick blenders
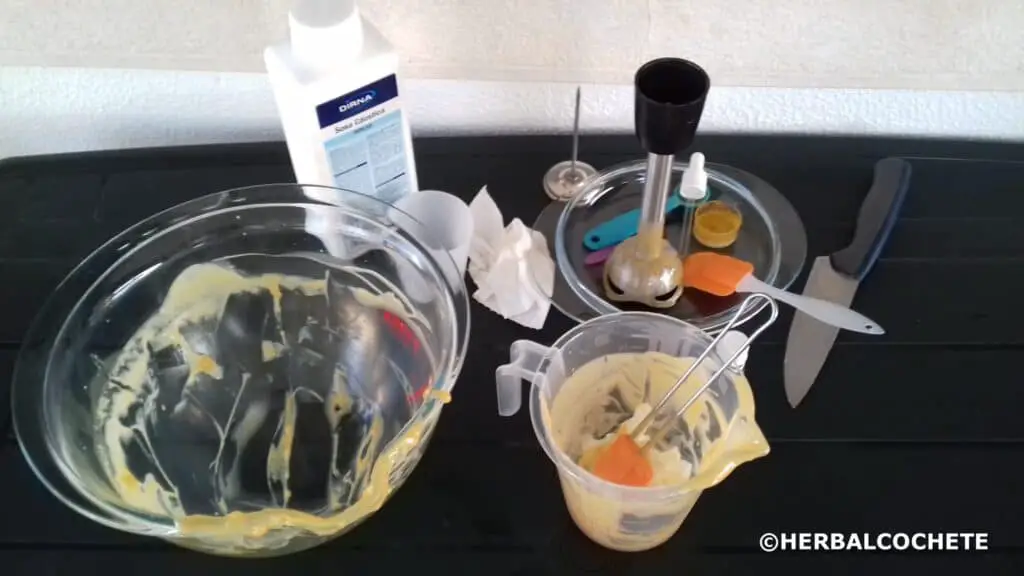
Stick blenders, also called immersion blenders, are extremely easy to clean directly after you make soap (but not so easy if you let the soap to harden on them….). With the stick blender power plug off, use a spatula to scrape the soap batter off the exterior of the head and hopefully into your mold (careful with the blades, your rubber spatula has a way to get stuck on the blades’ edges!).
Next, fill a jug or a basin with hot soapy water, power on again the stick blender, and put its head all the way in so that it touches the bottom. Then turn it on for a few seconds. Voilà, nearly all of the soap batter is out of the head. It may still be greasy after this so set the head aside for a proper wash after (now it can go to the dishwasher).
5 – Soap colorants
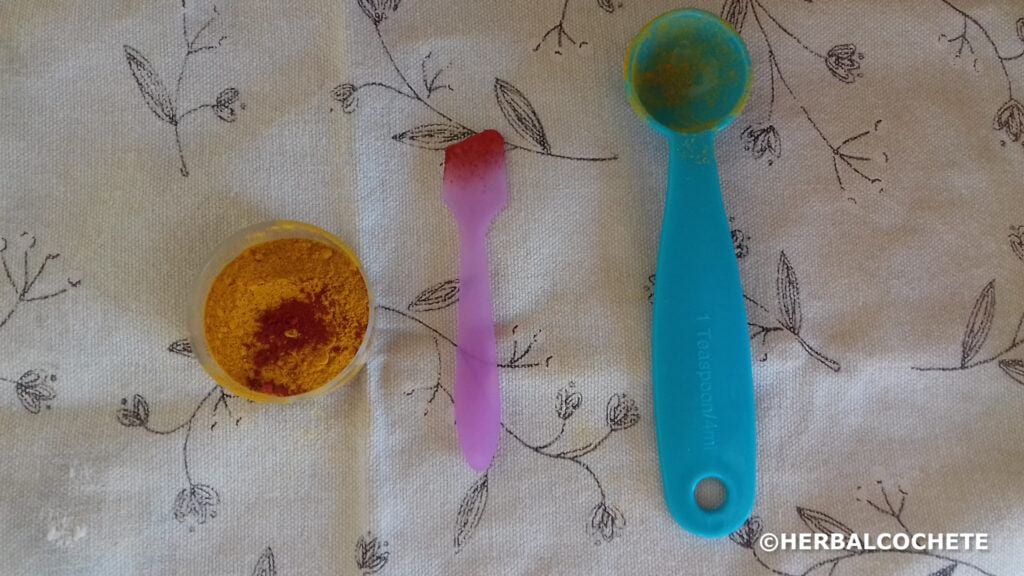
Soap colorants are quite troublesome to clean up. Some spices like turmeric will stain surfaces as will other natural colors and they love sticking inside jars and containers too. If you use mineral pigments, these too can ‘stain’ but not in the same way. The tiny particles work their way into fabric, enamel surfaces, and even plastic. I personally don’t use dyes, but I am sure they may stain surfaces and clothes.
With colorants, wipe down everything with paper towels and dispose. If you have a spill on the counter, try to contain it first before spraying and trying to clean. Trust me, it will smear everywhere if you let it. To clean up the stubborn colorants sticking on the edges of cups at the botton or small cavities in utensils, use an old toothbrush.
6 – Preparing the rest of your equipment to be washed
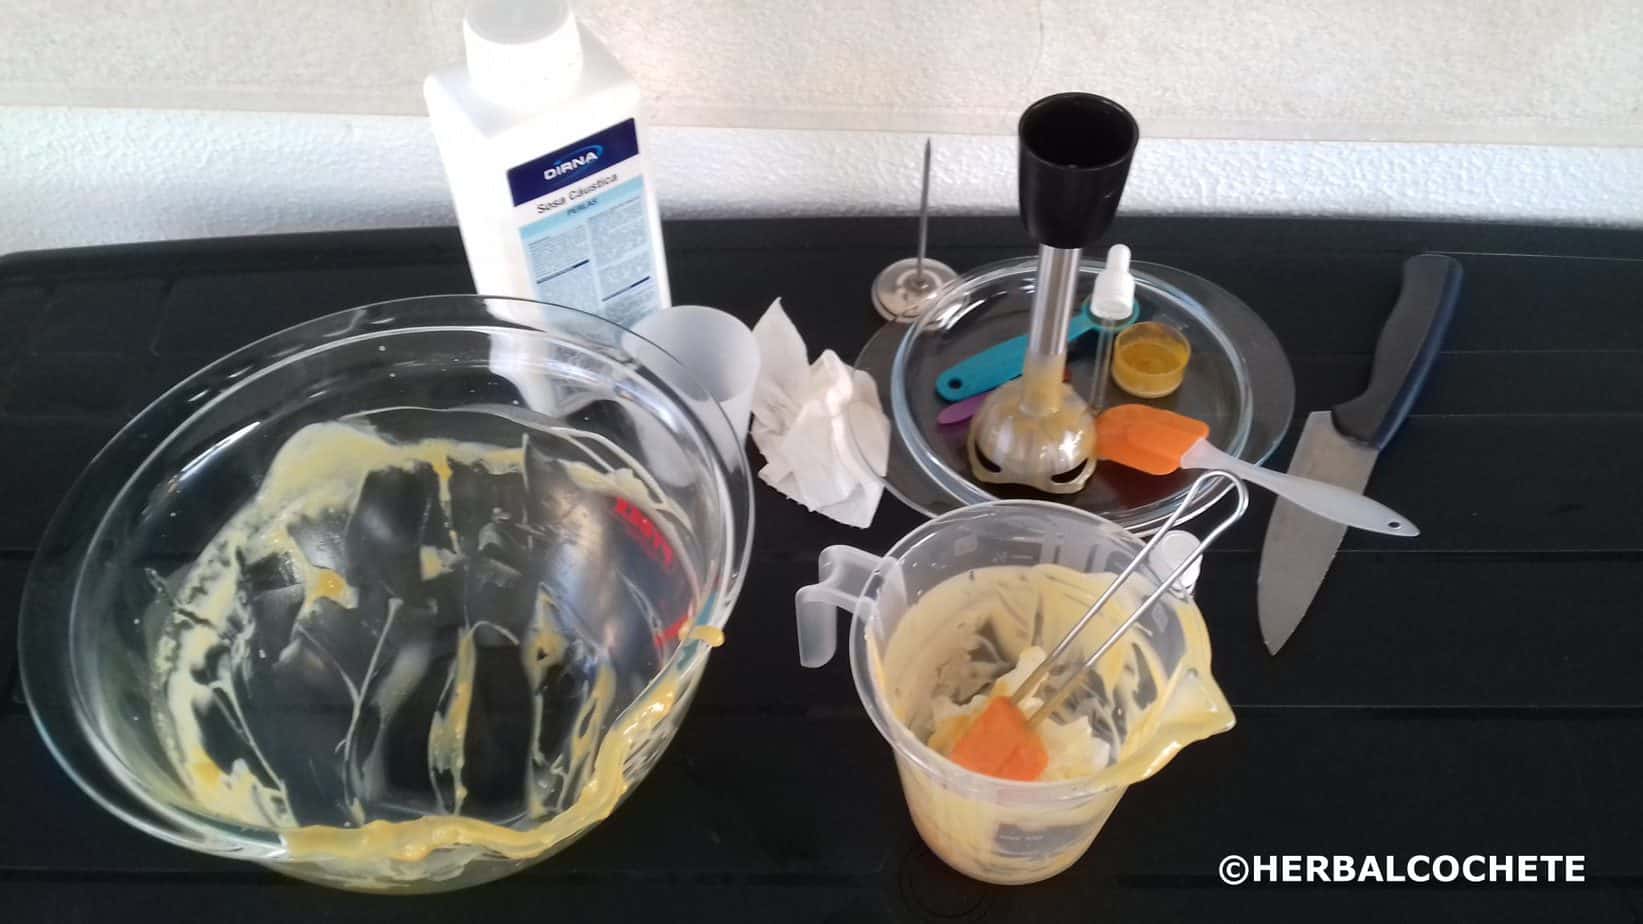
After the operations described before, and to reduce oil getting in your sink and plumbing, wipe down your pans, silicone utensils, metal spoons and all other equipment with paper towels. Get them as clean as possible before they come any where near the dish water. Aside from what happens after it goes down the drain, dirty soaping pans will turn your dish water into an oily mess instantly. Meaning that you’ll need to drain and refill numerous times if you fail to wipe your equipment clean.
7 – Washing all equipment
Now that you’ve removed the most out of your soap batter from all your soap making equipment, wash it as you’d wash your ordinary dishes after this. Either manually or in the dishwasher.
If washing by hand, keep gloves on and mind that the water doesn’t splash up onto your face or arms (wear your protective goggles!). It’s still slightly caustic even if the pans and utensils are relatively clean. Use hot water, it will help remove all the oil. After they’re rinsed it’s safe to towel dry and put them away with bare hands.
One challenge I’ve come across is that oil has a tendency to stick inside glass jars and plastic jugs. Even after washing they could have an oily residue. You could use a bottle brush and boiling water to get them clean or if you have one, run them through the dishwasher (with hot water!). This does the trick for me.
8 – Cleaning surfaces
After cleaning equipment, that leaves counter-tops and surfaces to clean up. If you have lined up all the surfaces with a towel, remove big chunks of soap batter from the towel with a knife and paper towel, and wash it in the laundry washer machine. I usually wash it alone or with other cleaning cloths. If you did it with paper, just dispose of it in the garbage.
Clean the counter-top with a good wipe down with your normal kitchen surface cleaner. Use a paper towel first for big drops.
9 – Using vinegar to clean lye
Some people will have heard that vinegar will neutralize lye and wonder if it should be used. It’s not necessary unless you’ve had a lye spill. However, please note that it takes a lot of vinegar (acetic acid) to neutralize lye (sodium hydroxide base).
According to information in this website it takes around 4L of common vinegar (with 5% of acetic acid) to neutralize only 126g of sodium hydroxide. Therefore, it’s not very practical to use. Besides, while the vinegar neutralizes the lye (sodium hydroxide) there’s a lot of heat getting free, so have that in mind as well.
To clean up lye from your skin, the best you can do is to wash it with COLD running water for a while, and to be on the safe side, apply some vinegar afterwards for any tiny bits of lye to be neutralized. Same goes with surfaces: clean them well and then spray some vinegar if you wish. Personally, I don’t use it, I’ve stopped using vinegar as a cleaning agent after two months of making soap.
I hope these tips will help to know how to best clean up after making handmade soap. If you still aren’t sure about something, or wish to share your own experiences, please, leave a comment below.

It was actually a daunting experience for one to be able to cleanly clean all the soap making instruments. What you have shared here is massive and I value all you have shared. To actually be able to achieve what you have shared here, it would make the whole process much more easier for everyone else. I will share it with my other friends too
Hello Nath, thanks for your comment.
Yes, the most stressful part is to clean up the soap making instruments… For people enjoying soap making, I believe this is the worst part. So, I’ve written this article to make the experience less stressful, as I’ve read some tips on the internet, used them, and found them very useful.
There are other ways of course, and one should always follow the best for oneself. But this works for me.
Cheers,
Sofia
My mum makes soap and I’m sure that this kind of post will be very valuable to her seeing that she might not know how to clean it safely. I feel like the hardest things to clean up is the blenders that might already have sticks in the already. She would be very happy to learn something like this
Hello Suz, thanks for your comment!
Oh, the stick blender with hard soap in it…. Please, let her know about the tip with stick blending inside hot soapy water right after making soap, it’s very practical!! You’ll clean the stick blender in no time without worrying too much about cleaning the blades.
And yes, safety first, make sure to use gloves all the time.
Hope this article helps your mum.
Cheers,
Sofia
Hello Sofia, I have to say that I’m really excited to be here because my wife something make soaps for the house on her own and it’s really an amazing thing truly. But cleaning the equipment can look stressful and from what I have seemed here, we had been going about it the very wrong way. I actually think these tips would work for it fine.
Hello Justin, thanks for your comment. Not sure you made it the “wrong way” probably just one not so practical or efficient. I hope this article helps making this messy step of soap making less stressful, as soap making should mstly be a fun experience.
Cheers,
Sofia
This article made me remember a whole lot of things, years back when I was young, my mother used to make soap that we use for different chores in the house and those moments were very interesting. These tips for cleaning soap making equipments are really practical and are easy to put to use.
Hello Bruce, thank you for your warming comment!
I am so glad this article made you remember happy moments when you were young. Soap making for me is also emotional, it is an experience I usually associate with having a good time, being with family, and fulfillment, so, good, happy moments as well 🙂
Hope you enjoy other posts in my blog, there are a lot about soap making, including recipes.
Cheers,
Sofia