If you are a regular reader of Herbalcochete, you probably know by now you can make soap bars at home. The most common and widespread method is the cold process, where you play with lye water and oils temperature near room temperatures, and then you have to wait for curing for weeks.
But there’s another method, besides using pre-made soap bases (the so-called melt and pour): the hot process method.
In this tutorial, learn how to make hot process soap, step-by-step with instructions, pictures and tips. Making soap by hot process is very similar to cold process. The main difference is that you will be cooking your soap after reaching trace, and before molding it. How? By using a slow cooker.
If you were brave enough to try making liquid soap from scratch, know that hot process is a walk in the park. Still, I don’t advise you to start making soap with hot process, you do need to know about trace beforehand and the best way to learn it is by making soap by the cold process.
Table of Contents
- How Do You Make Hot Process Soap At Home?
- How Long Does It Take To Make Hot Process Soap?
- Which Is Better Hot Process Or Cold Process Soap?
- How Is Hot Process Soap Made?
- Step 1: Gather Ingredients and Equipment
- Step 2: Measure All Ingredients and Prepare Your Workstation
- Measure your Ingredients
- Organize your Work Area
- Step 3: Melt / heat the oils
- Step 4: Prepare the lye water (sodium hydroxide solution)
- Mix water and lye
- Be prudent
- Step 5: Mix the lye water and oils
- Is lye water and oils temperature important like in cold process?
- Step 6: Stick blending your soap/Reaching trace
- Step 7: Cooking your soap
- Step 8: Adding after trace ingredients
- Step 9: Molding Your Soap
- Step 10: Unmold/Cut into bars and curing the bars
How Do You Make Hot Process Soap At Home?
Just like handmade soap from cold process, hot process soap is made with natural vegetable oils, sodium hydroxide and water. However, it requires a crock pot or slow cooker and some patience. The hot process method looks scary when you read it on the net, but it’s not as complicated as it sounds. You can easily make it at home, with kitchen ingredients, a stick blender and a crock pot. This tutorial will guide you through the steps and make it look easy.
In theory, you can make any cold process recipe by hot process. It might not look exactly the same, but you will still have wonderful, handmade soap. I don’t have enough experience yet to know if any cold process recipe is a fail as hot process and why. I do know you can’t make complicated designs like swirls or marble soap as the soap batter will never be fully liquid. But I divert a little bit.
If you know a bit about cold process by now, to make hot process soap at home you only need a crock pot or slow cooker now. The whole process, from heating the oils up to the end, is done under heat. There’s an additional step compared to cold process: the cooking part. After reaching trace, you will need to let your soap to cook. Then you add the after trace ingredients (essential oils and others), you mold, cut bars and cure just like cold process.
If you’re a complete beginner, I suggest then to start and Learn To Make Cold Process Soap with these Free Cold Process Soap Recipes. Also, this post is another good way to start. Leave hot process and liquid soap from scratch (the one where you use potash) to later.
How Long Does It Take To Make Hot Process Soap?
If you want to count with preparation timing, which is still a good amount – it does take time to measure all the oils -, hot process takes around 1h30m (one hour and a half) to make: 30 minutes for preparations, 20 minutes to make it, 45 minutes fo cooking time. If you include it the time to clean your equipment, it’s almost 2h (two hours).
Cold process is not that different, taking roughly 1h15 hours: 30 minutes for preparations, 30 minutes to make the soap batter (without swirls and special designs), 15 minutes to clean up everything.
Preparations and Cleaning
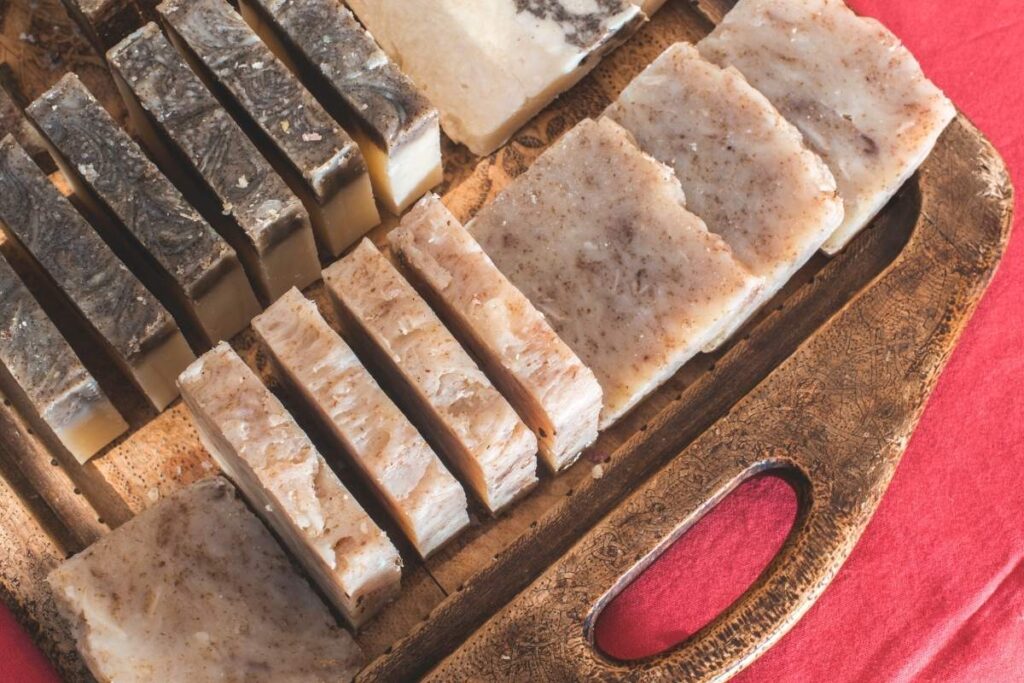
Where you lose most of the time in both cold process and hot process is in preparations and cleaning equipment. Bear in mind that sometimes stuff happens and your soaping time might extend. Because, for example, your soap accelerated and you are spooning everything into a mold instead of just pouring the soap batter.
Soap swirls and designs may also extend your soap making for 10 to 20 minutes, separating the soap batter, adding colorants, doing the pouring with 2-4 pitchers in series.
If you manage to be efficient, you can spend some of the cooking time – where, really, you are just basically looking at the soap batter cooking – cleaning up equipment. Where in cold process this is impossible. So, both methods will have little difference, from gathering the first ingredient from your pantry, to putting the last piece of equipment in your dishwasher. Around 1h30 to 2h00.
Which Is Better Hot Process Or Cold Process Soap?
Like everything in life, both processes have pros and cons. You might want to stick to one of them. You might want to try both or do one or another for specific recipes. Some soap makers swear that after making hot process soap you won’t want to use any other process! The best process to make soap is probably cold process, due to its versatility allied with simplicity – and less costs to make it. But hot process also has its advantages.
While my experience is limited in hot process, I assume that with this process you won’t have one of the most common issues with cold process: soap accelerating. You can use more essential oils and fragrances as you don’t need to worry so much about saponification. The same for colorants or plant extracts with medicinal properties.
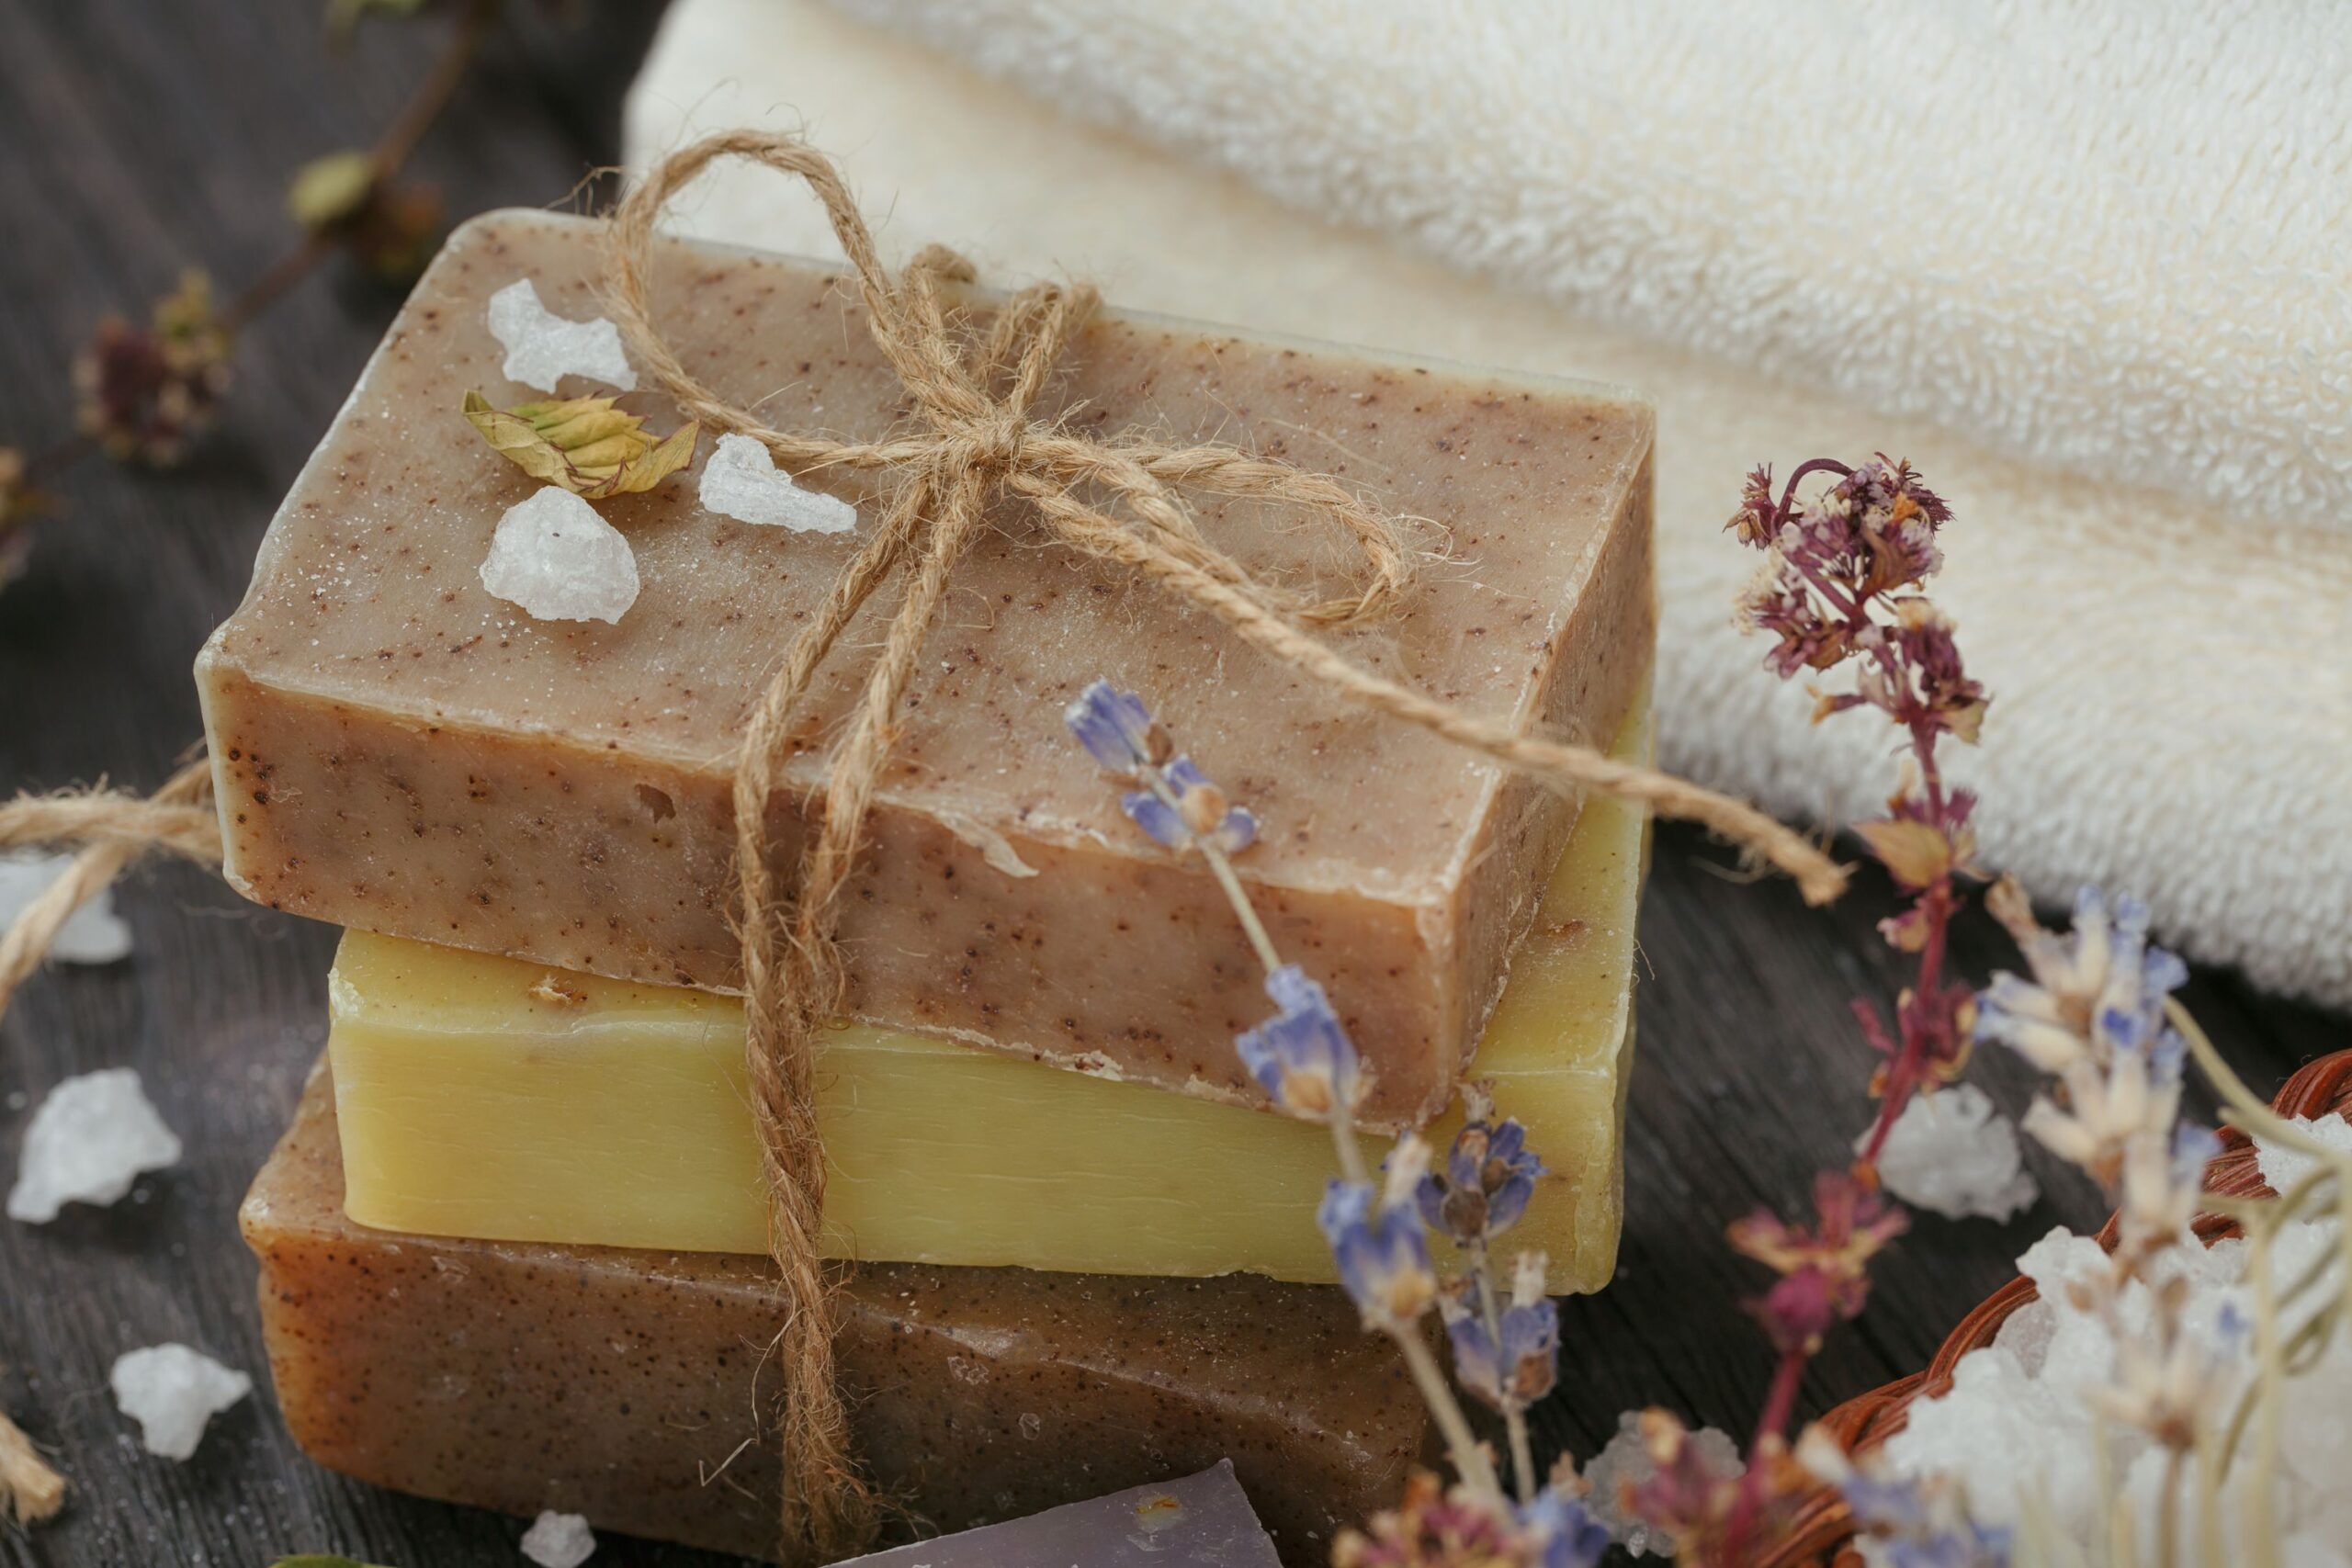
On the other hand, hot process has a particular rustic look, like soap that went through gel phase. You are also very limited when it comes to making swirls and pretty designs. Cold process soap batter can be liquid and allows you to make intrincate and beautiful designs. It is also possible to get an opaque soap with a very professional look.
Hot process requires a heating source, spending more energy making the soap, meaning it’s more expensive than cold process.
With both methods, you use the same basic ingredients: oils, lye (sodium hydroxide) and water, and you need to mix the soap with a stick blender. The resulting soaps are all of high quality, mild and less drying to your skin.
How Is Hot Process Soap Made?
I have read my share about hot process soap before I’ve considered giving it a try at home. I’ve really got confused with all the details and steps in some tutorials. It really sounded complicated. But after making liquid soap and Rebatching Cold Process Soap (another method involving heat), I felt that I had the basic experience to try hot process.
After attempting a couple of recipes, I must say, after making soap paste for liquid soap, hot process is a walk in the park. It’s rather easy as soon as you are able to recognize the stages and, especially, what should be the end result. I am going to make this easy for you.
These step-by-step instructions for hot process soap making are generic and, apart from some details, serve to follow any type of hot process soap recipe. If you want to see recipes, go to Advanced Soap Recipes
Step 1: Gather Ingredients and Equipment
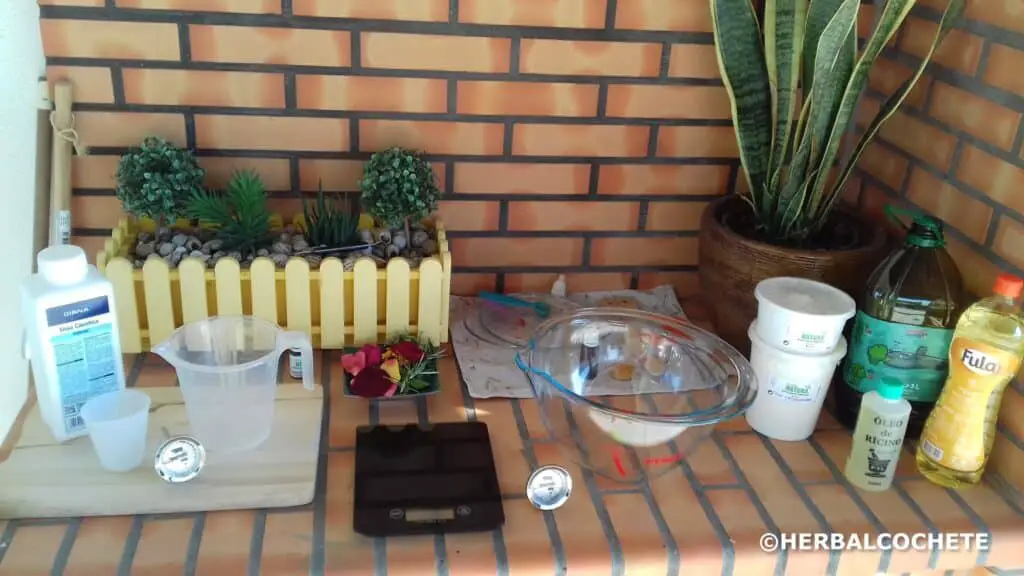
It is important to have everything prepared and organized before you start preparing the soap batter. This includes measuring ingredients, preparing your workstations and organizing equipment. It’s so easy to forget something…
Take the time to read and understand all the steps in this tutorial, as well as each recipe. Then, prepare everything you will need for the recipe. Never failing this important preparation step is halfway to a smooth and sucessful soap making experience.
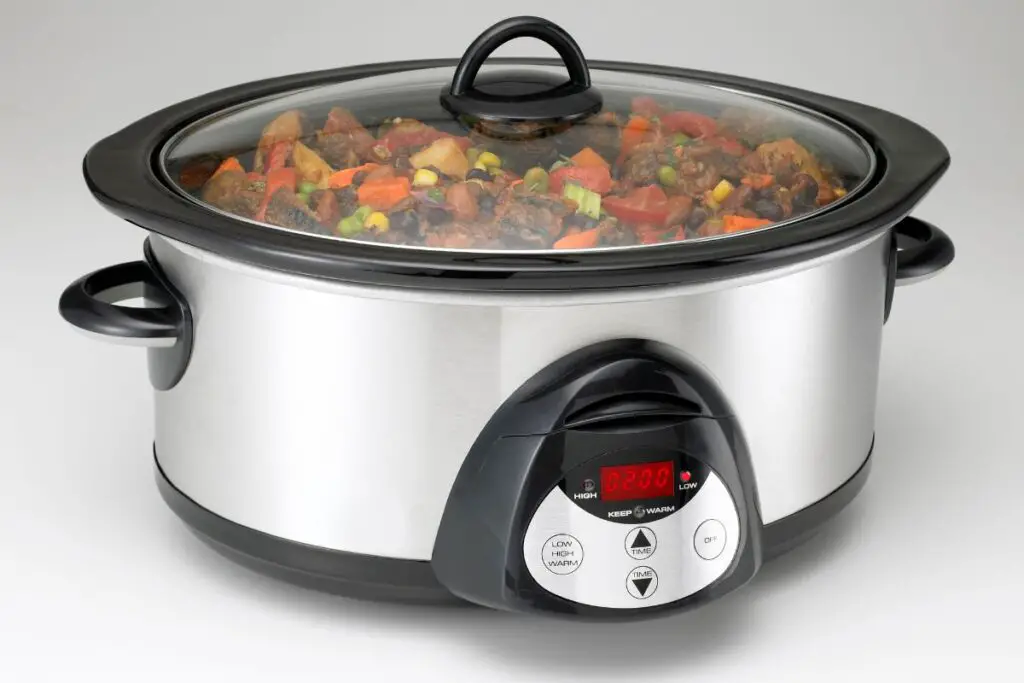
A slow cooker is mandatory for hot process soap making, you won’t be able to check out temperature while making this liquid soap. An electrical stove and a double boiler system will also work out. But you need a system that auto-controls temperature, otherwise it will be really complicated.
Step 2: Measure All Ingredients and Prepare Your Workstation
It is not good practice to measure ingredients in a hurry. It leads to measurement errors and can compromise the quality of the final soap.
For example, adding too much lye can make the soap irritating to the skin – pure lye burns your skin! In addition, if you forget to add/measure one oil, your soap can get also lye heavy – due to lack of oils to react with lye.
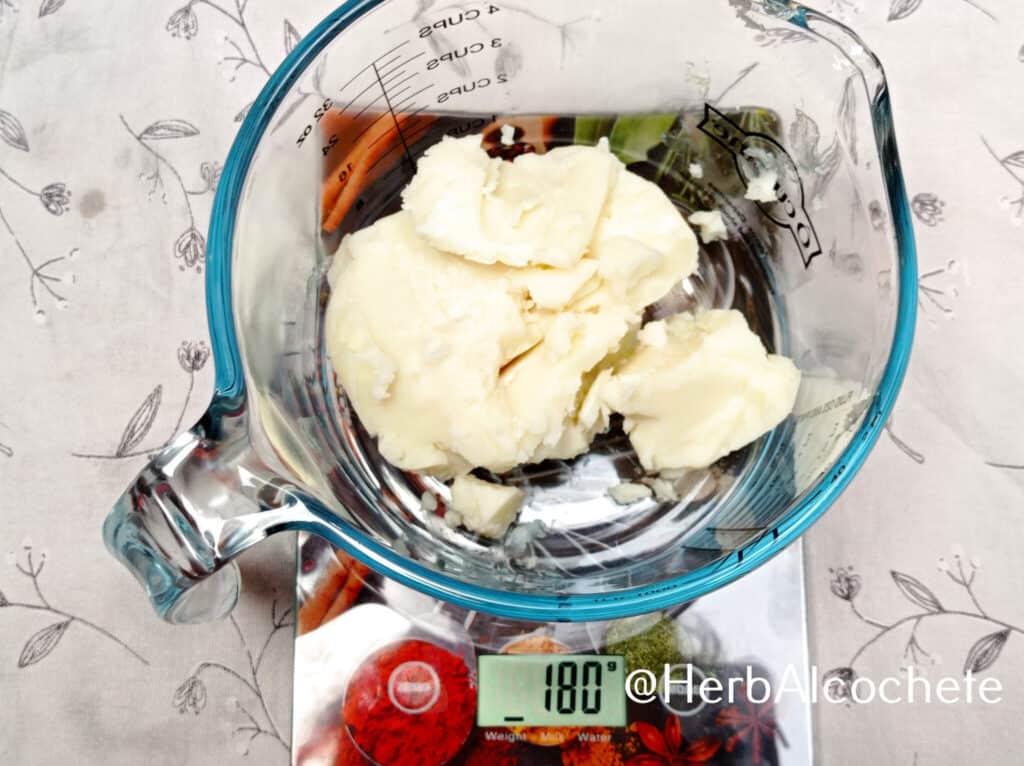
The quantity of oils and lye is therefore critical to a good soap. It’s very important to follow the right quantities with an error close to 1 gram. Be focused in this step, and the rest of the soap making process will be ok. It’s how important this step is. Also, use a digital scale. Kitchen digital scales usually have an error of +/- 1 gram. This is good enough.
If you want to learn more about it, subscribe to my newsletter (see the footer of the website) and you will receive a free e-book about soap making chemistry and how important the quantity of lye and oils is.
IMPORTANT NOTE: If you happen to make small mistakes, better have a little more oils and a little less lye. For example, if you are measuring 64g of lye, better to have 63g than 65g; if you are pouring some oil and you need 400g, better to have 402g than to have 398g. The calculated superfat should be able to “cover” these errors anyway. But never make or formulate soap in cups, spoons or worse, eyeballing ingredients. Always use its weight.
Measure your Ingredients
Weigh the quantities of oils and butters with a scale:
– Place a bowl or, if possible, the slow cooker container where the oils will be heated on the scale and set the scale to zero (usually the “tare” button). Then the oils are weighed one by one, taking care to “reset” the balance for each oil.
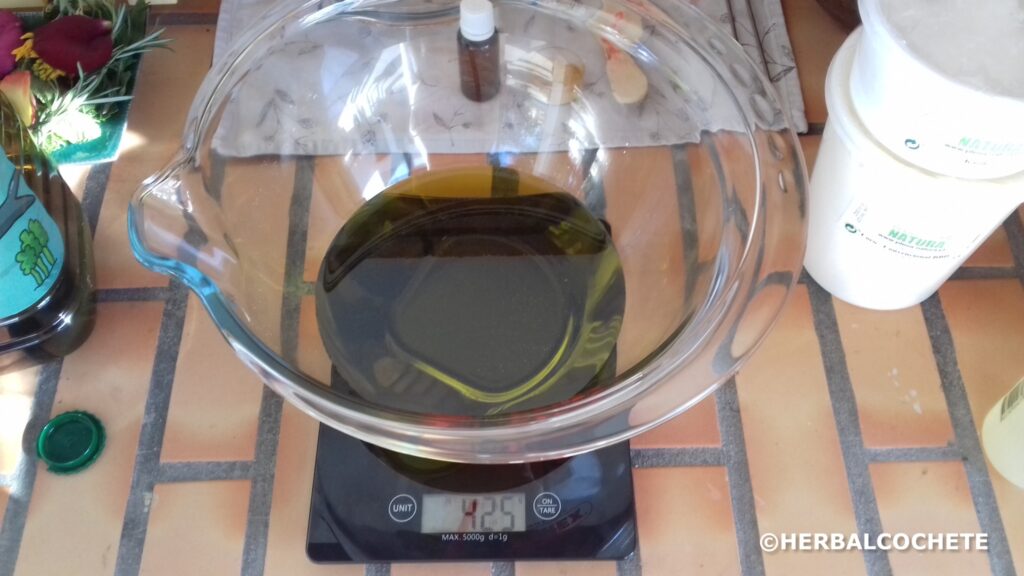
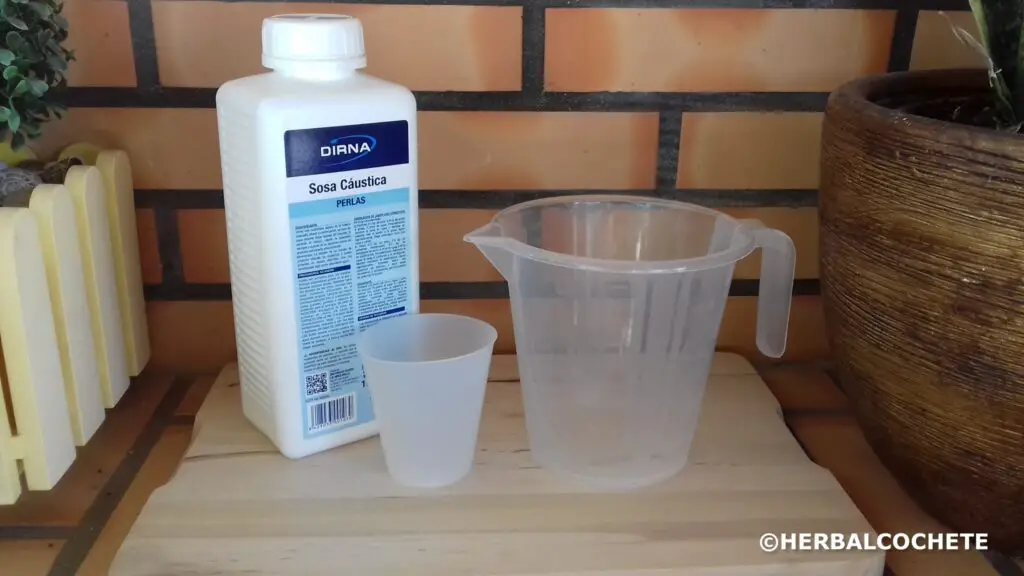
– Weigh the water and lye (sodium hydroxide) using a scale. Place each ingredient in a separate container: a heat-resistant jug for water, a cup or bowl for the lye.
– Weigh your natural colorant if needed, although sometimes it’s incorporated in the lye water or the oil itself as an infused oil. If you are going to use the colorant after trace, better dissolve it in a bit of the measured oil – remove one or two tablespoons and mix the colorant inside. Use a milk frother to avoid clumps of colorant.
– Weigh the essential oils or fragrance oils and your anti-oxidant into a small bottle. These are usually called in the recipes as “after trace” ingredients because you add them after reaching trace, or at the latest point in the process, right before molding the soap.
Organize your Work Area
After measuring ingredients, organize everything in workstations or work areas that must include the following utensils:
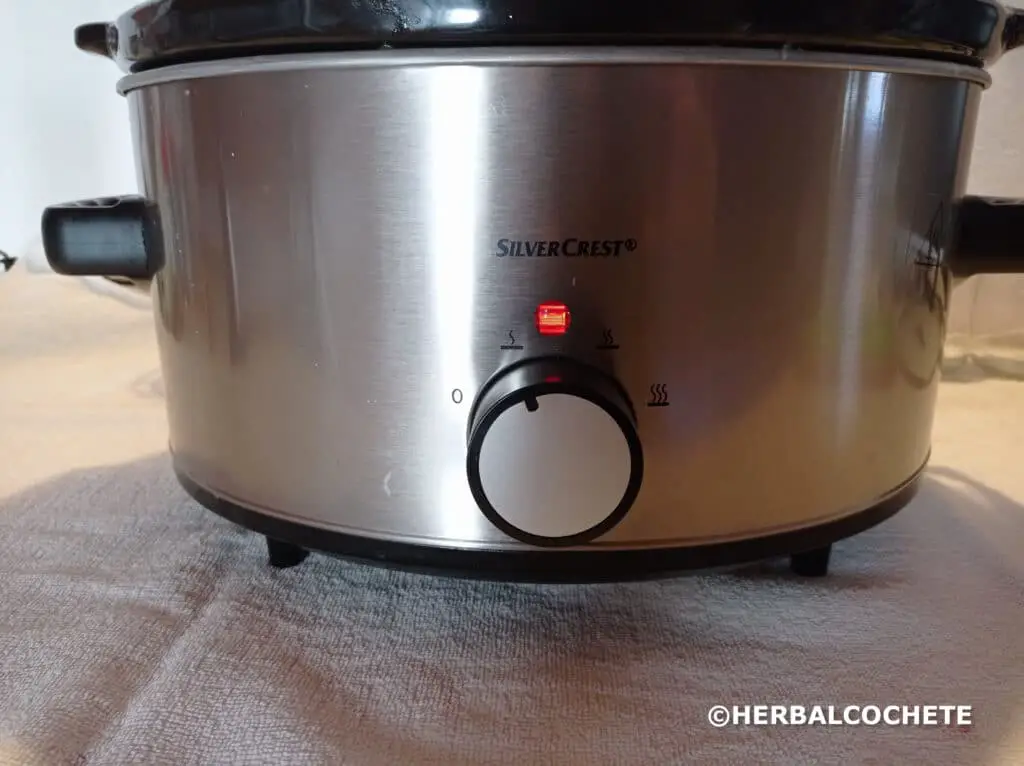
- an area to prepare the soap batter, where you should have at the ready the slow cooker, 2 spoons, 2 spatulas (you can then define what works best for you – I only use spatulas), a strainer, a plate where to put dirty items, some squares of kitchen paper and the immersion blender already plugged and prepared.
- an area to mix the water with lye. It is important that this area is well ventilated, ideally outdoors, or under a window. This area should have: a stainless steel spoon or silicone spatula, a large container with cold water to cool the lye water. Make the lye water using a mask, goggles and gloves!!
Step 3: Melt / heat the oils
Is everything ready? So let’s start making soap!
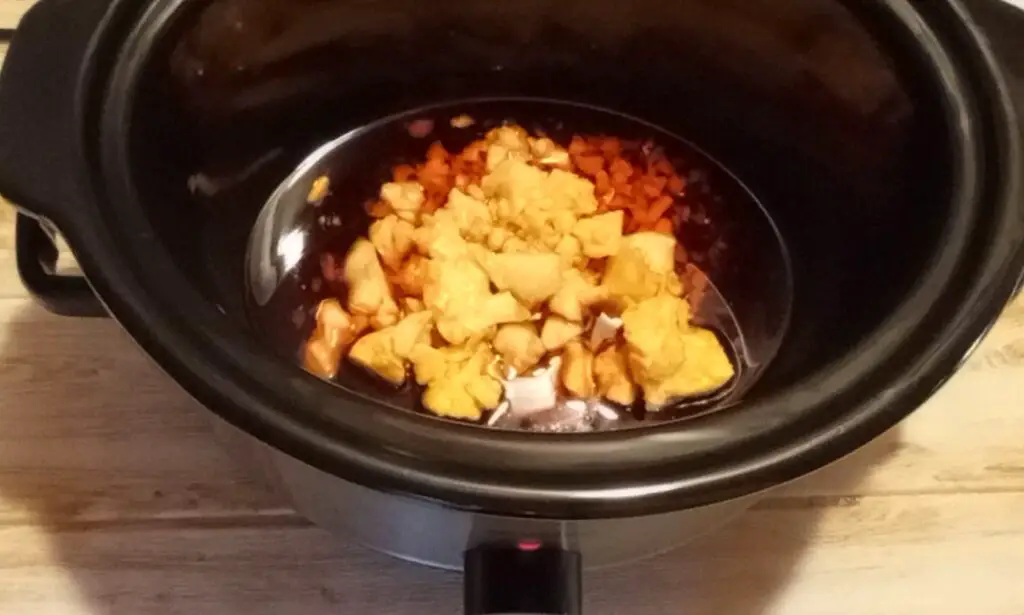
Pour all the oils inside your slow cooker and set the heat to LOW. Let the solid oils melt completely. You can speed up a little the process by mixing the oils with a spoon.
When small bits of solid oils are floating, just mix until they vanish.
Step 4: Prepare the lye water (sodium hydroxide solution)
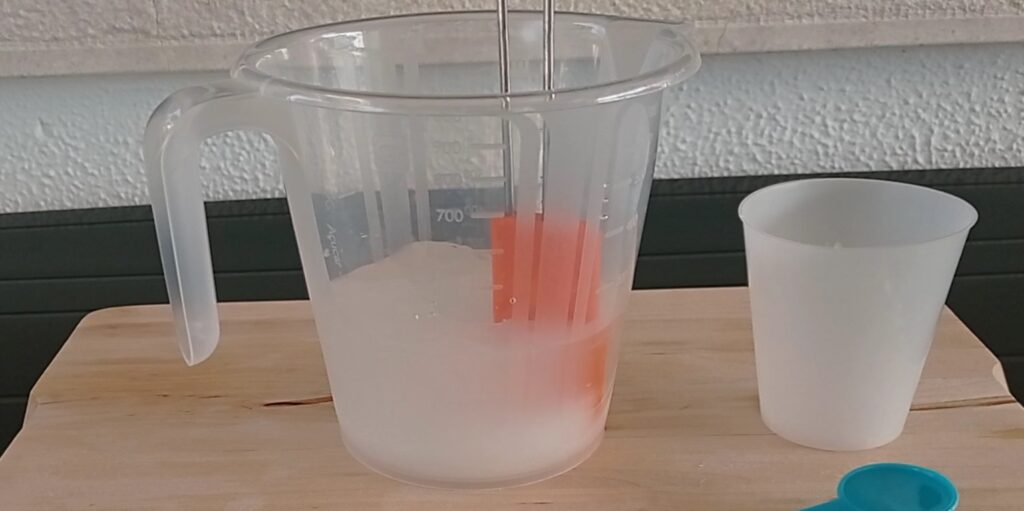
Using lye can (and should) be intimidating, however it is a necessary ingredient in soap making. All soaps, even glycerin bases, are made with either sodium hydroxide (lye) or potassium hydroxide – they are a basic ingredient.
While the oils are heating up in the slow cooker (don’t let them heat up too long unattended), let’s prepare the lye water.
First, put on your safety equipment: gloves, glasses and mask. The mask is important especially if there is not enough ventilation. Still, always use a mask, the vapours are quite irritating to your throat, and they can’t be contained. The goggles are also very important, as lye can blind you. this is supposed to be fun, protect yourself so that you won’t end up in the hospital.
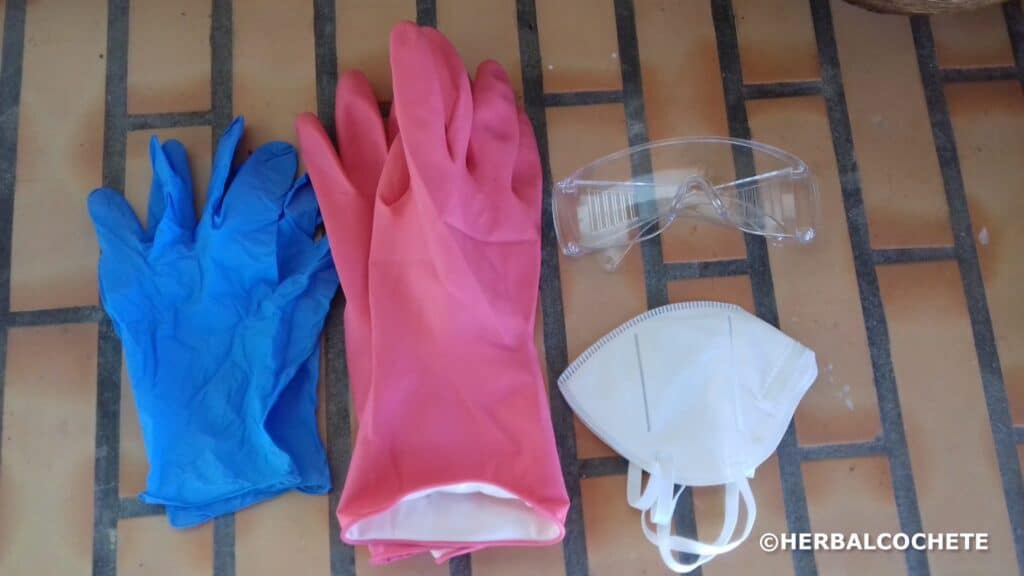
You must have clothes that cover your legs and arms, and shoes that cover your feet. Be fully clothed and covered – especially your hands, with gloves. Make sure that there are no children or animals in this area, to minimize the risk of accidents.
Now, be prepared to place the container where you will make the solution (ideally in pyrex or stainless steel) in a sink with cold water or on an outdoor surface (a bench, for example) resistant to temperature. As soon as you mix the lye with water, it will reach temperatures in the order of 100ºC – 210ºF!
Do not use the refrigerator or an enclosed area to cool the mixture, because the resulting vapors are corrosive and toxic – and you don’t want that on your food!
Safety first: use ALWAYS gloves and glasses at all stages of soap making, especially when dealing with potash or the lye water. The mask is very important when you are making the lye water but you can remove it afterwards.
Mix water and lye
Slowly pour the lye into the pitcher with the water and mix well with a stainless steel spatula or spoon. The solution will heat up and release harmful vapors, especially at this time. Be careful and avoid breathing vapors. Mix very well so that the lye completely dissolves in the water.
Be prudent
Note that pouring water over potash can have a really violent “volcano” effect, where you might get burned with water spilling! Always pour the lye over the water.
It is also important to ensure that the water is at room temperature (25º), especially if you are using an herbal infusion. Even if it is only lukewarm, the “volcano” effect can be dangerous.
In the meantime, I’ve felt the need to write a post focused on preparing the lye water alone: How to Make Lye Water. See the simplest way of making lye water, although you can add colorants or addictives to it, depending on the recipe. Also, check out Soap Making Safety Precautions.
Step 5: Mix the lye water and oils
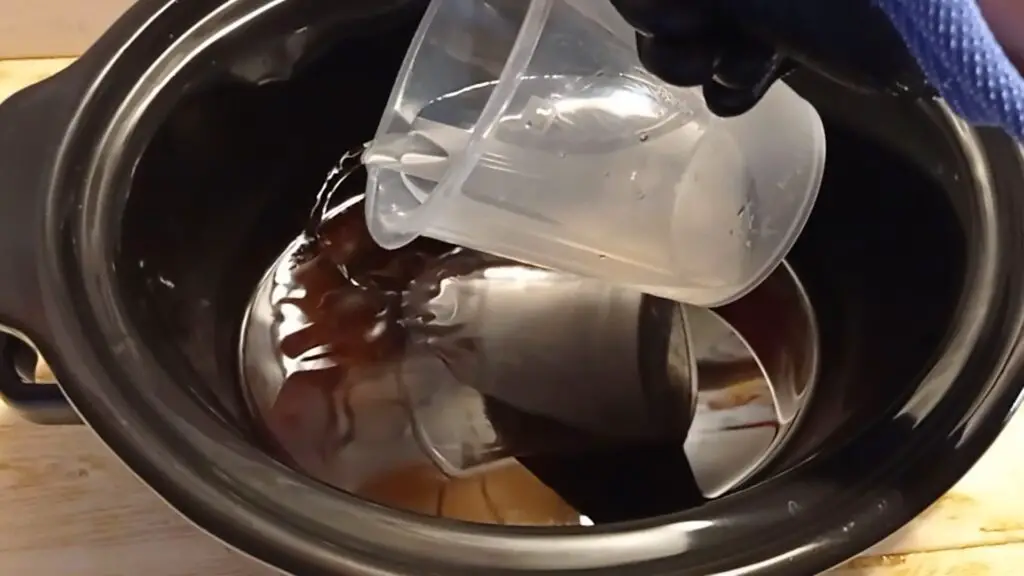
Keep your oils inside your slow cooker, and keep your heat in LOW. Using the shaft of your stick blender or the edge of your slow cooker, pour your lye water into the oils carefully, avoiding spillage of any sorts – you do have your gloves and glasses on, right?
Be careful will spillage: my slow cooker is aluminium in its outer structure and it has a nasty stain from lye water spilage and dissolving the aluminium afterwards… It was not more that a few drops.
Is lye water and oils temperature important like in cold process?
From what I’ve read, nope, not really. Still, I always make certain that the lye water and oils do not have a difference over 10ºC or 10ºF between them. I fear volcano issues or cracking soap that I really don’t want to see. I may be a little overzealous, but I really never had that sort of problems with my soaps.
Step 6: Stick blending your soap/Reaching trace

Now the interesting part will begin, reaching trace!
Set your slow cooker to HIGH heat, and insert the immersion blender into the mixture. Tilt it to release air bubbles. Turn on the blender for very short periods of time and then mix it up a little, using it as a spoon. The mixture will slowly stop being “oily” and start to take on a more milky and opaque consistency, especially when you switch on the blender. This is pretty much the same as in cold process. You will want to reach medium trace.
Step 7: Cooking your soap
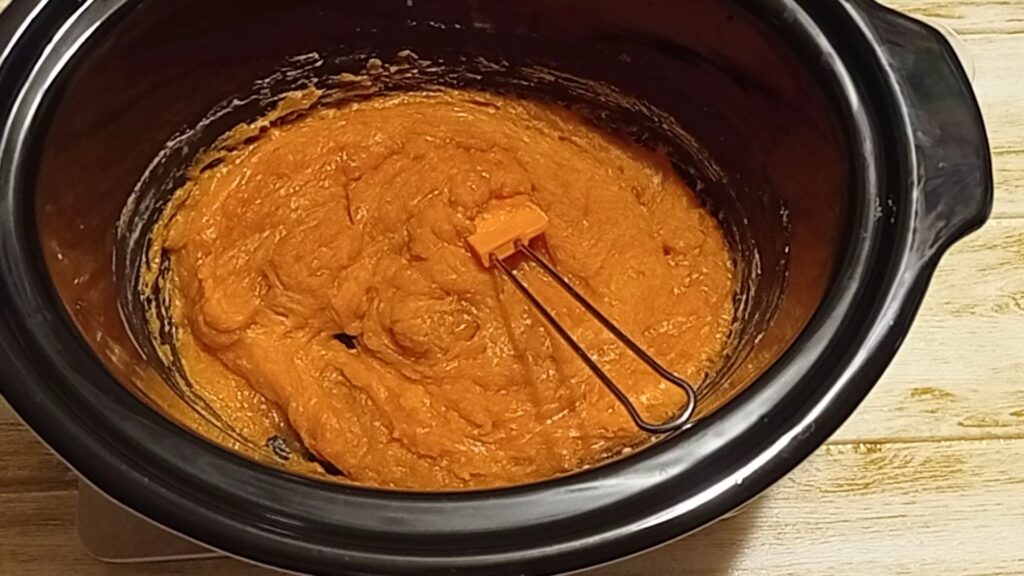
This is where hot process is different from cold process. You will need to let the soap batter to cook to speed up and end the saponification process. The recipe should contain more water than what is normal in cold process as you will need all the moisture to keep the soap fluid. The addition of sodium lactate has that function as well: to keep the soap batter fluid.
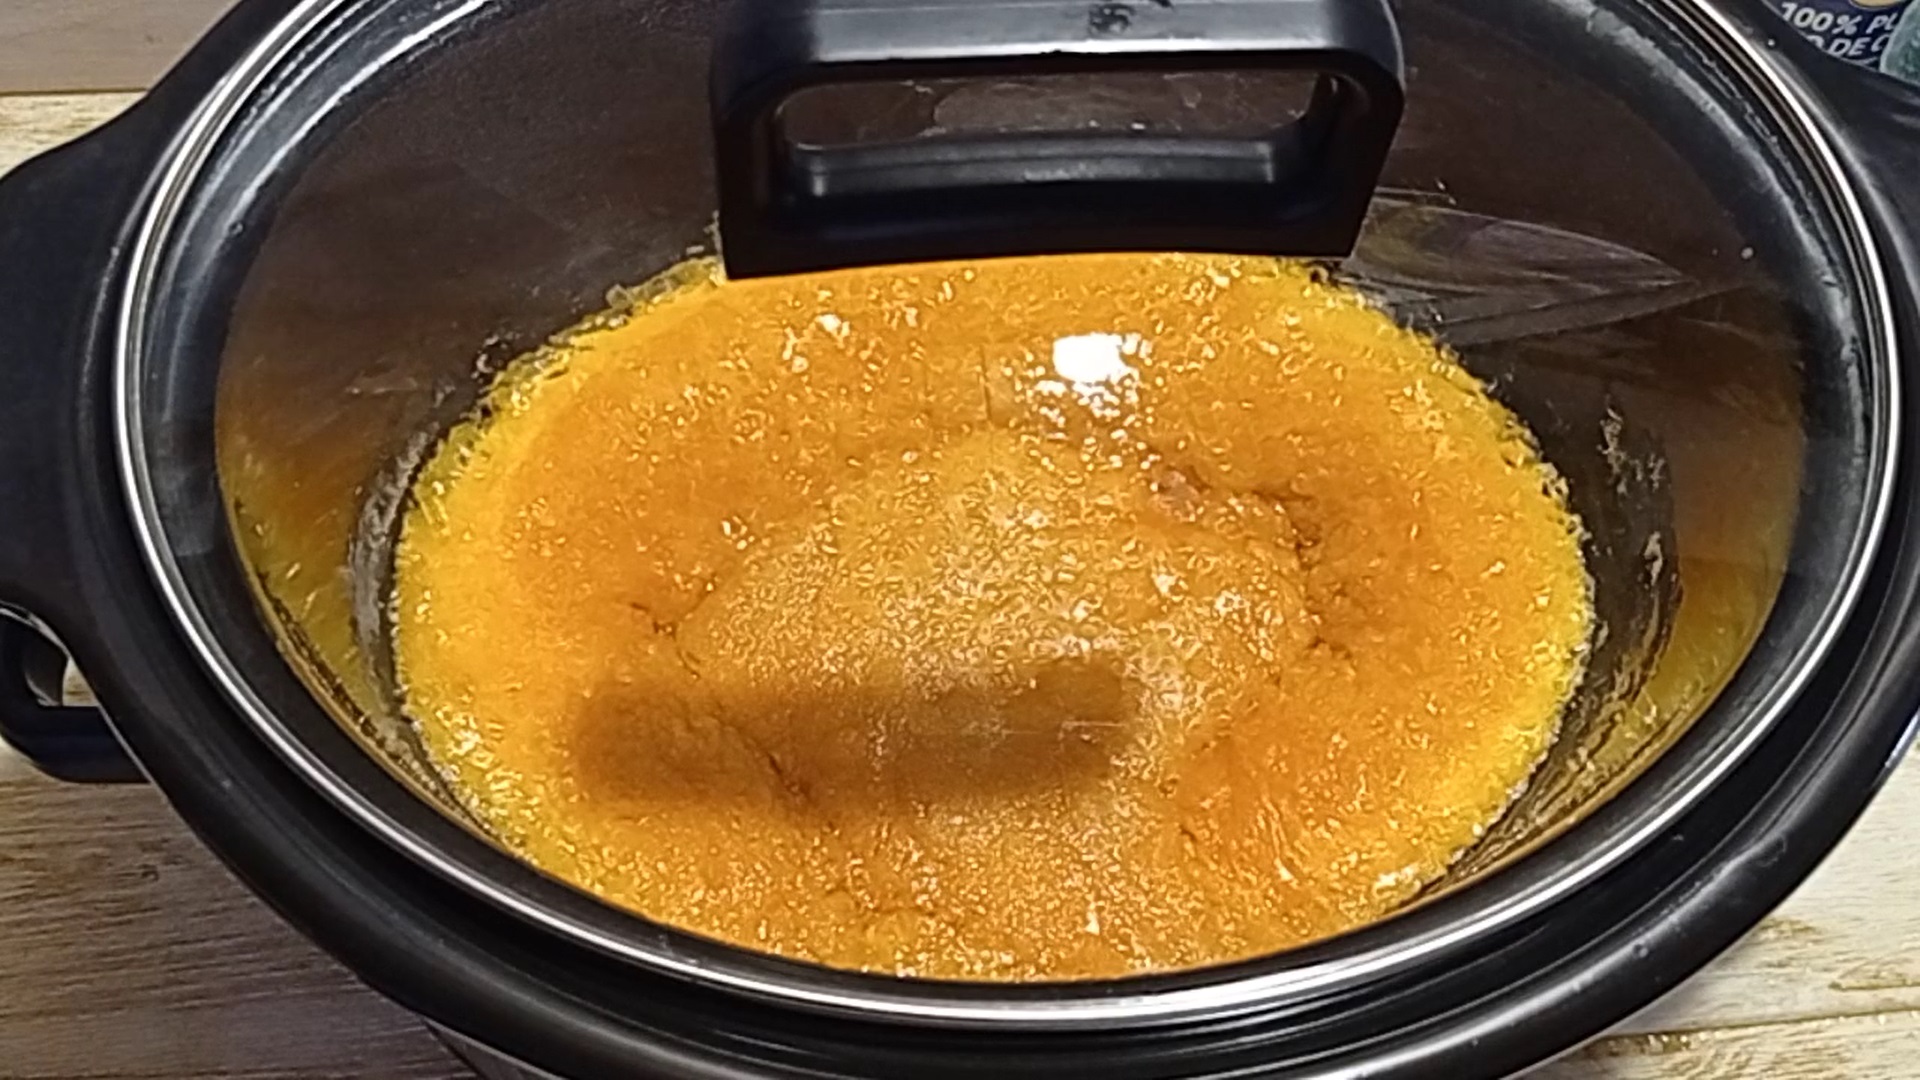
After reaching medium trace, and using a spatula, remove the soap residue from the walls of the slow cooker and give it a final mix. Close the lid and let the soap cook for 30 (thirty) minutes.
– your soap batter with start to puff up on the edges, where the heat is stronger. It’s normal if some liquid comes to the surface as if it’s separating. Do not open the lid to mix it. Just let it cook.
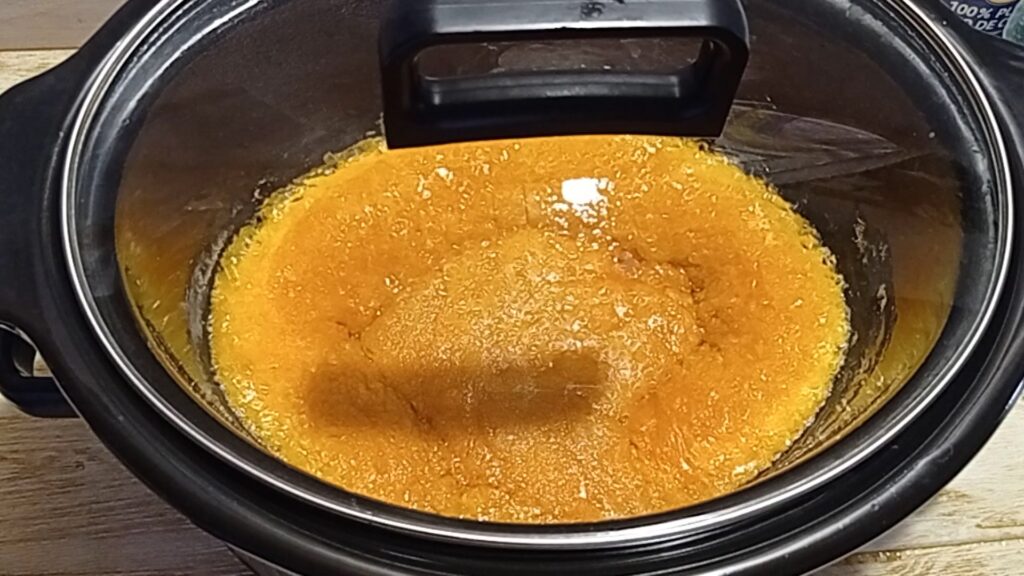
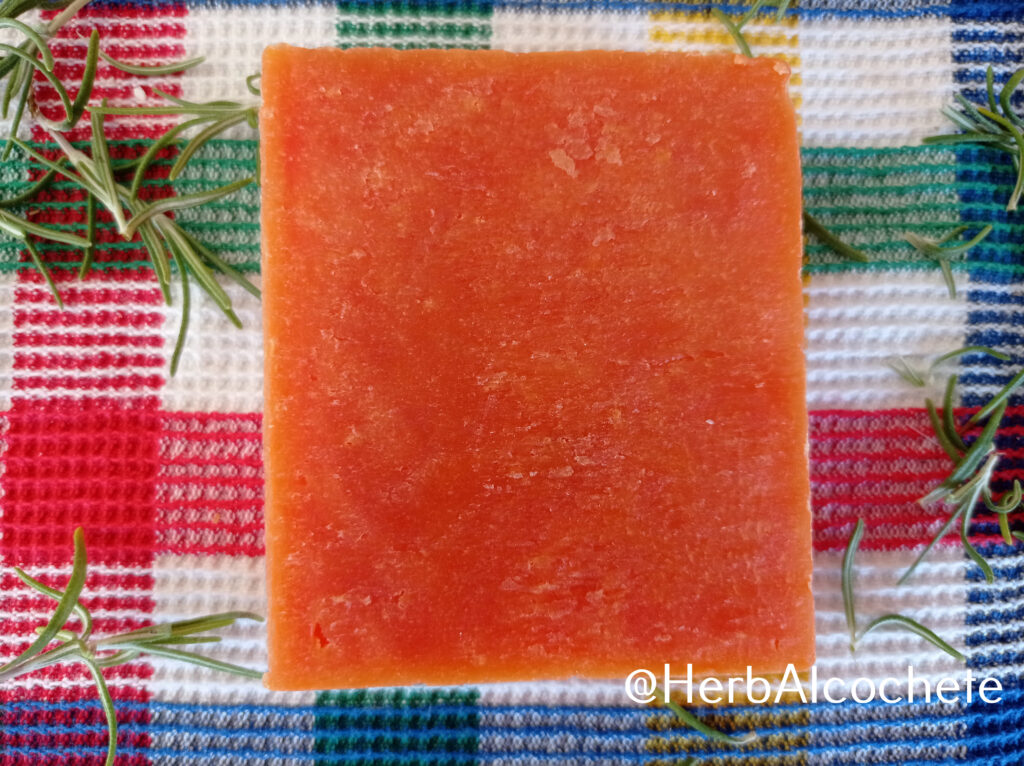
– the soap batter will slowly go from opaque and creamy into what is usually called a “vaseline-like” aspect (lacking a better description): translucid and very pasty. The effect will start on the edges and slowly progress to the middle. With this paprika recipe, it’s difficult to see the effect. I could only see the vaseline-like aspect after I’ve mixed it with a spatula.
– once your soap batter looks completely like “vaseline”, your soap is ready for the next step. If it’s not there yet, mix the soap batter and give it 15 more minutes of HIGH heat. It should be good afterwards.
Here is a small video of the cooking process in high speed.
Step 8: Adding after trace ingredients
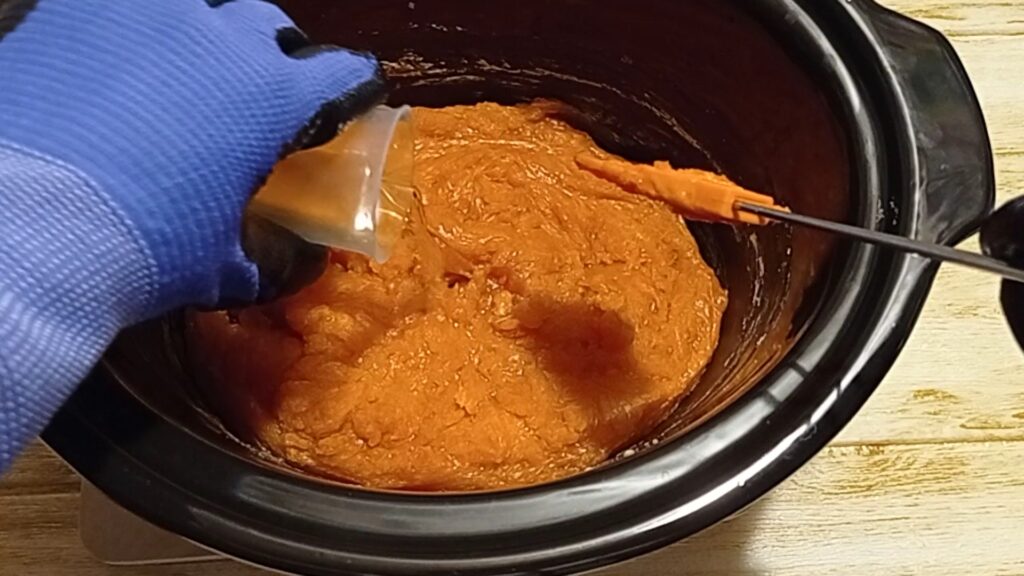
Turn off the heat from the slow cooker and add your after trace ingredients: essential oils, anti-oxidant, natural colorant or any other sort of addictive, like plant extracts.
It will take a long time before the soap temperature reduces inside the slow cooker, so I am not going to advise to let the soap batter to cool down before adding the after trace ingredients. But that would be the ideal, to at least get your soap down to 50ºC (122ºF).
Step 9: Molding Your Soap
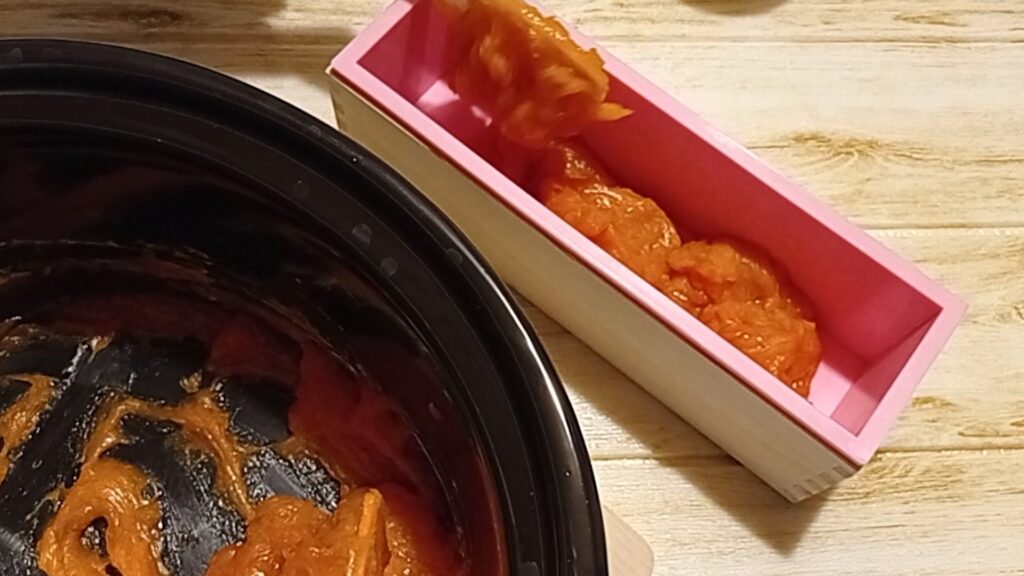
While it is not impossible to mold hot process soap in individual molds, it will be impossible to prevent air bubbles. With hot process, just like rebatching, you will need to spoon your soap batter into the mold.
Therefore, a loaf mold it’s the best, where you can pour all the soap batter, beat and shake the mold well, and you will not have any problems with trapped air bubbles.
Let the soap harden for 24 hours. It will probably be solid before that, but with 24 hours you will be sure that the soap won’t be soft when you touch it.
Step 10: Unmold/Cut into bars and curing the bars
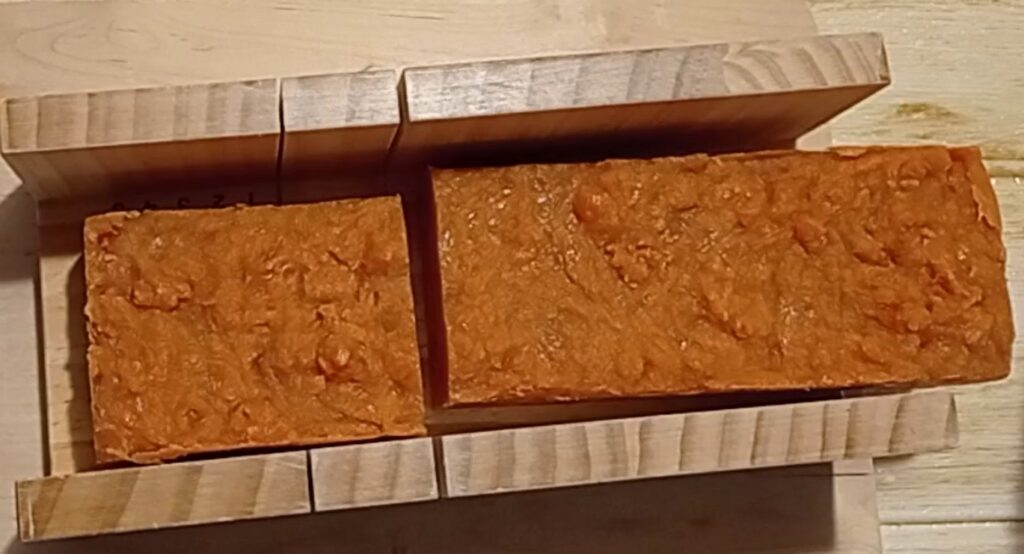
Unmold your soap from your loaf mold and cut it into small bars. The size is per your preferences. If you are familiar using loaf molds with cold process, this is exactly the same.
What about curing? You can use your soap right away if you are in a rush. But bear in mind the soap won’t be at its best if you use it immediately. Most likely, it will be softer, it will lather less and will be more drying than the cured version. Therefore, you should let it cure for 4 weeks. If you’re familiar with cold process you will know you only need to wait for the first batch. Then, if you keep making batchies at least monthly, you will always have soap ready to use.
Learn more about unmolding, cutting and curing soap in How To Cure Soap: Unmold, Cut And Cure Bars.
Finally, how do you store it? Well, the only thing you need to bear in mind is that the soap is always curing. Therefore, your soap package should allow the soap to get air. To store the soap in an air tight container is a bad idea.
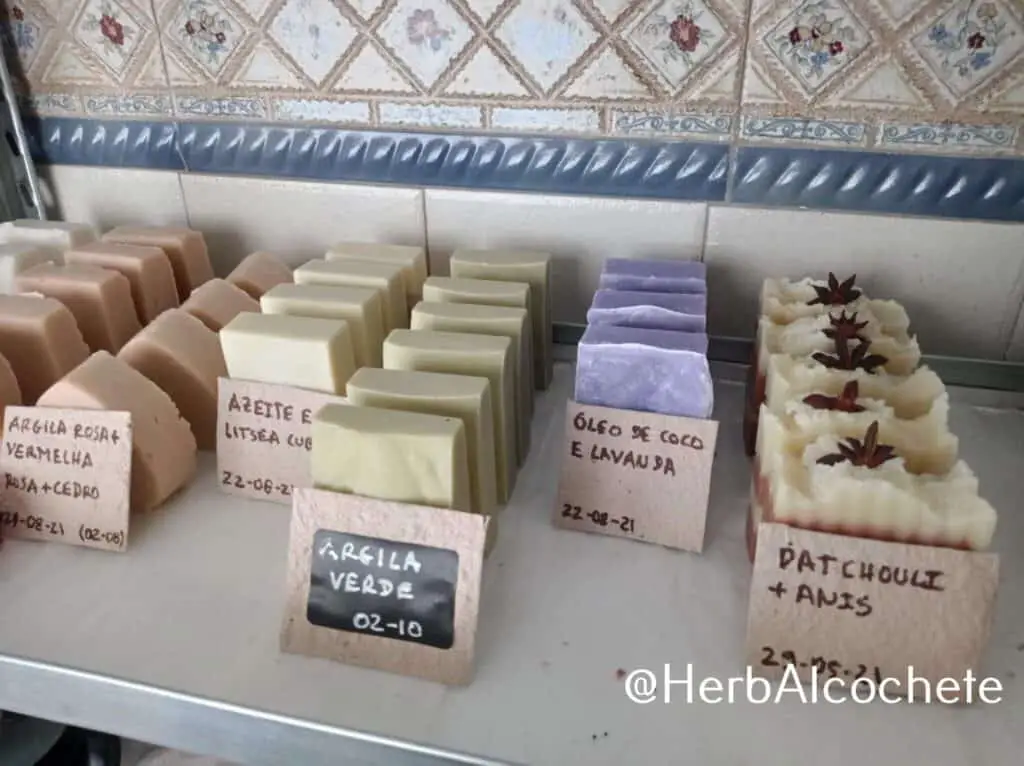
You’re probably wondering how do I do it. Well, I have a rack to cure soap. I simply leave it be until I need to use it. It’s like in a grocery store: I come to the shelf and pick up my soap to be used later on in the shower. It’s very practical and…. totally zero-waste!
Learn more about soap storage in How Do You Store Homemade Soap?
I hope this hot process soap making tutorial has been helpful! At least it helped you demystify hot process soap making to the point where you know you can make it at home easily. If you have any questions, please use the comments section.
