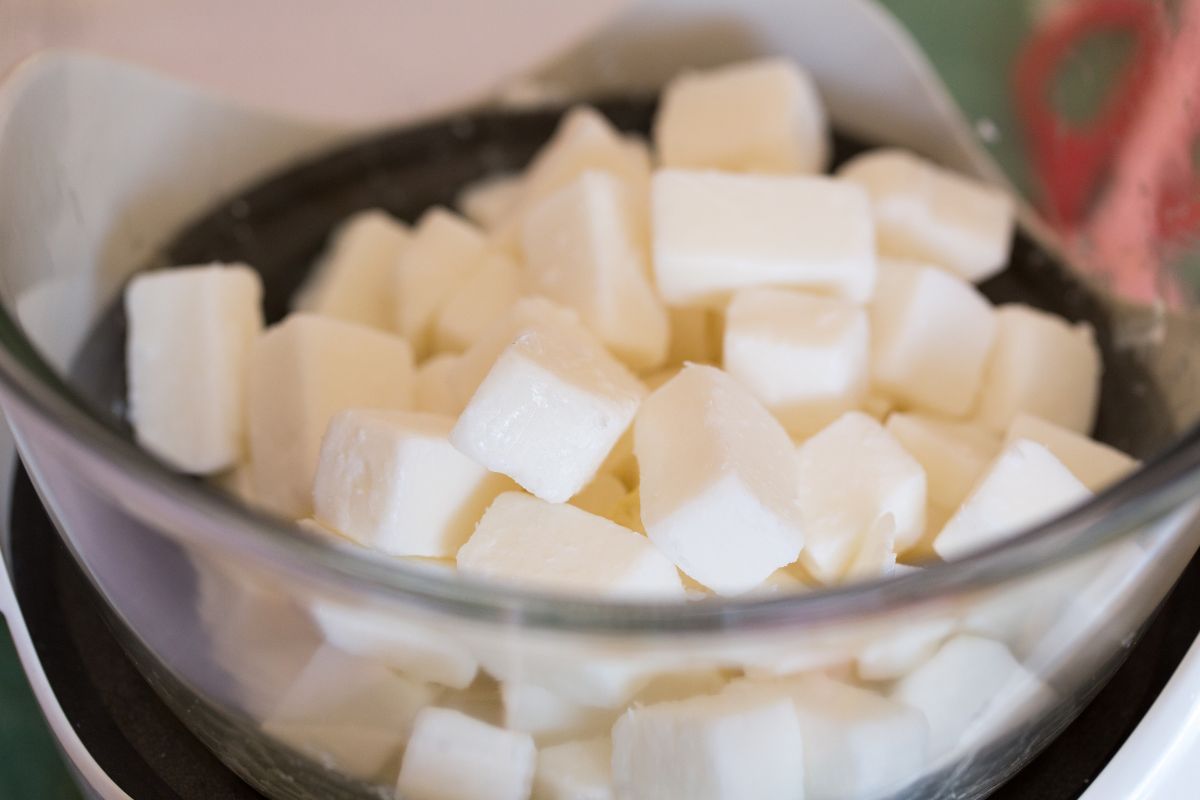
Learn how to make soap bases at home, using only kitchenware, kitchen ingredients, vegetable glycerin, lye and water. These soap bases can then be used as glycerin soap bases, also known as “melt and pour” bases. The process is very similar to cold process, but with the addition of solvents and vegetable glycerin. The resulting soap bases are great, natural and cheaper than a bought premade soap base.
Find below a detailed step-by-step tutorial that will show you how to make a soap base. It uses a method pretty similar to cold process, with the addition of solvents, being the most common ethyl alcohol (ethanol), and sugar syrup. The soap will then saponify in a slightly different way than cold process or hot process.
The most noticeable difference will be the translucidity of these soap bases compared to cold process. They can also be easily remelted and poured into molds, after adding fragrances, colorants and plant addictives to enrich your soap. In the end, you will get 100% natural soap bases, highly costumizeable, cheap, moisturizing and soft.
If you subscribe to the newsletter, you will receive a free e-book where you can learn soap making basic chemistry.
Table of Contents
Can Soap Base Be Made At Home?
Soap bases can easily be made at home, just like any handmade soap. Handmade soap is produced by mixing oils with lye water through a chemical reaction called saponification. Yes, it’s that simple:
OILS + LYE (CAUSTIC SODA) + WATER -> SOAP SALTS + GLYCERINE = SOAP
Melt And Pour Soap Bases
Soap bases are nothing but handmade soap with the addition of solvents. They are usually known as glycerin soap or melt and pour soap. They are recognizably different from other soaps because they are translucent. The clarity is due to the alignment of the soap molecules, which can be induced through the addition of solvents: alcohol and sugar.
Although they contain natural glycerin – all handmade soap does – they are also made with vegetable glycerin, added to counter the “drying” effect of solvents. The transparency and the addition of glycerin probably gave the name to this transparent soap as glycerin soap.
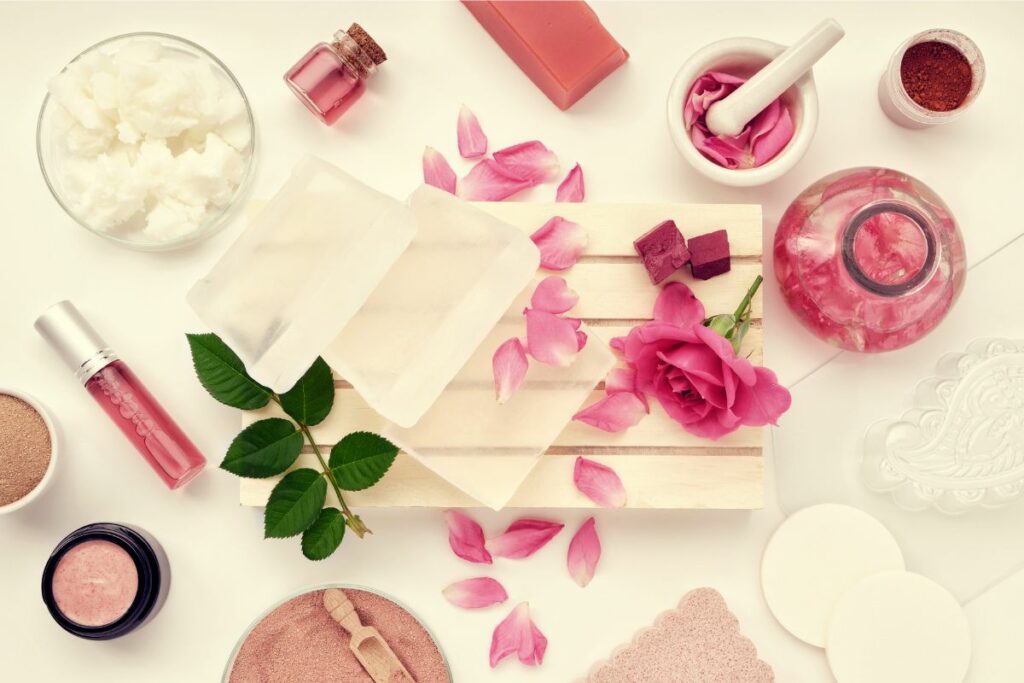
You may need to purchase a couple of ingredients in a soap supplies store. However, these soap bases can easily be made at home where most ingredients are kitchen ones! The process is a bit simpler and different from cold process, but not by much.
Later, these soap bases can be melted and poured into soap molds. You can add colorants and fragrances to make your favorite soaps. Plant extracts and oils (superfat) can be also added, while my experience with oils is not very good. These latest ingredients tend to separate from the soap base. Therefore, the best option is to consider a nice superfat in the base and skip oils addition afterwards.
Making soap bases at home is easy enough for anyone to try and you can easily make soap in the kitchen using this process. No need for very weird ingredients or heavy industrial machinery.
What Bases Can You Use To Make Soap?
You can use clear, goats milk, olive oil, honey, oatmeal and many more. You can purchase them online or from a local soap or craft store. But it’s really fun to make these soap bases at home, provided you have a good recipe.
Of course, if you think about glycerin soap, the crystal clear is the one that come to mind first. And you can also make it at home, with sucess! Try this recipe: How to Make Transparent Soap Base. My advice is then to make the soaps immediately after, to avoid reheating the soap base and risking “yellowing” the soap base.
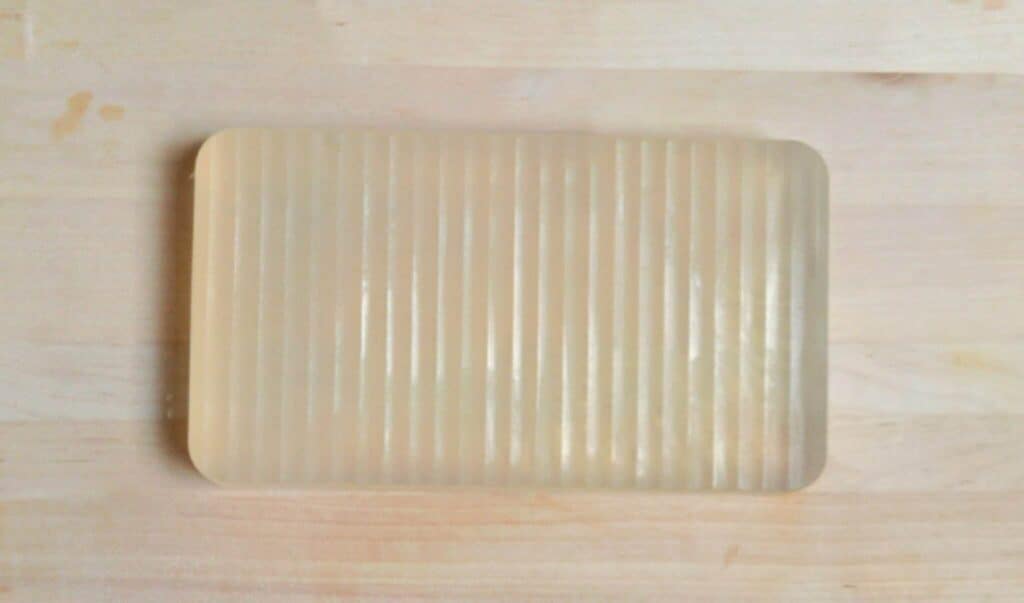
But you can make more soap bases with added ingredients that will enrich your soap base, like shea butter, oatmeal, honey, goat’s milk, etc. This olive oil soap base, for example, resulted in a lovely tea tree soap. With time, I plan to post at least half a dozen different soap bases, so you can try them at home.
What Is Superfat?
Oils react with lye water creating soap. Superfat is when some part of those oils remain oils, while all the lye water is transformed into soap. They are also called “unsaponified oils” because they don’t suffer saponification.
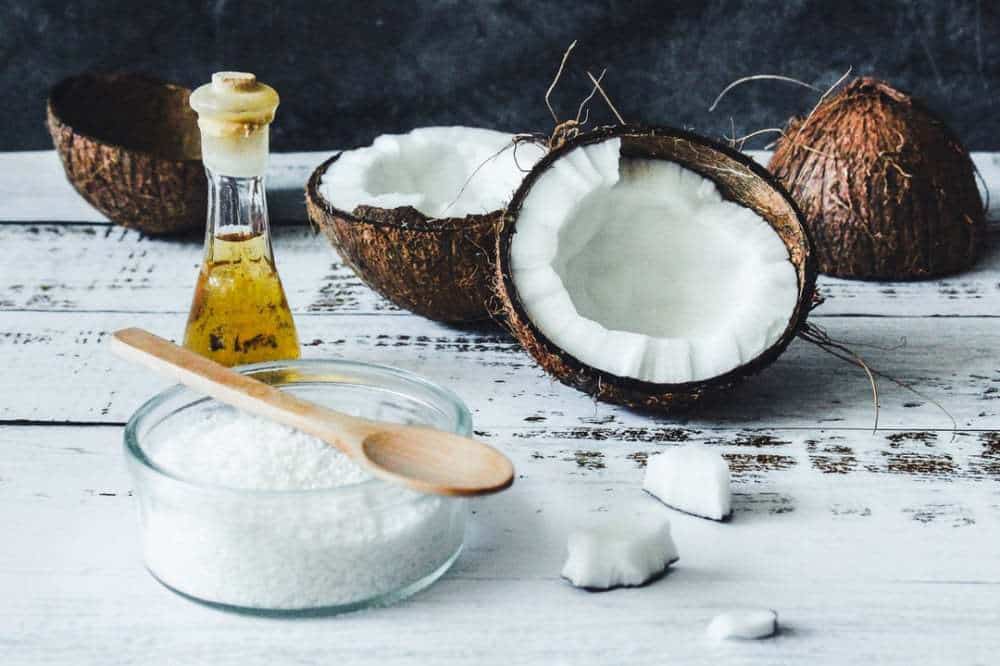
Superfatting your soap have two goals:
- Soap safety! Supperfatting is your safeguard that ALL lye will be consumed and transformed into soap, and you won’t be rubbing any lye in your skin.
- Conditioning, moiturizing properties: with a small percentage of floating oils in your soap, added to natural glycerin, your soap will very mildly hydrate your skin while you wash yourself. See this more like a means to not dry skin than to actually moisturize it. But it works!
Superfat can be 5%-20%. Most of the times is 5%. 100% coconut oil soap recipe uses 20% as a special case.
How Do You Make Soap Base Without Lye?
This is a misconception I wish to clarify. You can’t make soap without lye, that’s the reality. The only thing you can do is to prevent dealing with lye by purchasing a soap base. That step was already done for you.
Ok, syndet bars seem like soap bars and you don’t use lye in them. But they are not really soap, they are syndets, bars made of synthetic detergents. These synthetic detergents can be petrolium or vegetable-based and suffer several chemicals processes before the final product is obtained.
Read more in this interesting article about soap bases, soap and syndet from Stephenson.
Safety First!
Before starting ANY soap making recipe, it is important that you equip yourself with safety equipment: goggles, gloves and a mask. Also, be fully clothed, including your feet: no sandals.
Make sure you warn all people that you will be dealing with a corrosive chemical (sodium hydroxide). Prevent to have children or pets around. Check out the post with all Safety Precautions in Soap Making or watch the video below:
Watch The Complete Video Tutorial Here
How To Make Soap Bases
These step-by-step instructions to make soap bases are generic and, apart from some details, serve to follow any sopa base recipe. There will be no list of ingredients or quantities and we’ll speak generically of the various steps. Check out the Recipes category or search for “melt and pour” for actual soap recipes.
Step 1: Prepare your Workstation – Gather Ingredients and Equipment
It is important to have everything prepared and organized before you start preparing the soap batter. This includes gathering ingredients, preparing your workstations and organizing equipment.
I don’t advise in the middle of the recipe to pick up any missing ingredients or necessary equipment. You should be totally focused in the soap batter, and have everything within hand’s reach until you have yous soap in the mold.
It is also not good practice to measure ingredients in a hurry, it leads to measurement errors and can compromise the quality of the final soap, for example, adding too much lye can make the soap irritating to the skin! (remember talking about superfat?)
Take the time to read and understand all the steps in this tutorial, as well as each recipe. Then, prepare everything you will need for the recipe. Never failing this important preparation step is halfway to a smooth soap making experience. You will also have less work in cleaning up, believe me!
To know what sort of equipment you might need, check out Where To Buy Soap Making Equipment.
DO NOT use ANYTHING in metal to make soap, especially aluminium. Lye corrodes metal. The only exception is stainless steel. Better go for silicone and pyrex.
Step 2: Measure all Ingredients
In order to be more efficient, or just make less mistakes during soap making, I start to measure ALL ingredients:
Oils, Lye, Water
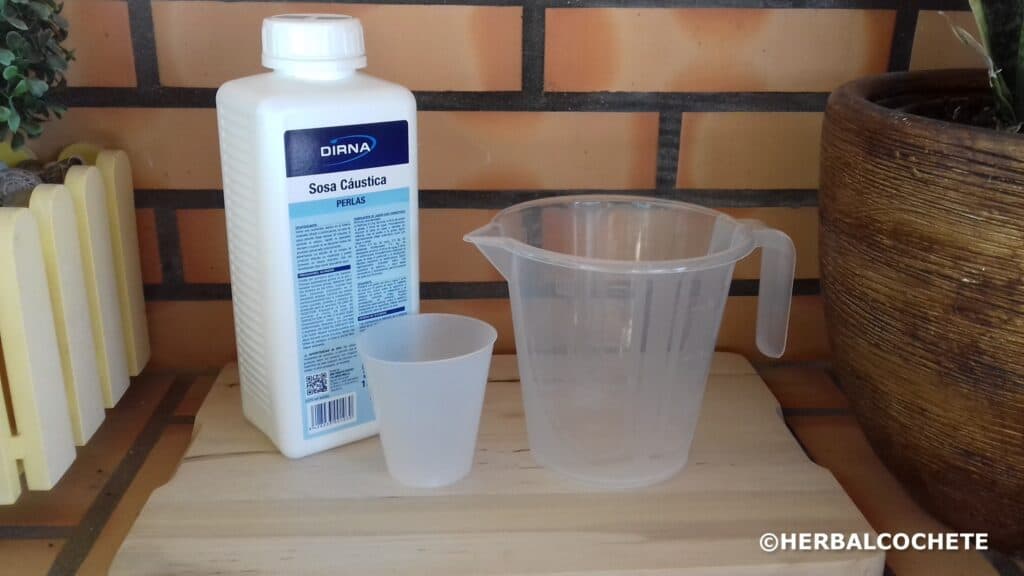
1 – I weigh carefully the quantities of oils and butters, water and caustic soda with a scale. Oils go to a microwave-safe bowl (pyrex) where I will be making the soap batter. Water goes to a pitcher (heat resistant) where I will be making the lye water. Lye goes to a cup.
Everything is measured with a digital scale. They usually have an acurracy of 1 gram. You should stick to making errors no bigger than 1 or 2 grams. Don’t add or remove like 20g of lye, water or any of the oils, you are changing a carefully calculated recipe. Your final soap might get irritant, too soft, no lather, etc.
Don’t forget to reset the scale for each ingredient.
Workstations
Afterwards, we will have to organize everything in workstations or work areas that must include the following utensils:

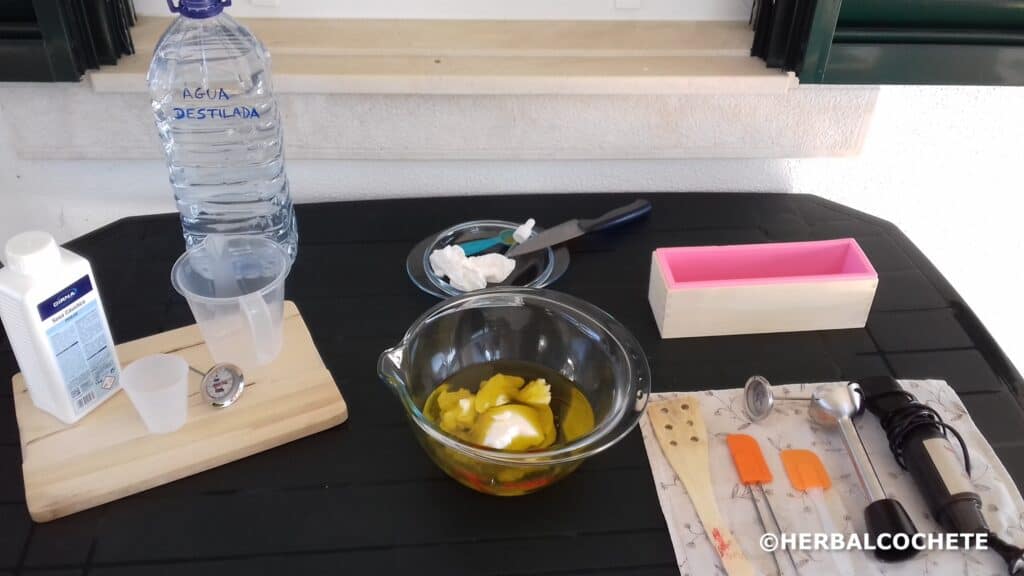
- Heating Area: to melt / heat the oils. equipped with 1 thermometer. It can be a microwave, a double boiler for bagne-marie or an electrical stove. The latest two are prefferable, as they allow you to better control the temperature, not only to increase temperature, but also to keep it relatively constant. Glycerin soap uses higher temperatures than cold process, and you may need to make your soap under constant heat.
- Soap Making Area: to prepare the soap batter, where the bowl with measured oils is already found. It must be equipped with: spoons or spatulas, a strainer (optional), 1 measuring jug, a plate where to put dirty items, some squares of kitchen paper and the immersion blender already plugged and prepared. You can prepare this area next to the heating area.
- Lye Water Area: an area to mix the water with lye. It is important that this area is well ventilated, ideally outdoors, or under a window. This area should have: a stainless steel spoon or silicone spatula, a thermometer, a large container with cold water to cool the sodium hydroxide solution (caustic soda).
- an area with the mold. Usually, it is next or in the soap preparation area.
Step 3: Prepare the Sugar Syrup
We start by making the sugar syrup, with the specified sugar and water content in the recipe. You can follow any sugar syrup recipe online, but it’s very simple: just mix the sugar with water and heat the mixture under low heat until the sugar melts completely.
Use low heat and mix frequently. Making your sugar syrup under low heat is important to better control temperature and avoid your syrup to get yellowish or burn and turn into caramel. Otherwise, your soap base color will be affected.
Use bagne-marie or an electrical stove to make your sugar syrup, and the rest of the soap base.
Step 4: Heat the Solvents in Bagne-Marie
These soap base recipes do not exactly require a constant heat source like hot process. The first recipes I’ve tried I didn’t use a heat source, just high oil and lye temperatures.
However, I find it much easier to make these recipes if you keep your soap batter under heat during the recipe. Especially for recipes using stearic acid, a solid ingredient that melts only around 80ºC (176ºF).
Therefore, it will help with the recipe to previously heat the solvents at a temperature around 60ºC-75ºC (140ºF-170ºF), according to recipe. This way, you will be able to keep the soap temperature high and avoid waiting time to reheat the ingredients.
Step 5: Heat/Melt the Oils in a Double Boiler
We are using higher temperatures here than in cold process. Therefore, while I preffer to use the microwave in cold process, I suggest to go for a double boiler to heat the oils, or even use directly in the electrical stove, to better control temperature.
The oils will be heated to high temperatures (60ºC – 80ºC or 140ºF-176ºF). Avoid unneeded overheat as overheating the oils may destroy some of their properties or essential nutrients. Temperatures will then need to be carefully controlled. And it’s very easy to overheat your oils once you try reaching 80ºC / 180ºF.
Pay special attention if you are using an electrical stove directly. I do it only to speed up the heating, but you really need to be on top of temperature, your oils can easily go up to 100ºC (212ºF), and start smoking, which you should avoid.
You still can use the microwave if you preffer. Make sure you are controlling the temperature carefully, at least at every 30 seconds, to avoid overheat.
Step 6: Prepare the Lye Water
After heating most of your ingredients, let’s prepare the lye water, or the sodium hydroxide solution.
If you haven’t done so already, put now your safety equipment: gloves, glasses and mask. You must have clothes that cover your legs and arms, and shoes that cover your feet. Make sure that there are no children or animals in this area, to minimize the risk of accidents.
Using lye can (and should) be intimidating, however it is an essential ingredient in soap making. All soaps, even glycerin bases, are made with sodium hydroxide (lye).
Now, be prepared to place your lye water pitcher (ideally in pyrex or heat resistant plastic) in a container with cold water or on a heat-resistant counter. As soon as you mix the lye with water, it will reach temperatures in the order of 90º – 194ºF!
Do not use the refrigerator to cool the mixture, because the resulting vapors are corrosive and toxic, and may contaminate your food.
Make Lye Water
Slowly pour the lye into the container with the water and mix well with a silicone spatula or spoon. NEVER POUR WATER OVER THE LYE – you will have a volcano effect. Also, your water should be at room temperature, warm or hot water will also trigger a volcano effect.
The solution will heat up and release harmful vapors. Be careful and avoid breathing vapors. Mix very well so that the lye completely dissolves in the water.
You can make lye water with other liquids besides distilled water: water infusions, milk, fruit juices, etc. You may also add other ingredients at this stage: natural colorants, it will make the color more vivid; fine salt or sodium lactate to harden the soap and make it last longer; citric acid to prevent rancidity.
Check out Soap Making Lye Water to learn more.
Step 7: Temperatures to Mix Lye Water With Oils
As mentioned before, these soap base recipes do not exactly require a constant heat source like hot process. We can play with lye water temperature and heat oils at high temperature, and that in theory is enough to make the soap base, pretty much like in cold process. The first recipes I’ve tried I didn’t use a heat source, just high oil and lye temperatures.
However, I find it much easier to do these soap bases under heat, as it’s hard to keep an ingredient at 75ºC-80ºC (170ºF-176ºF) when you are working at room temperature. Specially when working with stearic acid, it’s very easy to let your soap batter to solidify while you are still making it.
So, why measure oil and lye water temperatures? Is it really important?
Not so much for the saponification process to start, but more to avoid surprises, you should make sure your lye water and oils’ temperatures don’t differ more than 10ºC. Don’t make the mixture if your lye water is at 60ºC (140ºF) and oils at 90ºC (194ºF). You might be risking a volcano effect with your soap if you do so!
If the lye water and oils are both at 80ºC (176ºF) or 60ºC (140ºF), that is less relevant. Keeping your soap batter under heat later on will help solve any issues rising from low temperature. Unlike in cold process, you can reheat this soap batter and fix any “soap-turned-solid” issues.
It’s best to make the lye water when everything is ready (oils are heated), to benefit from the natural exothermic reaction of lye with water that will raise the water temperature near 90ºC (194ºF). After a few degrees of cooling, you can use the lye water and start making the soap base immediately after.
Make sure that all oils are completely liquid: they should be transparent and fully liquid, not cloudy.
Step 8: Mixing Oils and Lye Water
Now the interesting part will begin! Pour the lye water into the oil mixture, carefully, using the immersion blender or a spatula as a “shaft” to avoid spilling. Place your bowl with the soap mixture over very low heat (eletrical stove or bagne-marie).
Now, insert the immersion blender into the mixture and tilt it to release air bubbles. Turn on the blender for short periods of time and then mix it up a little, using it as a spoon. The mixture will slowly stop being “oily” and start to take on a more milky, opaque consistency, especially when you switch on the blender. Do this for a couple of minutes only, as per recipe.
You can use a manual whisker for these soap bases. This is how I’ve made my first recipes. Bear in mind that since we add solvents as well, the soap making process start to diverge from cold or hot process. Therefore, we won’t see “trace” and our soap batter will remain liquid all the time. The immersion blender is not fundamental and you will have saponification in any case.
However, the immersion blender helps blend everything better and faster, just as keeping the soap batter at a high temperature.
Step 9: Add Solvents
After a bit of mixing, before the soap abtter reaches trace, it’s time to add the solvents. If you have removed your mask, put it on again now. The alcohol combined with high temperature will release irritating vapours to your face. They are not as harmful as lye water vapours, but they should still be avoided.
Start with the vegetable glycerin. Pour it carefully (always avoid spilling as the soap batter is not caustic!!). Mix with a spoon or spatula and then stick blend a couple of times.
Follow the same steps with alcohol and finally with the sugar syrup. Remember, these are generic steps. Some recipes might slightly change the order of these steps. But I’ll usually follow this order of adding solvents, since it has been working for me so far.
Now you will see your soap batter acting differently, especially if you are used to cold process. It will remain liquid, and it will smell somehow alcoholic, but resembling like jelly aroma. Your soap batter will be covered with a very fine foam, and will create a “parafin-like” pelicule if you leave it alone for some moments.


These are the visible signals that your soap batter is saponifying. If you can’t seem to identify them, use the immersion blender for a while longer, and make sure your temperature is as per the recipe (and not lower than that).
In any case, even if you don’t believe or are in doubt your soap batter will turn into a lovely soap base, just follow the next steps and see for yourself. You can bet the magic will work and your soap will turn solid and “meltable”, ready to make glycerin soaps.
Step 10: Molding Your Soap
The soap batter is now smelling great and ready to be poured into the molds! See the post Where To Buy Soap Making Equipment for information on which molds to buy. I recommend using large silicone molds for soap bases, or wooden boxes with silicone lining.
However, no need to purchase anything specially for soap bases. As long as it’s made of silicone, anything will do. Don’t forget you will need to cut your soap base into cubs to melt and will reshape your soap anyway. I usually use this large rectangular silicone mold for english cakes.


With silicone molds, you will pop out the soap base from the mold very easily. I have to be honest and say I haven’t tried any other sort of molds, like wooden lined with wax paper. But if you have a winning solution already, why try something that might not work? I can say I never had issues unmolding soap with silicone molds.
Molding Soap
Pour the soap batter still into the silicone mold(s). Then, tap and / or turn the mold (s) carefully so that the soap settles and releases any air bubbles. Sprinkle with a spray bottle your soap on the whole surface with rubbing alcohol or witch hazel, to remove completely the lingering foam and bubbles at the surface of the soap base.
Attention: the soap at this point is still lye heavy and may irritate your skin or even burn! Use the safety equipment at this stage!
Step 11: Clean up your Equipment
When your soap batter is finally setting on the mold, it’s time to clean up all equipment and the working areas. Still some precautions are needed even to clean up. If you kept your work organised, and worked cleanly, you will have less work to do now.
Check this article with tips and a full explanation on how to clean up your cold process soap making equipment: How to Clean Soap Making Equipment. Some great tips to have in mind
- Do the first cleaning while the soap is still fresh, with paper towels, then throw them in the garbage
- Don’t allow big portions of liquid soap to go inside your draining pipes. It will solidify and clog them
- Clean the immersion blender easily by diving it in soapy hot water and pulse it several times
Step 12: Unmold and Cure the Soap Base
After molding your soap, place it in the fridge to solidify. This might take between a couple of hours to 1 day.
The recommendation is to wait for 24 hours before unmolding. Not only will the soap have completely solidified, the saponification will be complete and the soap is safer for the skin (no lye). If you unmold too soon, the soap may fall apart and will only have a mess as a result …
After the soap base is fully hardened, unmold it by popping it out from the mold. To store it, the best is to wrap your soap base in thin plastic film, until you’re ready to use it. Glycerin soap may suffer from a phenomenon called “sweating” or “glycerin dew”. Small drops of water will form at the surface of the soap if the ambient is relatively humid.
Your soap base is ready to be used as soon as it becomes solid. However, glycerin soap (in fact, any handmade soap) will benefit from curing time. The soap base won’t really be drying its water content, which is the main purpose of curing. But if you let the soap base to rest for some weeks, the soap crystaline structure will have time to stabilize, improving the soap properties.
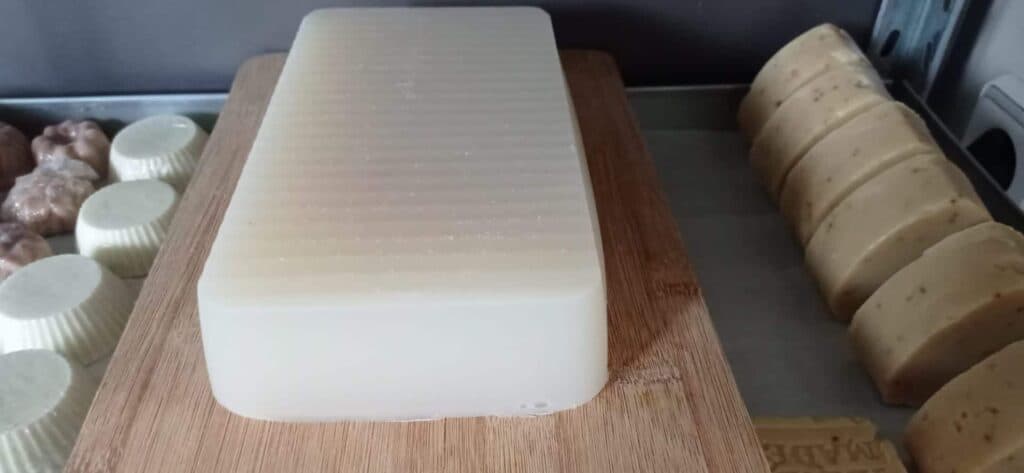
You will always find your soap improved, even if just a little bit better, if you let it cure for weeks.
To know more, check out How to Cure Soap and How To Store Soap.
Related Posts
Here you can find a list of other posts related with glycerin soap and melt and pour soap. You can check them out as references while you go through the tutorial.
- Soap Making Lye Water
- How To Cure Soap: Unmold, Cut And Cure Bars
- How Do You Store Homemade Soap?
- How Do You Use a Lye Soap Calculator?
- Soap Making Safety Precautions
- Oil Properties for Soap Making
- Soap Bases Recipes
- How To Make Melt and Pour Soap
- Free Melt and Pour Soap Recipes
- Melt and Pour Soap Recipes
I hope this soap making tutorial has taken away your doubts or fears of making soap bases at home! If you have any questions, please use the comments section.
