Know how to render white lard at home, a healthier alternative to store-bought or supermarket lard, perfect for your natural cosmetics at home, and also for cooking.
Render lard with a crock pot or by using a electrical stove. The trick is to use a low and constant temperature, because lard requires low heat for hours to be properly rendered. Add the pig fat cut in cubes to a crock pot, cover the bottom of your pan with water (optional), and then let it cook for hours, until most of the fat melts.
Table of Contents
Why Render Lard At Home?
Lard was a key ingredient in cosmetics in the past, commonly used not only in homemade soap but also as a moisturizer.
Because it’s an animal by-product, lard has been gathering some bad reputation as an ingredient in cosmetics. If you read this article you might understand why. I went a bit further to know how animal products are used in industrial cosmetics and… well, read them and take your own conclusions – it’s scary to say the least:
- https://www.totalbeauty.com/content/gallery/gross-ingredients-in-beauty-products/p61792/page11
- https://thebeautybrains.com/2008/10/are-animal-cosmetic-ingredients-still-used/
- https://modvegan.com/rendering-plants/
Of course, animal products have a bad rep! No wonder!
While I am not against animal products per se – otherwise, publishing this article would be just nonsense – I am against over-processed ingredients. This is one of the reasons I do not defend the usage of used vegetable oils in homemade cosmetics – they are altered in their nature and may contain toxic or even carcinogenic substances. And, again, why would we want to put something on our skin that is not appropriate to eat?
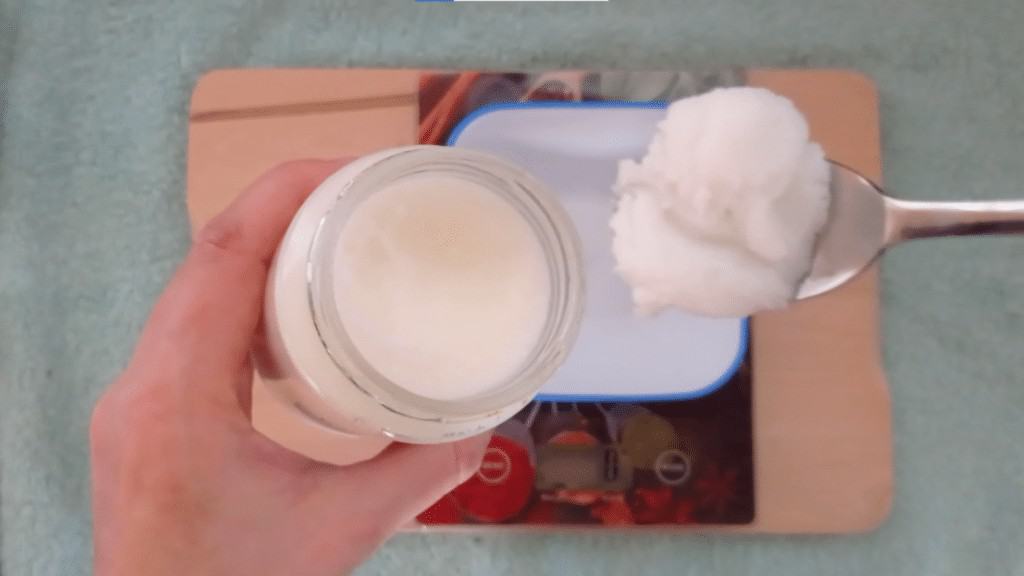
Even store-bought or supermarket lard have chemical substances such as preservatives and stabilizers, so that lard lasts longer without being spoiled. I have used this sort of lard for my Homemade Lard Soap Recipe and, oddly, the result was my first soap batch going rancid after a couple of months. Could it be that the chemicals in store-bought lard reacted with lye and created an adverse effect in the resulting lard soap?
This is why I wanted to learn how to render lard at home, not only to try a 100% lard soap again – and see how long it will take to go rancid – but also to try for other cosmetics, like a face cream or lipstick. This white, odorless lard made at home appeals more to me, and is definitely more natural.
How To Render White Lard At Home
By rendering lard at home, you get a more natural product, avoiding the hydrogenation process and the addictives in store-bought lard composition. And if you’re able to get pork fat from farm animals, then you will get a very natural ingredient. You can use this lard for cosmetics AND cooking, don’t forget.
The secret to render lard into a white-snow product is patience and low heat. This is the advice of several posts about how to render lard at home, the ones I followed to make my own lard:
- How To Render Lard (and why you should use it) – The Daring Gourmet
- How To Render Lard The Right Way (SNOW WHITE, ODORLESS) – My Humble Kitchen
- How To Render Lard – The Prairie Homestead
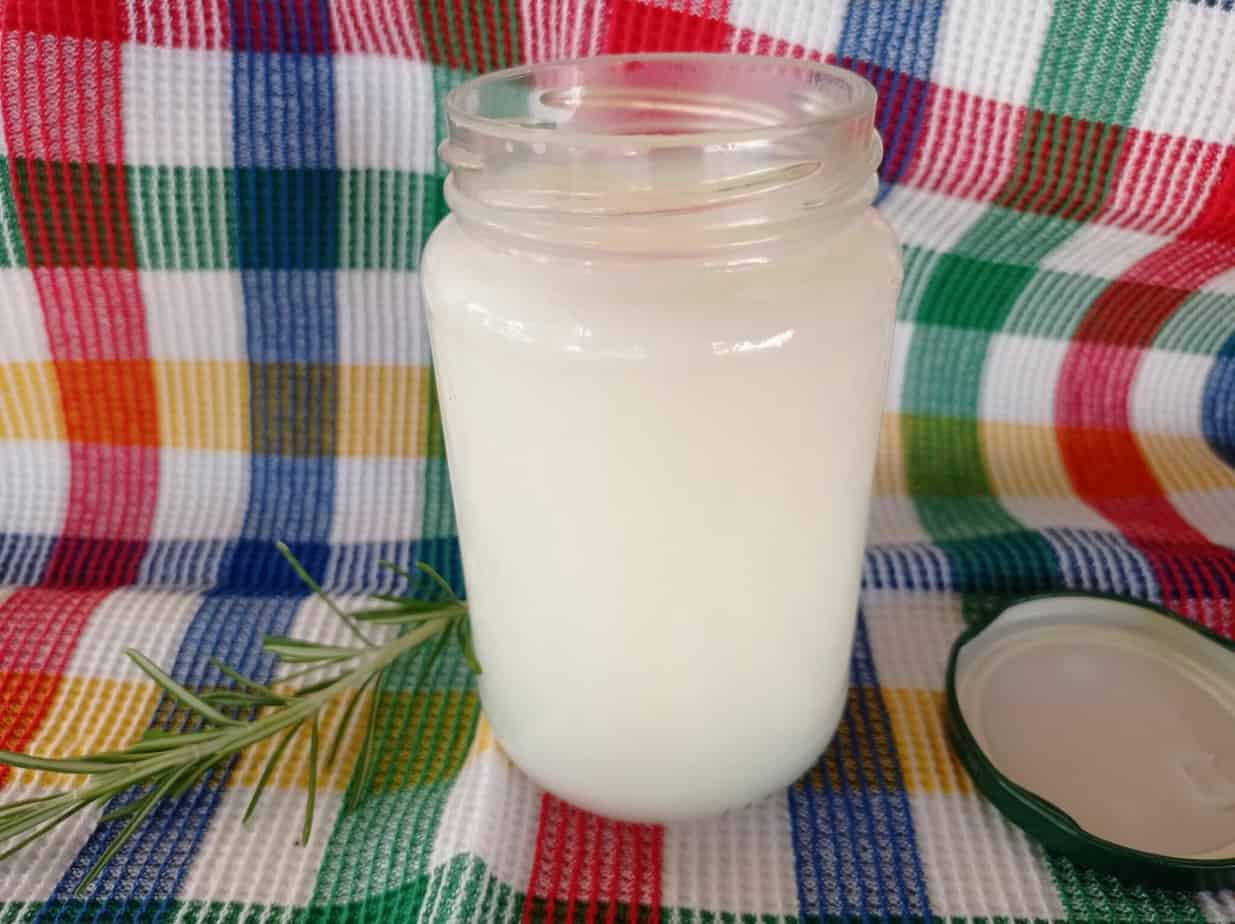
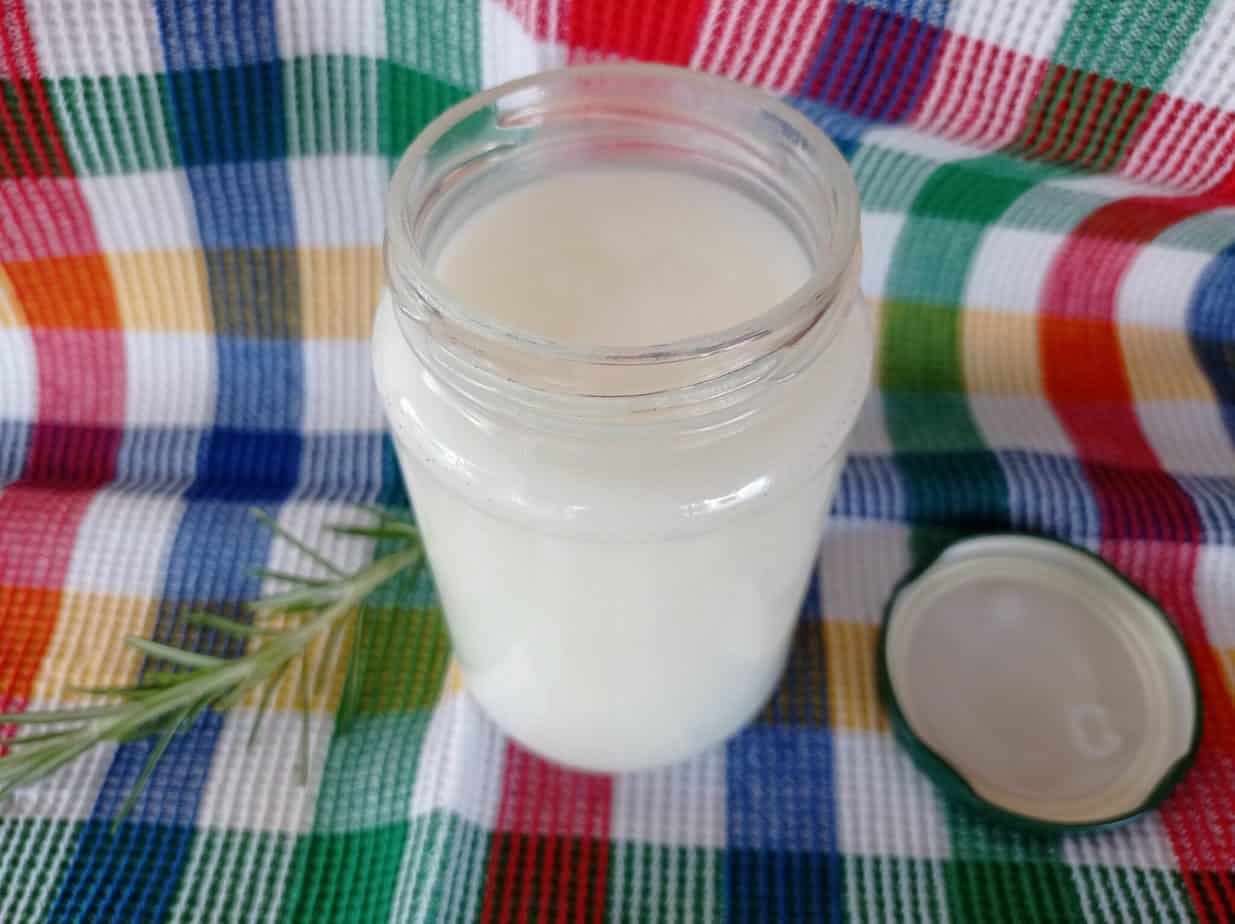
I’ve used a slow cooker because I am lazy and distracted 🙂 I’ve just chopped the pork fat, poured them inside the slow cooker and I let heat and time do the rest. Slowly, the fat melted from the solid cubes and I was able to get around 250g of pure white lard. It has a very slight odor, but it doesn’t remind you of pork meat or sausages.
Storing Homemade Lard
Find below some lard storage tips you should really follow to have the healthiest and safest product:
- Disinfect all equipment and the jars where you are going to keep your homemade lard, to avoid bacteria, microbes and fungus growth
- Keep your lard in a tight container (a glass jar with a lid), to reduce exposure to oxygen – and oxidation -> rancidity.
- Keep your lard in the fridge. This way you will prevent light and heat exposure, both factors that can cause lard rancidity.
- Daringgourmet.com states that lard is good to go if kept in the fridge for 6 months or longer. I’d advise you to freeze it if you don’t plan to use it for such a long period. I am ok in using homemade lard kept in the fridge for around one month. Longer than that I’ll just freeze it.
Troubleshooting Tips
Your homemade lard didn’t go as expected? Well, you do need to be patient and let heat and time do its work. In the first tutorial presented, How To Render Lard (and why you should use it) , from The Daring Gourmet website, you can also find some troubleshooting tips.
But I really had no issues running this simple process.
Ingredients
- 500 g white pork fat
- 1 cup water (optional)
Instructions
- Chop the pork fat into small cubes. Remove any skin or red meat attached.
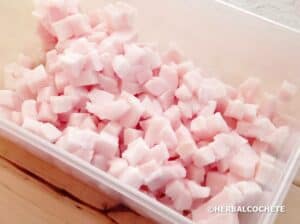
- Pour all the fat cubes inside the slow cooker, and set the heat to LOW. Pour also a cup of water, just to avoid your fat to get burned (optional)
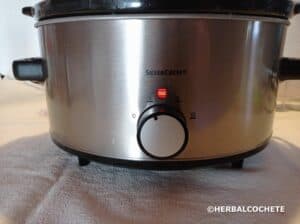
- The fat cubes will start to melt, as the fat itself turns liquid
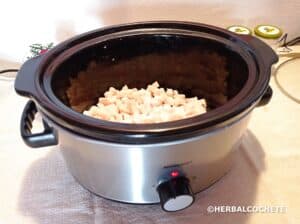
- This is how it will look after around 1 hour
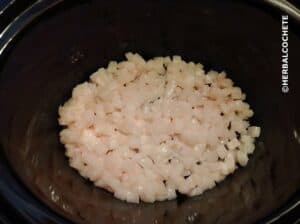
- This is how it will look after around 2 hours
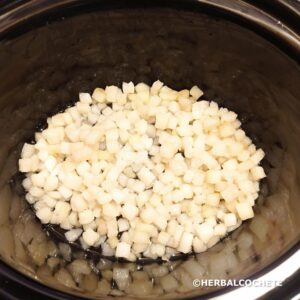
- TIP: you can set the heat to MEDIUM for a while, to speed up the process, but do not forget to turn to LOW once the fat starts to bubble

- When the solid bits start to turn yellow, 3 to 4 hours later, turn the heat off

- Remove the solid bits beforehand with a skimmer then strain the liquid lard with a strainer and a cheesecloth
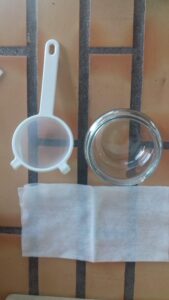
- Pour your liquid lard into a disinfected jar with a lid
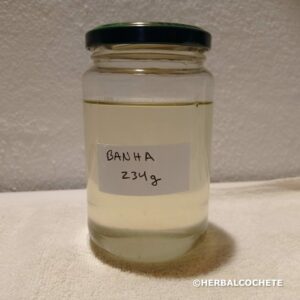
- Store your jar in the fridge – See chapter Pay Attention – Storing Homemade Lard

At first I did not know what you mean by rendering lard. I would like to make my own soaps. I just did not know that you use lard when you do this! I guess I really did not know what the ingredients were LOL. I just did not envision lard. It would make sense to render it yourself. I suppose that would be a lot cheaper. Can you buy lard specifically for soap making?
Hello Leahrae, thanks for your comment.
Indeed, this post feels more like belonging to a foodie blog than a natural cosmetics one 😀
But I had to try. I’ve tried to make lard soap with supermarket-bought lard, and while it’s good on its own, it gets rancid much faster than my other soaps. I actually went after quality not economy. I suppose it depends how much you spend on the pork fat, then it’s just the heating that adds to cost. The rest is just too easy not to try.
I haven’t tried yet to use it in soap. But I am curious on the final soap result, yes, which I will post in the end.
You don’t buy lard specifically for soap making, but handmade lard is used in soap. As long it is good quality and processes to a minimum, should give a good soap. You can find this one at Etsy, for example (this is an affiliate link).
Hope this helps!!
Cheers,
Sofia
Rendering lard at home is interesting.
I’ve heard of making soap at home, but it looks like it will take some time and patience! It is not easy to invest 3-4 hours to make your own oil, but I think it will give you a great sense of achievement to complete your own oil.
Hello Minjun Kim, and thanks for your comment.
You are right, and being lazy myself I do like to keep things simple, but the idea is to teach some means to be independent, and not be 100% tied up buying the ingredients. While I think that getting olive oil might be a bit complicated at home (you need to have a cold-press machine…) rendering lard is pretty easy.
Some advantages of rendering your lard at home: you won’t be using lard with preservatives and other chemicals that might change your soap chemistry; you may save some money compared to purchasing handmade lard, as it is a bit expensive to buy it.
Besides, with a crock pot, you don’t need to invest 3-4 full hours. You will need some time to chop the fat in cubes, but after that the work is from the crock pot: you only need to watch it every now and then, while you do something else.
Cheers,
Sofia