Try this rosemary and eucalyptus soap recipe. Both plants contribute with very pleasant herbal camphor aromas to obtain a cool, refreshing and invigorating soap.
Table of Contents
- Rosemary
- Eucalyptus
- Rosemary And Eucalyptus Soap Recipe
- Soap Bar Molds
- Find Where to Buy Rosemary and Eucalyptus Soap
- How To Use This Soap
- Related Posts
- Watch This Video About Safety
- Cold Process Soap Making Tutorial Video
- Cold Process Soap Making Lessons
- How To Use This Soap
- Related Posts
- Watch This Video About Safety
- Cold Process Soap Making Tutorial Video
- Cold Process Soap Making Lessons
Rosemary
Rosemary (Rosmarinus officinalis) is an aromatic herb very common in the Mediterranic regions. It was called rosmarinus by the ancient romans due to its special scent, which means in latim “sea dew”. It is very appreciated as a food condiment. With disinfecting and aromatic properties, it is also helps to reduce and prevent hair problems, namely, hair loss. See my article Rosemary, Lemongrass and Spearmint about rosemary and other herbs for soap and natural cosmetics.
Eucalyptus
Eucalyptus essential oil, Eucaliptus globulus, is the one whose scent we associate with eucalyptus, and it’s mostly used as a fragrance for soaps and detergents. It is also used in the pharma industry, by isolating the substance called eucaliptol, the eucalyptus main active substance. Who doesn’t remember “Vick VapoRub”? Eucaliptol has bronchial-dilator properties, acting as a strong anti-septic and opening airways.
Other than that, I love the scent of eucalyptus. Besides, this is one of those essential oils that we smell and we can literally *feel* its effect.
Thus, both plants contribute with very pleasant herbal camphor aromas, and useful medicinal properties, some of which may even alleviate some symptoms of COVID-19 or the ordinary flu. Above all, here is a recipe for a very refreshing and invigorating soap. Try it at home!

Rosemary And Eucalyptus Soap Recipe
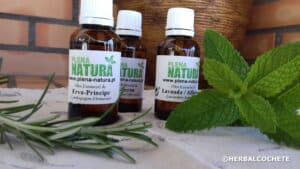
About essential oils used: of course, the recipe uses essential oil of eucalyptus (eucaliptus globulus), and rosemary (rosmarinus officinalis). I still add to the blend some tea tree, scots pine and sandalwood amyris essential oils. This blend is a bit complex but it has a very rich camphorous/herbal/fresh scent.
You don’t need to use all these essential oils, simply adapt the quantities and you can use less essential oils.
As for the color, I use french (or illite) green clay, and a little bit of ultramarine blue and chromium green micas (cosmetic safe and considered natural mineral colorants).
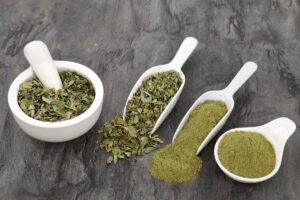
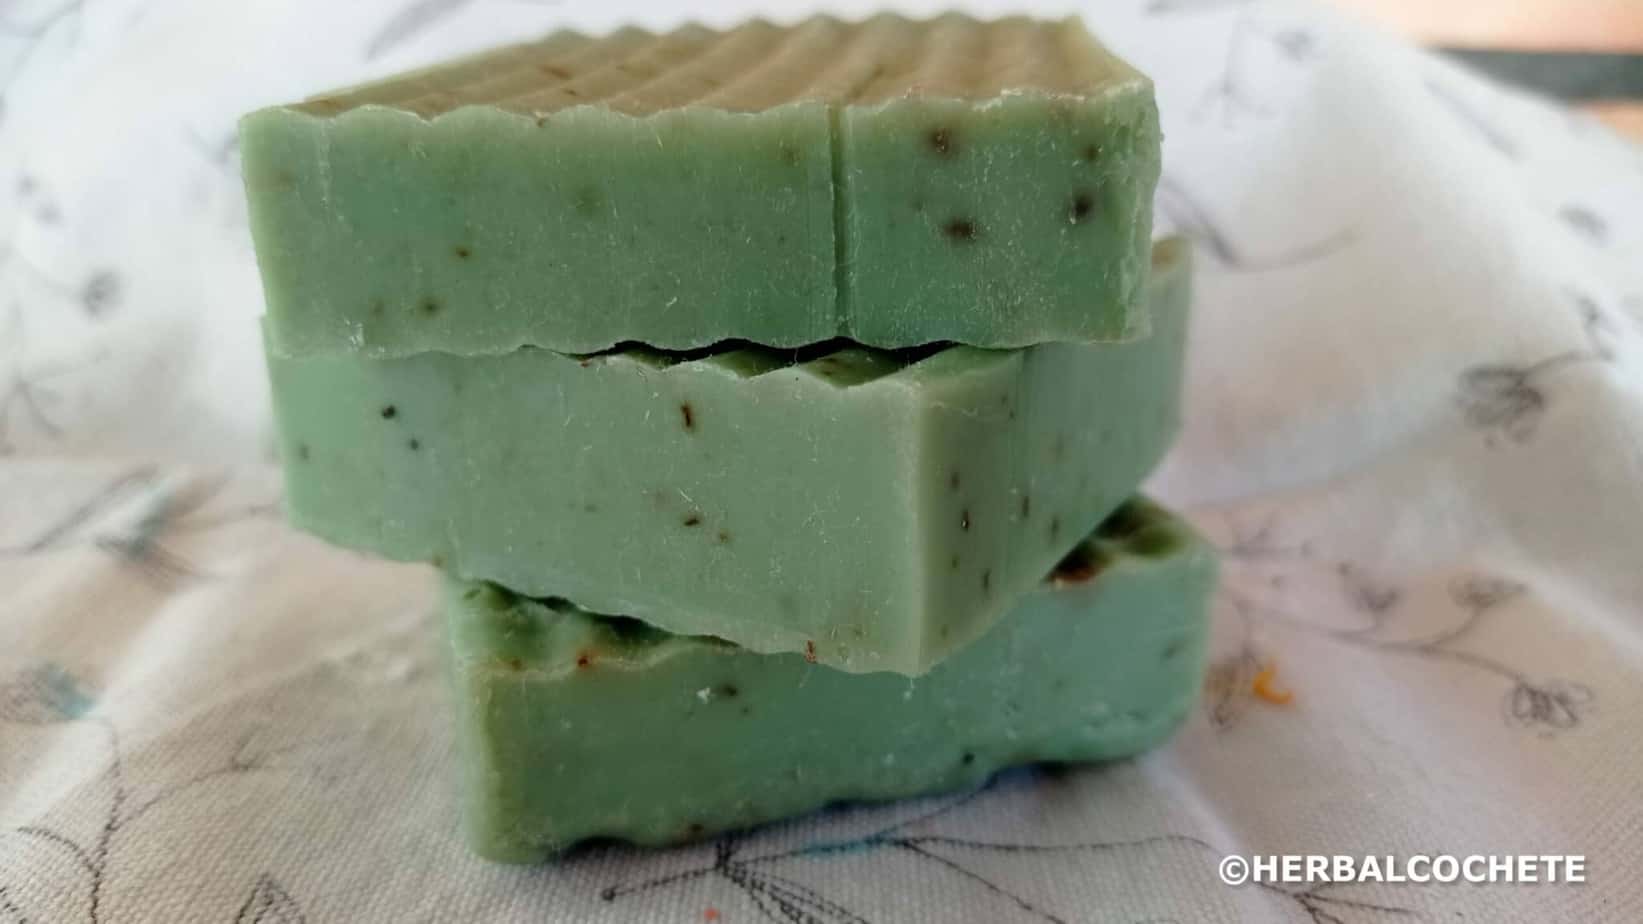
This recipe also uses the application of herbs. As mentioned in How to Make Soap From Scratch (see part of “Herbs and Flowers”) the herbs in soap should be added dry and ground. I ground mine with a coffee grinder practically until it was “powdered”, and that’s what I did in this recipe. You can see the decorative effect he created in the soap: black dots with a small brown / golden aura. It also gives a slight exfoliating effect.
Soap Bar Molds
For this, or any other recipe, you can always use any sort of molds.
I now prefer to use a soap bar mold (loaf mold) to be able to make soap designs, except for the castile soaps (with high percentage of olive oil) where I prefer to use the rectangular soap molds. Make sure that when you use molds you are careful about the gel phase, and you properly insulate the mold.
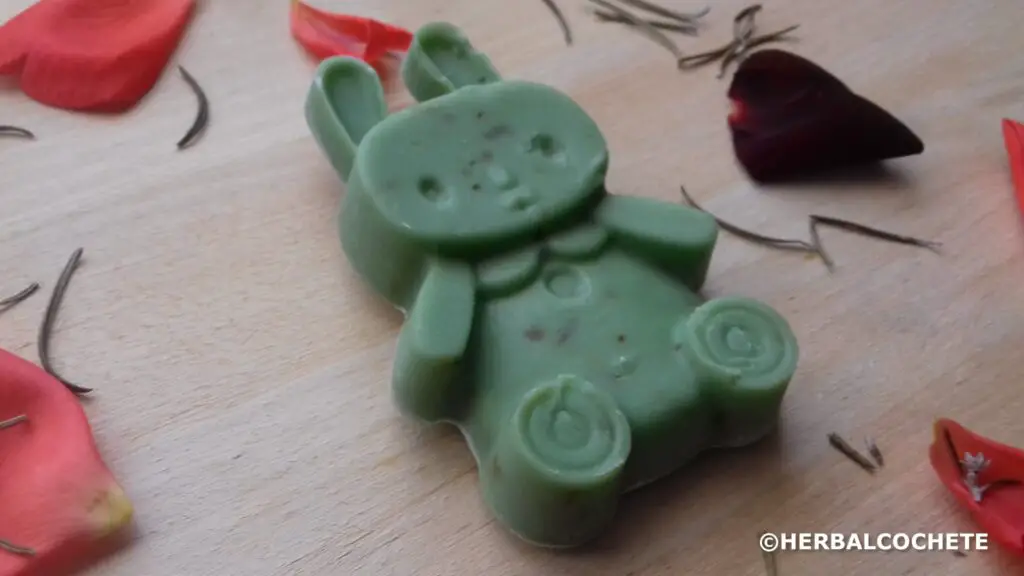
It this recipe I’ve used the loaf mold but also a silicone mold with cute animals for children, as the soap you can see in the picture at the top of this post.
Find Where to Buy Rosemary and Eucalyptus Soap
If you’re not yet ready to try to make this recipe at home, but you still wish to enjoy natural soaps, you can find handmade rosemary and eucalyptus soap in the following links:
- Organic Rosemary Eucalyptus Soap
- Rosemary Eucalyptus Coconut Milk Soap Bar
- Pink Himalayan Salt Bar (scented with rosemary, peppermint and eucalyptus)
- Rosemary Mint Shampoo Body Bar
- Other Soaps – Apple Valley Natural Soap Reviews
How To Use This Soap
In the shower or bath, wet your hands and rub your soap in them to create a lather. Wash your hands first, then repeat the process and apply soap to your whole body using the soap directly and your hands. You may also wash your face with it. Rinse hands and body abundantly. Also wash your soap from lather before placing it in your soap dish or bag saver.
Washcloths and sponges should be avoided. Avoid washing your intimate zone and your hair, soap pH in not adequate for those parts of your body. Avoid eye contact with soap to prevent stinging. Make a patch test before using your soap. Stop using your soap if you feel any immediate adverse reaction in your skin (red skin, rashes, itching).
To take best advantage of your handmade soap (made by yourself or store-bougth), read How Do You Use Handmade Soap?
Related Posts
Ingredients and Recipes
- Vegetable oils: Oil Properties For Soap Making
- Essential oils: Best Essential Oils for Soap Making
- Colorants: How To Color Your Soap With Kitchen Ingredients
- Beginner Recipes: Soap Recipes for Beginners
- Cold Process Soap Recipes: Free Cold Process Soap Recipes
Soap Making Techniques and Troubleshooting
- Cold Process Tutorial Guide: Learn To Make Cold Process Soap?
- Soap Making Methods: How To Make Soap At Home
- Soap Making Trace: Know Everything About Trace in Soap Making
- Soap Acceleration: Causes, How To Avoid It Or How To Fix It
- Soda Ash In Soap: What It Is, How to Remove It
Watch This Video About Safety
Cold Process Soap Making Tutorial Video
Cold Process Soap Making Lessons
The tutorials in this blog are a great – and free! – help to start with cold process soap making. Practice is the next step to harness the art of making soaps at home. However, I understand if you prefer to have some formal lessons, where you will feel more supported with the steps. Feel free to join these courses at Udemy.
Equipment
Ingredients
Lye Water
- 368 g distilled water
- 143 g lye (100% sodium hydroxide)
- 2 tsp sodium lactate or fine salt
Oils
- 325 g extra virgin olive oil
- 325 g refined or organic coconut oil
- 250 g RSPO palm oil
- 30 g castor oil
- 70 g sunflower oil
- 0.5 tsp french green clay
- 0.125 tsp ultramarine blue (CI 77007) optional
- 0.125 tsp green chromium oxide (CI 77288) optional
Add After Trace
- 8 drops grapefruit seed extract (GSE) (anti-oxidant)
- 30 ml essential oils blend optional
- alcohol or witch hazel to sprinkle recommended to avoid soda ash
Essential Oils Blend
Herbs for Decoration
- dried eucalyptus (in powder) optional
- dried rosemary (in powder) optional
Instructions
Get Ready!
- Wear goggles and gloves! Look at “Safety Precautions” in the video above or in Soap Making Safety Precautions
- Watch the video above about "Cold Process Soap Making Tutorial" or read the post Learn To Make Cold Process Soap for instructions on cold process soap making before starting. These are generic but important steps for all recipes.
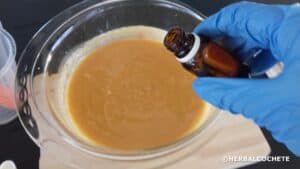
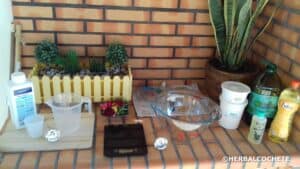
- Assemble everything: ingredients, equipment, safety equipment. Prepare your workstations. Measure all the ingredients. Don’t start the recipe without having everything ready!
- Remove a tablespoon of the measured liquid oils into a small cup. Mix the green clay and mineral dyes with the oil and put aside.
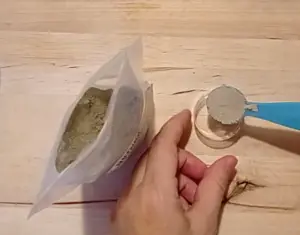
- Make sure you also prepare the dried herbs, they need to be ground into powder (use a coffee grinder). Only add dried herbs as powder.
Heat the Oils
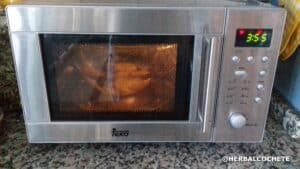
- Heat the oils until the solid oils are completely melted (it is not necessary to heat all the time). Add the dyes to the oils a mix with a spoon or spatula.
Make the Lye Water
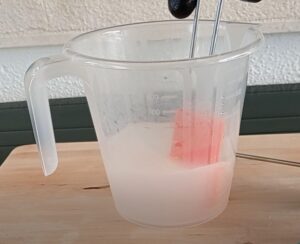
- Make the lye water according to How To Make Lye Water. Add the sodium lactate to the water before making the lye water. Stir the mixture until the vapors start to dissipate.
Make the Soap Batter
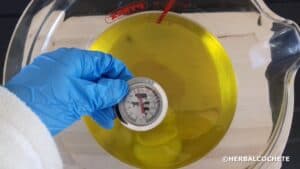
- Use as a target temperature 38ºC for the oil-solution mixture. If necessary, you can reheat the oils, but not the lye solution.
- Pour the lye water into the oils. It's better to strain the lye water to catch any undissolved lye crystals. Mix for a while.
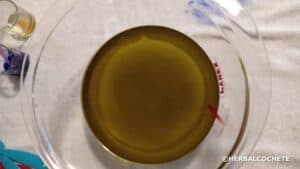
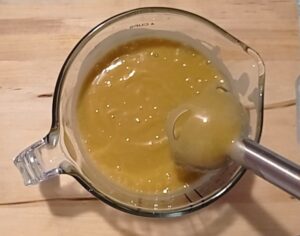
- Add the colorant to the soap batter. Reach trace with the immersion blender.
- Add the extract and essential oil (s) after tracing and stir with just a spoon. Add the dried herbs and stir well with a spoon.
Molding and Curing
- Pour the dough into the loaf mold. If you wish, make some effects on the top of the dough with a spoon, spatula or fork (see video).
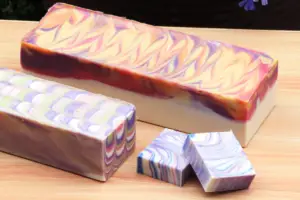
- Sprinkle the soap topping with witch hazel or isopropyl alcohol
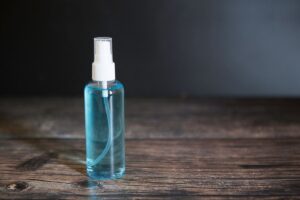
- Now you need to insulate the loaf mold, so that the soap gels uniformly. You can cover it all around with a blanket or a thick towel. You can also use your oven: pre-heat the oven with 40ºC. Turn it off then place the loaf mold inside. See chapter above "Using a Soap Loaf Mold" NOTE: this is not an optional step, if you don't insulate your loaf soap mold the soap will gel in the center and not in the extremities. You will get a dark round mark on your soap. However, if this happens, the soap is perfectly good to use, the problem is purely visual and nothing else.
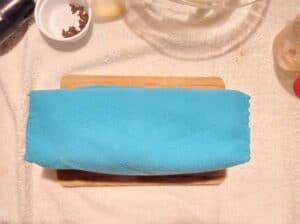
- Let it set for 48 hours, always keeping an eye on the hardness of the soap. De-insulate it only when it's completely cold.
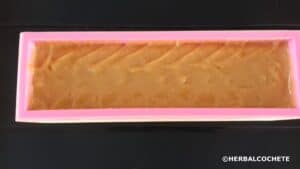
- Unmold the soap and cut it into bars. See How To Cure Soap, in the chapter "Unmoulding And Cutting Soap" for more detail on how to cut soap.
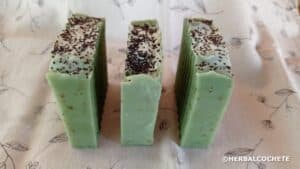
- Let the bars cure for 4 to 6 weeks. See How To Cure Soap.

Hallo there,
Am here to offer my comments for “HerbAlcochete” site,
The site was well designed, from the theme is wounderful, the menus are very clear and the contents are clear and readable, But there is only one problem I have discovered according to me, this is about the menus and the pages.
These ones when clicked, they open from within the webpage instead of opening from the New Tab, So if you can clear this out am sure it improve the readability of all your work content by any visitor.
The sky will only limit you then.
One question before I leave, Is “HerbAlcochete” a manufacturer Niche or a Promoter Niche?
Thanks.
Hello, and thanks for your comment, suggestions are much appreciated.
Blogs are just built like that though, they are supposed to show their posts in the same main window. If you wish to open many posts in new windows you can use the “CTRL” key while clicking on the post. Hope this helps and enjoy my website.
About your question, “HerbAlcochete” is a promoter/informational niche about soap making and other natural cosmetics.
Cheers, Sofia
This is an excellent post and a very useful resource for a DIY project to make herbal soap. We always wanted to have the capability to start producing our own herbal soap and your post with all the information, recipe, and instructions for using rosemary and eucalyptus is very timely. This summer we started a backyard herbal planter and one of the herbs we are growing is rosemary. We had intended it for cooking. But now, we can also use it to produce our soap. Thanks a lot for sharing.
Hello JRandZen, thanks for your comment and good luck with your soap making adventure!
Cheers, Sofia
I was looking at your website and I like it a lot. It is very well organized and easy to read. I plan on trying the soap recipe, the recipe seems to be very easy to follow.
After I finished reading the website have noted that you have supplied a large amount of very useful information. Keep up the great information as I plan on watching for more informattable information in the future
Thanks
Hello Sterling, thank you so much for the warm comment! The main goal of the blog is exactly to provide good information, and I’m so glad you find it to be a good source. If you manage to try the recipe, leave a comment with the result.
Cheers, Sofia
I just love rosemary and eucalyptus, this can only be a great soap recipe!
Hello Tagus and thanks for your comment!
I hope you enjoy such soap recipe.
Cheers,
Sofia