This post is a sort of “everything about soap” post. I don’t mean you to read the whole post all at once. But while you explore the soap making world, feel free to come here and check out some basic notions, in case you have doubts.
There are five methods to make soap – cold process, hot process, rebatch, liquid soap and melt and pour. There are pros and cons for each, and every maker has a personal preference. You can make any of these methods at home, with no more than kitchen ware.
Soap making is probably the most rewarding and easy-to-make-at-home hobby. It also gives you a useful product in the end: soap! In this post, find everything about soap making methods, ingredients, equipment, and even some terms you keep stumbling upon but no one explains what they are.
Table of Contents
- Which Method of Soap Making Is Best?
- How Do You Make Soap At Home?
- Cold Process Method
- Hot Process Method
- Liquid Soap Method (From Scratch)
- Rebatch Method
- Melt and Pour Method
- Soap Making Ingredients
- Soap Making Equipment
- Some Soap Making Terms
Which Method of Soap Making Is Best?
I personally prefer cold process, as it allows me to make soap from scratch fairly easily, with full control, and high quality. But it’s a matter of personal preference. It depends also on how well goes your first soap making experiences, and what you really like to do: the chemical process itself or play with colors and scents.
This table might help you to decide which method is best for you:
| Method | Difficulty Level | Soap Quality | Safety Concerns | Where To start? |
|---|---|---|---|---|
| Cold Process | Medium | High | Heat, Lye Usage | Start after melt and pour Make soap from scratch |
| Hot Process | Hard | High | Heat, Lye Usage | Start after cold process and rebatching Make soap from scratch |
| Liquid Soap | Hard | High | Heat, Lye Usage | Start after hot process Make soap from scratch |
| Rebatching | Medium | Good | Heat | Start after cold process |
| Melt and Pour | Easy | Good | Heat | Start here |
How Do You Make Soap At Home?
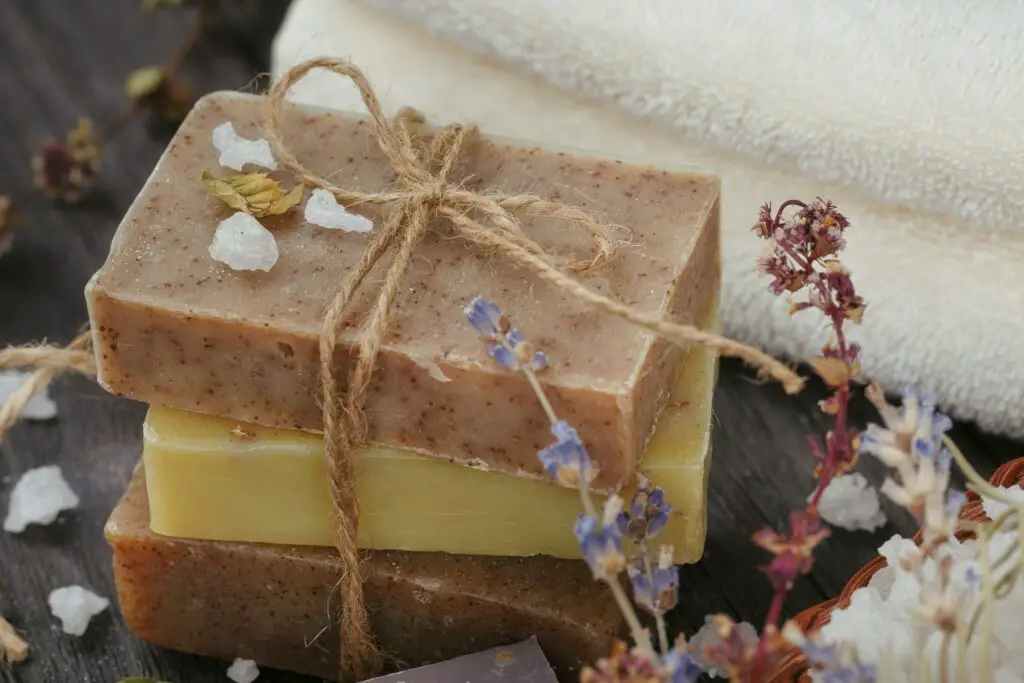
We will cover everything indepth along this post, but I’d like to give you first an overview. Handmade soap is produced by mixing a mixture of oils with lye water, a solution made with sodium hydroxide or potassium hydroxide.
OILS + LYE (CAUSTIC SODA) -> SOAP SALT + GLYCERIN = HANDMADE SOAP
And that’s it!! No other fancy chemicals with 30-letters weird names! Surprising, isn’t it?
You can purchase lye in drugstores or at the cleaning products alley in the supermarket, where the drain pipe cleaning products are (its biggest application is to unclog drain pipes). The oils are nothing but vegetable oils, or animal fats, like lard. Anything that is a fat can be transformed into soap.
Saponification
The chemical process responsible for this transformation is called saponification. Saponification is an exothermal chemical reaction, and in cold process, this effect is quite noticeable, when you touch the soap mold and you feel it hot, even if you make your soap at room temperature.
Saponification needs a couple of things to take place: oils, lye water, an mechanical mixing. The mechanical mixing allows for a mechanical emulsification of oils and water that will allow saponification to jump-start.
Immersion blenders are true wonders for saponification, as otherwise it would take a long, long time beating soap by hand to make soap. After it starts, this process takes from one hour up to 48 hours, depending on the soap making method you’ve used.
Equipment
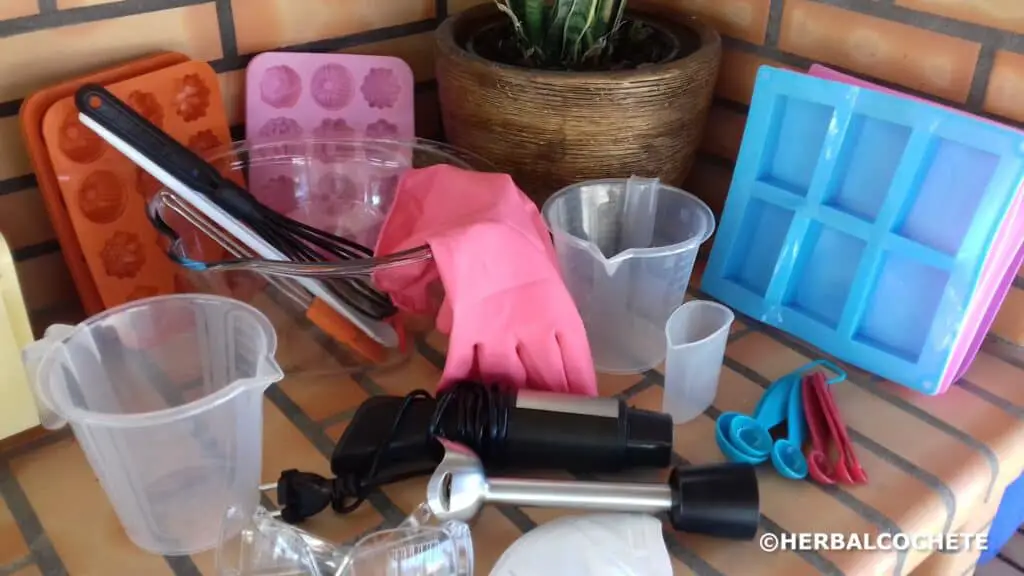
To make soap at home you basically need kitchen ware. I’ve already mentioned an immersion blender and it’s mandatory. A kitchen thermometer is also required.
The other can’t-go-around rule is to use heat resistant utensils that are either made of stainless steel, pyrex or silicone. Other metals may react with lye, and you will be ruining your soap with metal contamination and the utensil with chemical corrosion.
It’s a good practice to not use the same tools to make soap and make food. But other than that, use your kitchen ware to make soap, no need to purchase anything fancy. First soap molds can be carton boxes or yogurt plastic recipients, although I do recommend to get a silicone mold, because it’s so easy to unmold soap from it. Again, you can buy one at the supermarket: anything that allows you to bake cakes on a silicone mold is a perfect silicone mold for soap.
With this basic concepts in mind, we can now cover the various soap making methods. If you want to learn more about the chemical science behind soap, join HerbAlcochete mailing list and receive a free e-book about soap science:
Cold Process Method
Cold process method consists of making soap at room temperature, where you only heat the oils to melt the solid oils or for a optimal soap making temperature (around 40ºC – 50ºC or 105ºF – 122ºF). However, it’s perfectly feasible to make soap with lye water and oils at room temperature.
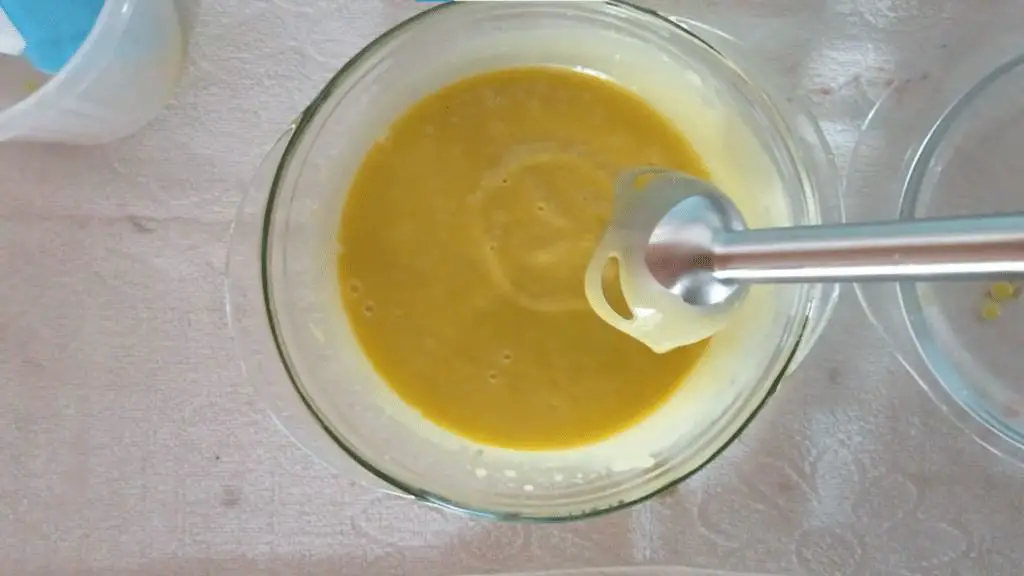
A stick blender or immersion blender is required to kickstart the saponification process. Trace is an important part of this method as it marks the end of stick blending in order to add the last ingredients – usually called after trace ingredients – and mold the soap. When you reach trace, your soap will be fully emulsified (oils and water incorporated in each other) and in mid way of saponification.
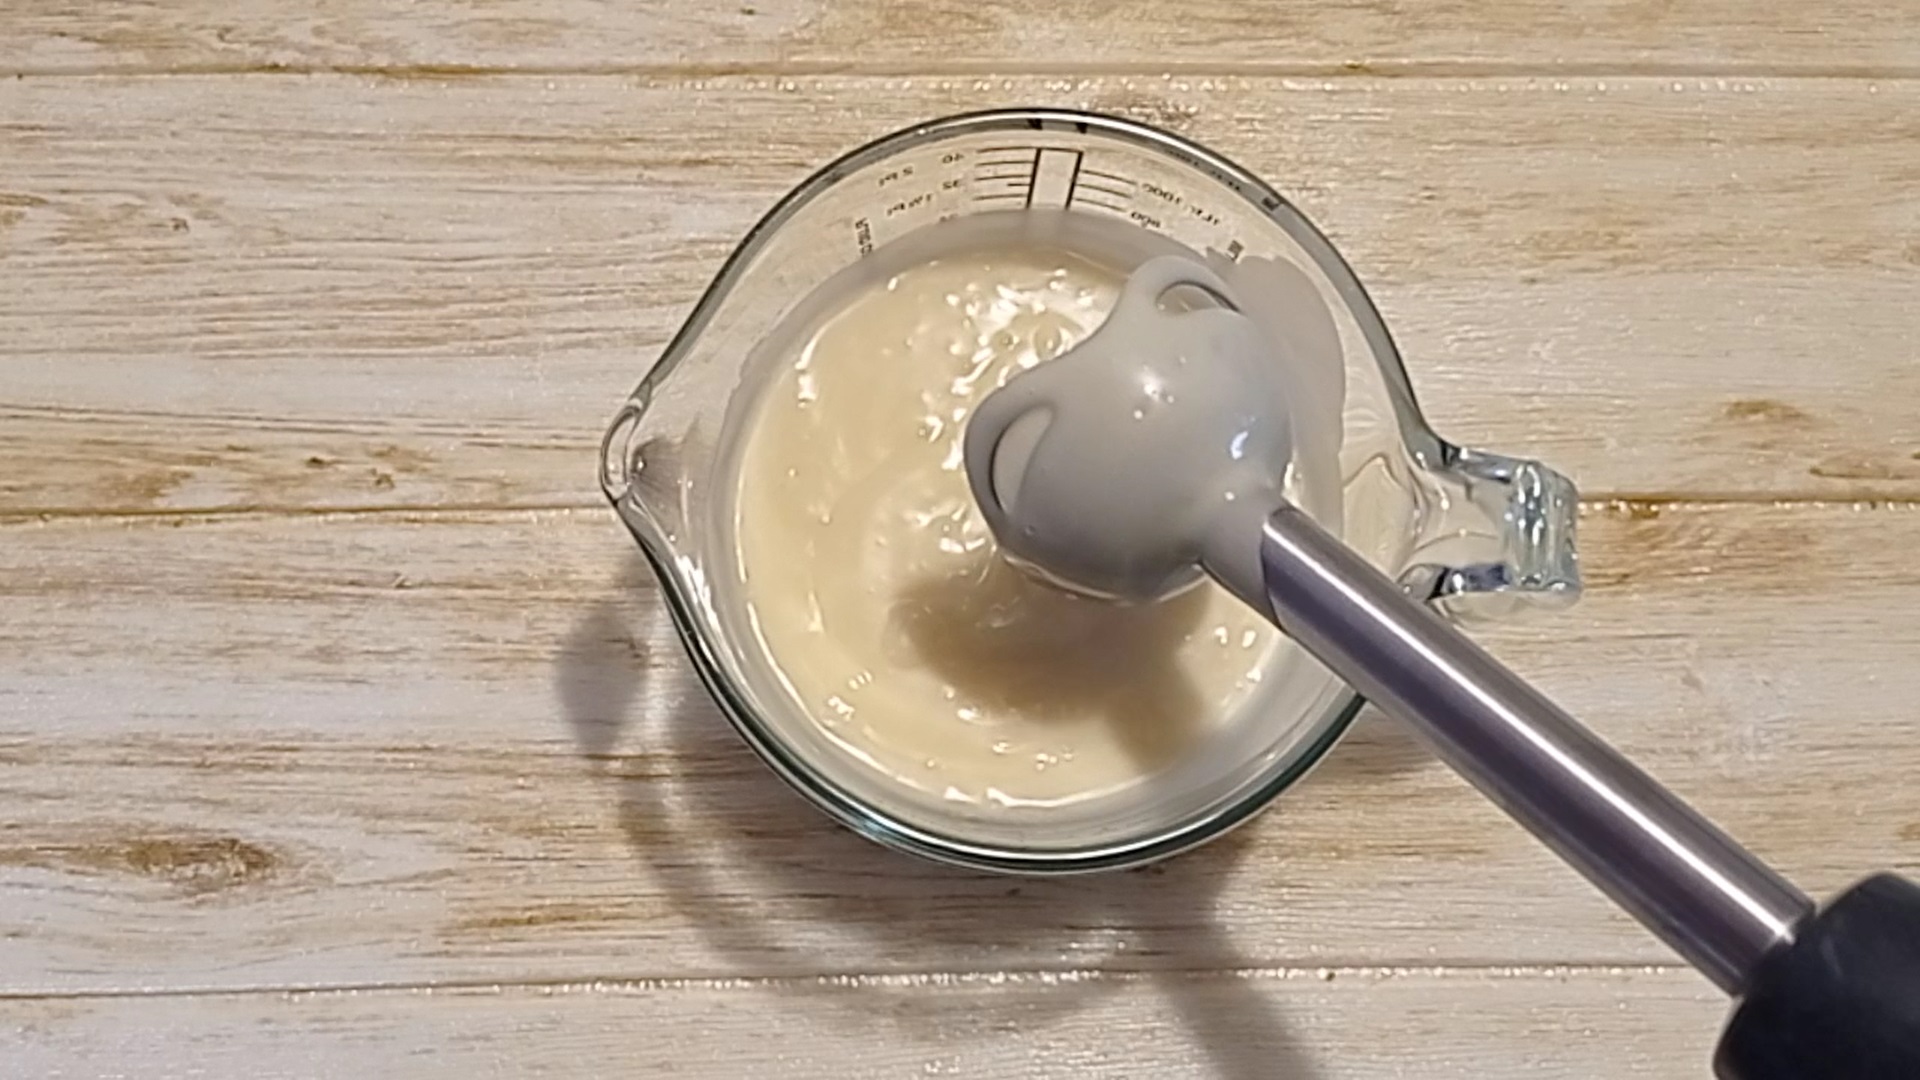
You will have a liquid, creamy soap batter, resembling like liquid pudding. If you pull out your stick blender you will see some markings on the surface of the soap batter – it means you’ve reached medium trace and you don’t need to stick blender any more.
Cold Process – A Versatile Method
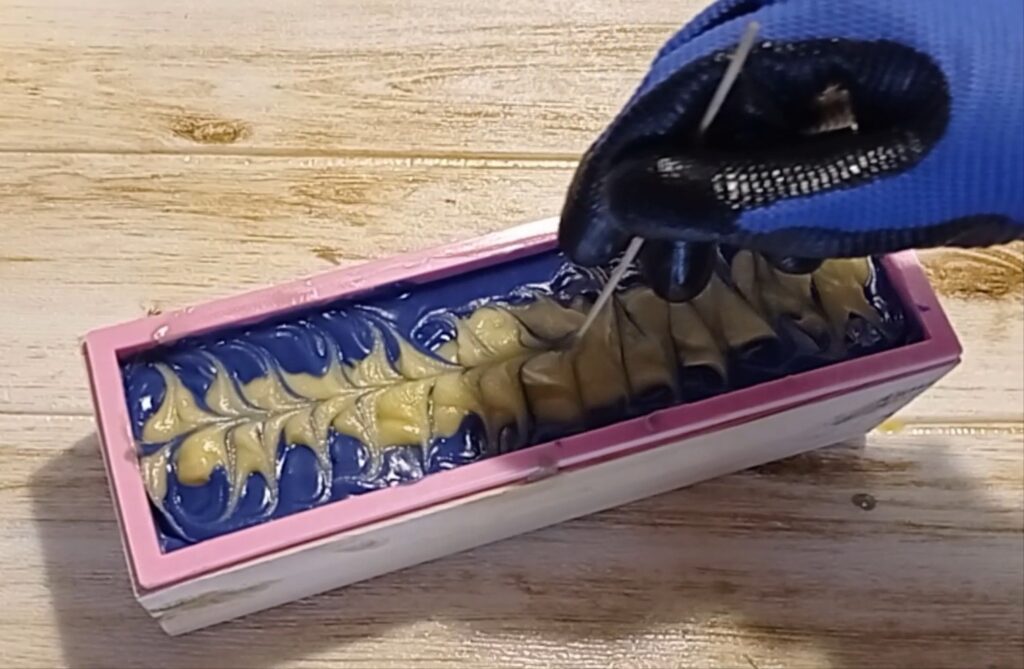
With this method, it is possible to create hard, moisturizing soap bars with a professional finish and beautiful designs. You can also control its properties by choosing an adequate oil mixture and superfat amount: condition, foaminess, bubbliness, cleansing, mildness.
For that, you need to use a soap calculator to know the right amount of oils and lye water you need to make soap safely. Changing the oils means you will always need to recalculate the amount of lye and water.
After molding your soap, the soap batter needs to set or harden for 48 hours. Some soaps harden faster than that, but 48 hours guarantees most of saponification has happened and the soap is safe to handle.
After that it’s curing time. Your soap needs to dry out in a ventilated place for several weeks. It serves 3 purposes: eliminate completely water content; finish saponification; allow the soap structure to “mature” or stabilize its molecular structure, improving the soap properties.
Learn more about cold process soap and how to make it with this step-by-step tutorial: How Do You Make Cold Process Soap?
Hot Process Method
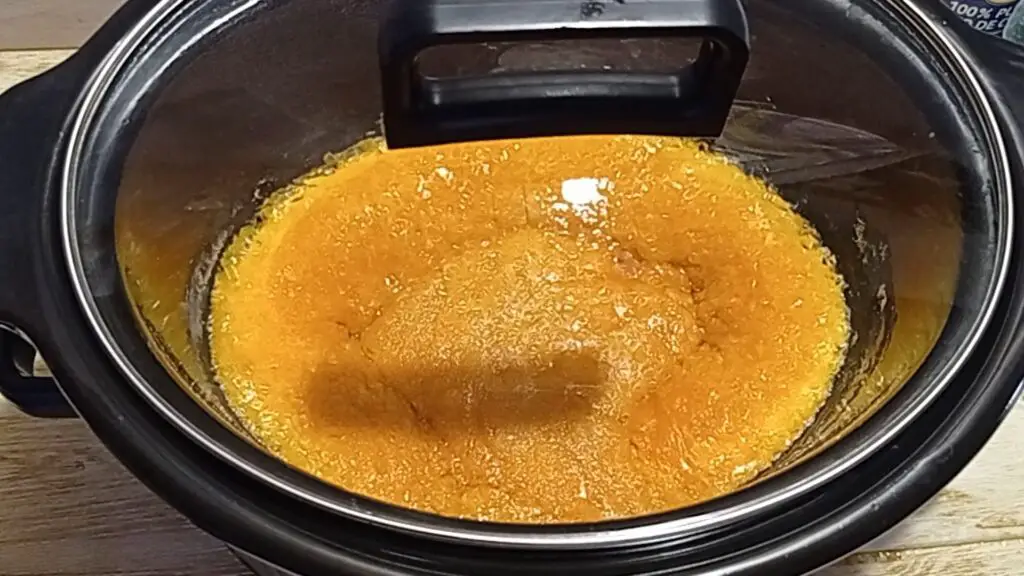
Hot process method is pretty similar to cold process soap. It uses the same basic ingredients and we need an immersion blender to start saponification. However, heat is used to help speed up saponification. A crock pot is necessary for that purpose. Saponification finishes at the end of the recipe, unlike in cold process.
After reaching trace with a stick blender, just like in cold process, the soap is left to cook for an amount of time (45 minutes to some hours, depending on the recipe). At the end of the cooking, you need to add after trace ingredients and soap can then be molded.
I believe this method was more used in the past since you didn’t have stick blenders and beating soap manually really took a long time. Heat was the only other method available to make soap in a timely manner.
Hot process soap has a more rustic looks and you can’t reach the opaque look you get with cold process. It’s also very hard or almost impossible to do swirl designs. Still, it’s a high-quality handmade soap just like cold process.
Learn more about hot process soap and how to make it with this step-by-step tutorial: How To Make Hot Process Soap
Liquid Soap Method (From Scratch)
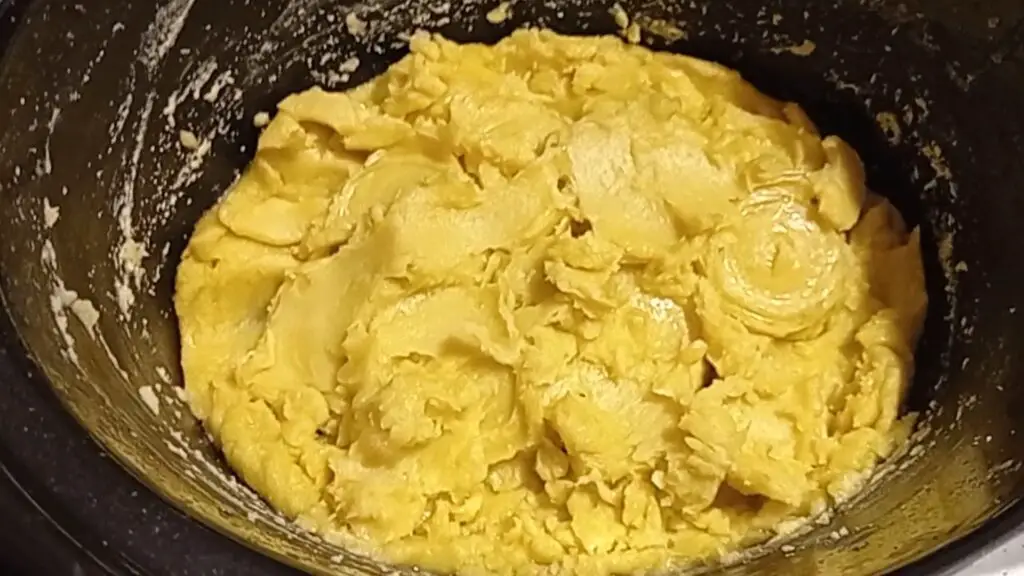
Liquid soap consists of soap paste diluted in water. Soap paste can be made at home from scratch. It’s a very similar method to hot process. The biggest difference is the type of lye used. While cold and hot process use sodium hydroxide, soap paste is made with potassium hydroxide, generating a soft, pasty soap.
Sodium hydroxide and potassium hydroxide reacts differently with oils at a molecular level. The result, for soap with sodium hydroxide, is a solid, hard bar of soap. On the ther hand, potassium hydroxide generates a soft, pasty soap.
Liquid soap is obtained by diluting the soap paste in water or a mixture of liquids, being the most common water + glycerin. Glycerin is added to make the soap more moisturizing as the addition of superfat is very limited (up to 3% only).
Making liquid soap from scratch, it’s probably the most complex soap making method, as it requires two stages – one to make the soap apste and another to make the soap dilution -, and more equipment: a crock pot and an immersion blender, like in hot process.
But it’s definitely worth it. The liquid soap is high-rate quality, and you can scent it as you like. Also, you can make easily 2 to 3 liters of soap with only 500g of oils, which makes this the most economical handmade soap. Don’t forget to privilege your local, cheaper oils and be sparse on addictives – with the exception of the cosmetic preservative.
Learn more about liquid soap and how to make it with this step-by-step tutorial: How To Make Liquid Soap From Scratch.
Rebatch Method
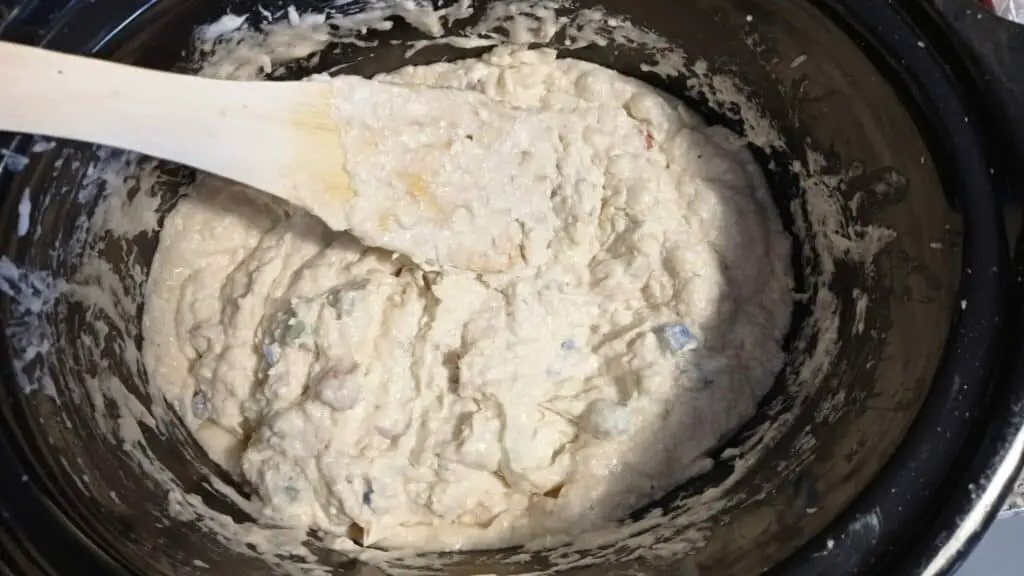
Rebatch is a way to reuse soap shavings or remnants from other batches as well as batches that had gone wrong (like wrong color or a wrong texture). Handmade soap is grated or shreadded into shavings or small bits, then with the addition of a bit of water or other liquid and heat, the soap is melted and remolded.
You can use cold process and hot process soap bars, as well as melt and pour (well, if the last one is not obvious…) for this method. The soap is not as good and professional-looking as a fresh batch. but it allows you to use soap that would go to the trash can otherwise. The soap still has good quality, but with a reduced shelf-life. I would not advise to use it for more than
A warning: DO NOT USE COMMERCIAL SOAP for this method, unless you are 100% sure it’s handmade soap and not some sort of syndet bar. Syndet ingredients and other chemicals in commercial soap may not be ready to be reheated and toxic substances may be involuntarily produced.
Learn more about rebatching and how to make it with this step-by-step tutorial: How To Rebatch Soap: For Cold Process Only.
Melt and Pour Method
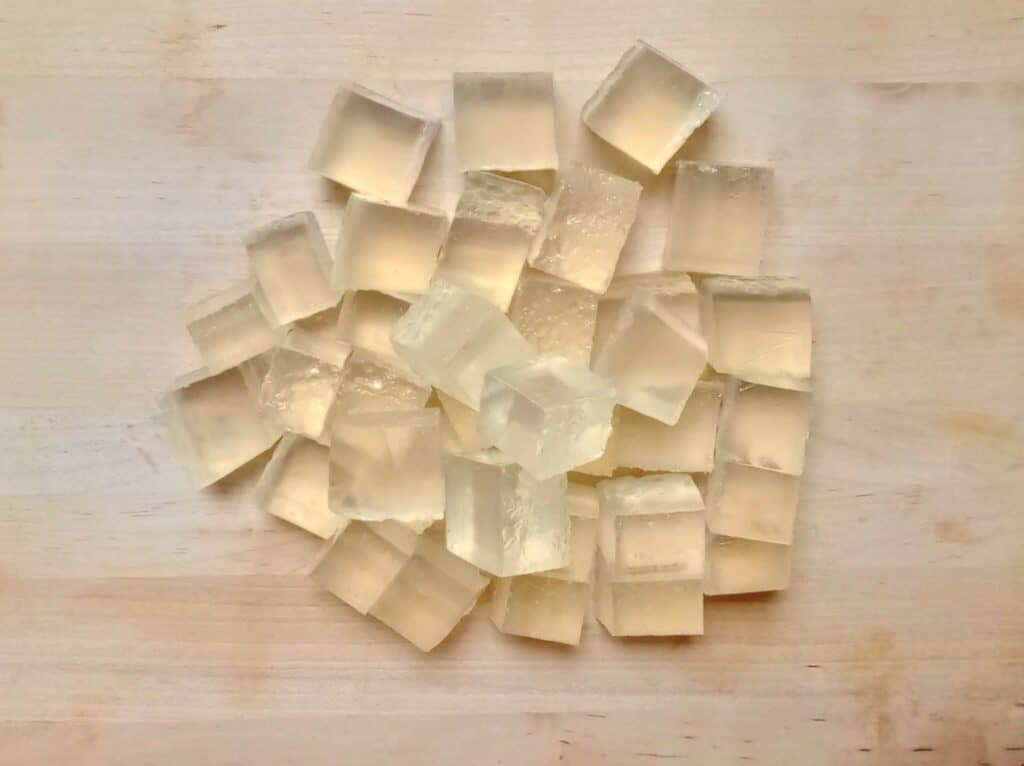
The melt and pour method is the last of the soap making methods covered by this post. It uses a pre-made soap base, essencially a so-called glycerin soap. As the name says, to make soap you just need to melt the soap base and pour it into soap molds. You can also add colorants, essential oils, fragrances, plant extracts or oils (as superfat) to enrich your soap with color, scent and medicinal properties.
In this chapter, I’d also like to clarify about some misconceptions about melt and pour soap. Melt and pour soap bases, real soap, are made with lye and vegetable oils or even animal fats. This is how any sort of soap is made:
OILS + LYE (CAUSTIC SODA) -> SOAP SALT + GLYCERIN = HANDMADE SOAP
The only “soap” that doesn’t use lye is called “syndet“. It uses synthetic detergents (hence the word “syndet” = synthetic detergent) in its composition, that are produced with other sort of chemical processes and ingredients. All commercial soap (or “soap” because it’s not 100% soap) is either a syndet bar or a mixture of soap salts with syndets.
Melt and Pour Is Handmade Soap
Therefore, if your melt and pour soap base has ingredients such as sodium olivate, sodium cocoate, and so on, it’s made with lye and oils. Doesn’t mean the soap has lye. Because it hasn’t. The lye was there until it was chemically bonded with oil fatty acids through saponification, and then soap salt and glycerin were created. Lye was completely consumed as well as most of the oils.
Next time you make a melt and pour soap, as long as there are no syndet ingredients in the soap base, know that your soap is as good as any handmade soap. Just like cold process, or hot process, or the liquid soap made with potash. And it’s made with lye, although lye is no longer in the final product.
Use Plant Extracts and Essential Oils
In melt and pour soap, the big difference from cold / hot process, is that the soap base is already made for you. You don’t need to mix lye and oils and deal with saponification. Therefore, you have a broader choice of extra ingredients to add, especially the ones that can be destroyed in saponification.
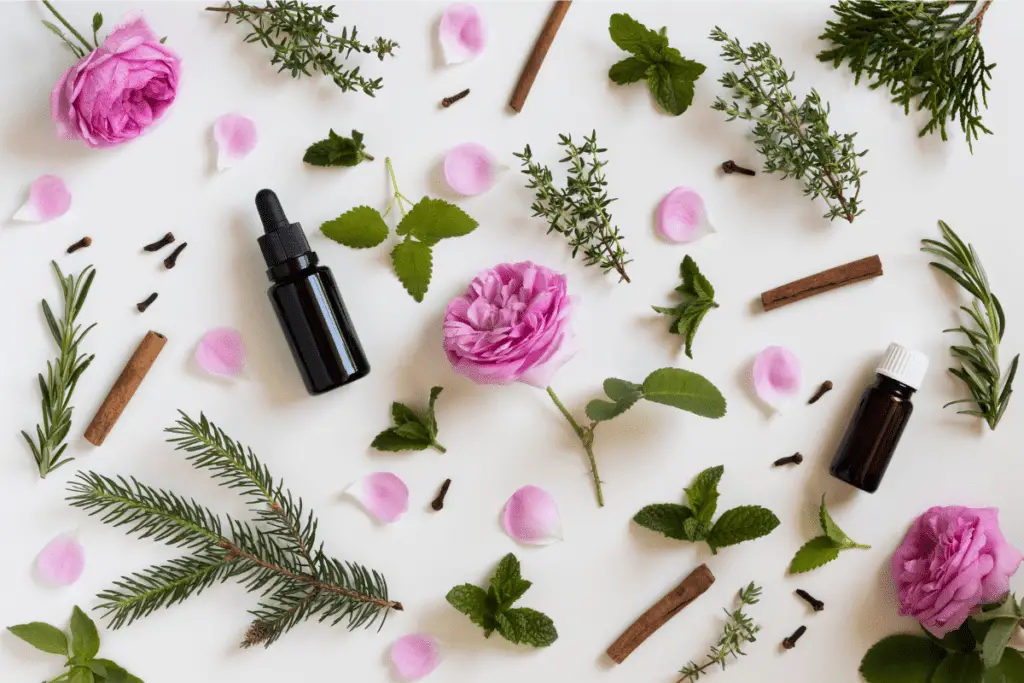
Now it makes sense to add plant extracts (like aloe vera) and make a soap where you can fully benefit from all the plant properties. Essential oils also have a much bigger chance of remaining strong in soap. Not only they don’t need to go through saponification, these glycerin soaps need to be wrapped up tight, to avoid “sweating”. Essential oils won’t evaporate that easily. And you can also fully enjoy the medicinal plant properties from essential oils.
Although I am very far away from mastering that part of the soap making art, melt and pour also allows you to make swirls, embeds and layers. And the resulting soap will have a professional finish, very similar to cold process.
Melt and Pour: Good Or Great Soap?
Finally, I would just like to explain why I’ve previously mentioned melt and pour as having “good” quality instead of “high”. It all depends on the soap base ingredients. Some soap bases do have synthetic ingredients, or other sort of chemicals. The idea is to enhance the soap base properties: no-sweating, easy to melt, maintain stable colors from colorants, have a smooth texture.
For me, you can only make “good” soap with such soap bases, because of the chemicals it has. While with handmade cold / hot process soap, you really can’t go wrong: your handmade soap will be “high-quality”. Ok, you can go wrong, you just need to use crappy, old or used oils, or a poor quality lye… But you get the meaning.
Learn more about melt and pour and how to make soap with this step-by-step tutorial: How To Make Melt and Pour Soap.
Soap Making Ingredients
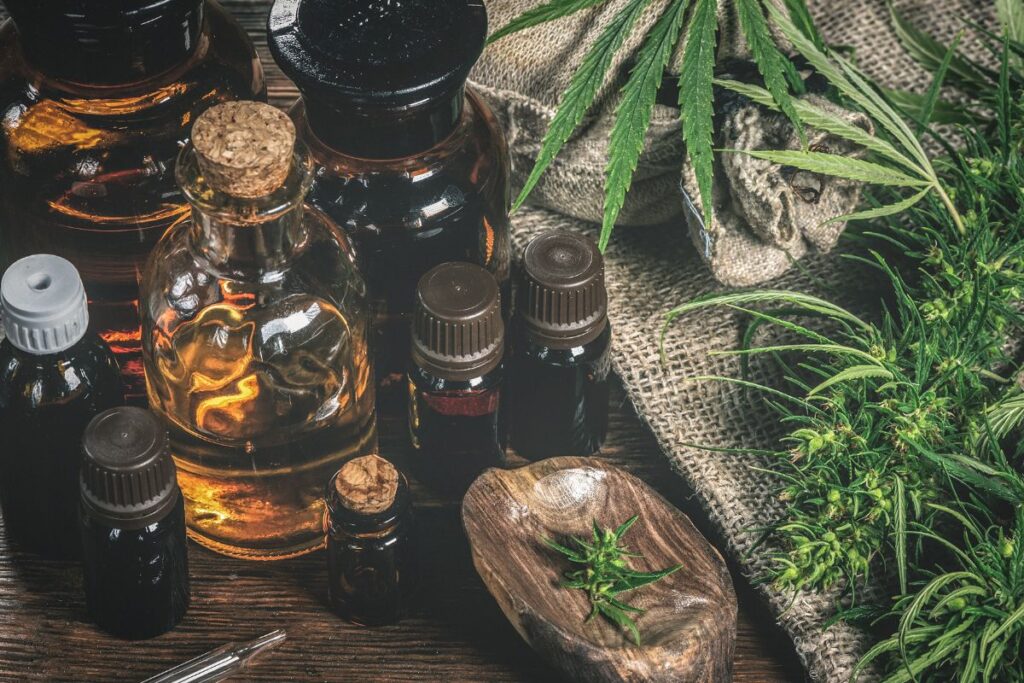
As mentioned before, to make soap you really only need 3 ingredients: oils, water and lye (sodium or potassium hydroxide). Essential oils and natural colorants add color and scent, making the soap much more pleasant. But in fact, they are optional. You still get soap without them.
Another surprising fact is that you can make soap with pretty much ANY sort of fat or oil. Of course, the soap has different degrees of quality depending on the type and amount of oils/fats used. But still, you can use fats as weird as rabbit fat.
Below you will only find the most common oils used for soap making. But I strongly encourage to use what you have locally available. These oils are usually the cheapest and, at same time, highest quality ones and that’s what you need for your soap.
But let’s go to the ingredients:
Soap Base Ingredients: Water, Lye and Oils
Sodium hydroxide (lye): 100% pure caustic soda / lye / sodium hydroxide, in grain or small spheres, do not use drain pipe cleaners without checking ingredients list, as they may contain other substances.
Potassium hydroxide (lye): potash / lye / potassium hydroxide, usually 95% pure, in flakes. Again, if you find it in the supermarket or drugstore, make sure it’s only potassium hydroxide
Water: preferably distilled or relatively demineralized. If you have a dehumidifier, use the water in the tank after filtrating it with a muslin tissue or cheesecloth (to clean dust). The idea is to have water with the least amount of minerals in it, so that the lye reacts with oils only.
Soap Making Oils and Butters
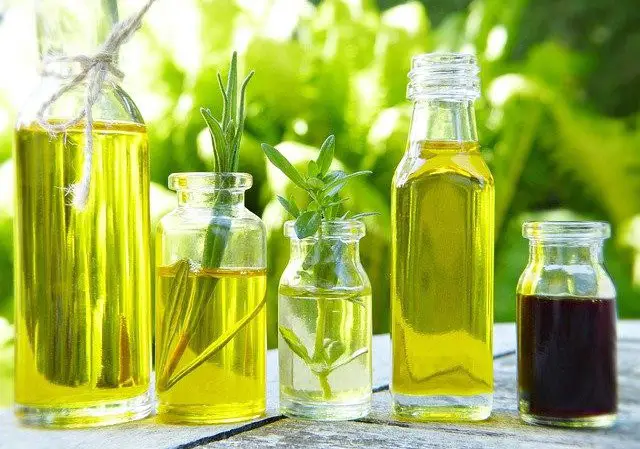
I mainly use vegetable oils, lard being my only exception so far. I advise you to buy deodorized or refined products, so that you have a more neutral product in terms of color or scent. But you can use less prcoessed ingredients, having in mind the oil or butter might influence the scent in the final soap.
Oils: Olive oil, Coconut oil, Sunflower oil, Castor oil, Sweet almond oil, or Palm oil are the most common oils in soap making, but there are others. Basically, any oil/fat is suitable for soap making. Check out for a complete list with properties in Oil Properties for Soap Making
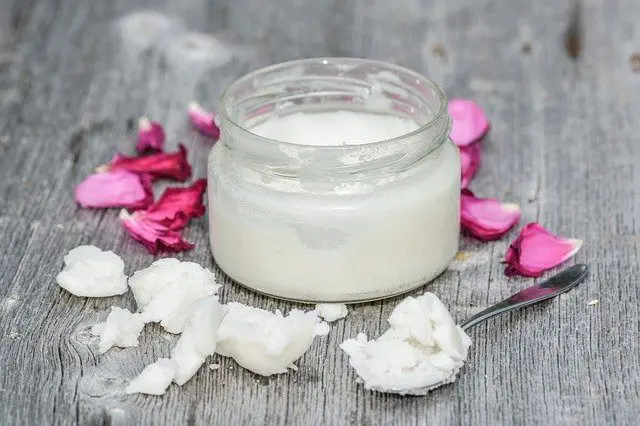
Butters: Shea butter and cocoa butter are the most common, but there is also mango butter, argan butter, peach butter, etc. Unrefined products: natural shea butter, or natural cocoa butter. As vegetable butters are usually expensive, I usually stick with shea butter only. It’s not very cheap, but it gives great results in soap as a luxury ingredient without being outrageous expensive.
Essential Oils: Optional Ingredients
I usually prefer essential oils as soap fragrance, only because they tend to be less reactive with soap than fragrances. They are also more natural and that’s a plus. But I don’t have anything against fragrance oils for soap. In the end, the difference between essential oils and fragrance oils in terms of quality is not that big – and I don’t think it’s worth it to make soap with essential oils at $50 per 10 ml.
I am no longer an essential oils “fundamentalist” as I believe that cheap essential oils – and there are numerous at Amazon or Ebay – are worse than some good quality fragrances. And we honestly don’t know what manufacturers actually put in these so-called essential oils. If you want to read more about the subject check out Best Essential Oils for Soap Making and What Is a Fragrance Oil?.
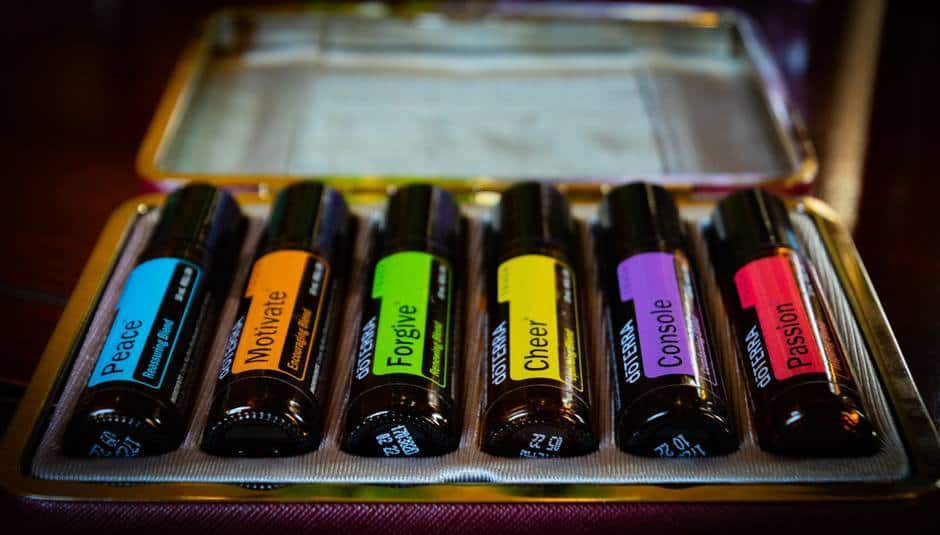
Besides, some fragrances are the only way to use certain scents such as jasmine or rose, since the respective essential oils are extremely expensive: around $100 – $150 per 10 ml (yes, you are seeing right…). To get started you should buy an essential oil starter kit with some of the most common essential oils from one of these brands:
- Now Foods
- Plant Therapy (if you are willing to use high quality essential oils in your handmade soap)
Please, make sure to also purchase May Chang essential oil, to fix/keep the citrus essential oils scent.
What I Use
Personally, I have been buying almost every essential oils at Plena Natura, because they are cheap and they give a great deal of trust by presenting good information online on all their products. There are other options, such as the Elegante line of essential oils, but they feel more… artificial.
Read everything about essential oils for soap making in Best Essential Oils for Soap Making and Are Essential Oils Safe For Soap?
It is possible to use only one essential oil or a mixture of some, they give a very pleasant aroma to the soaps and may even add some medicinal properties. Beware that there’s no fragrance or essential oil without any sort of allergens like geraniol, linalool, limonene, to mention only a few. I personally have never developed an allergic reaction to any of them, so they are not harmful per se. Know what you are buying.
Colorants: Optional Ingredients
I always prefer to use natural colorants: cinnamon, sweet pepper, paprika, turmeric, spinach, carrot, pumpkin … However, to better control colors, or to obtain tones less common in nature, I use oxides and ultramarines. They are man-made, minerals treated in laboratory to have harmful heavy metals removed and be skin safe. They are not exactly natural, but I never had an issue with them. When they make 0,5% of total soap ingredients, unless you are allergic to them, they are basically harmless.
Cosmetic clays are my favorite way to color soap. Not only they are natural ingredients, they are also gentle cleansers for your skin, and reliable and stable as natural colorants. They are also scent “fixers”, meaning they help to sustain essential oils scent in soap.
While you have to be a bit careful when adding clays to your soap (becuase they acceletare trace), they are a “must-have” in soap making. A total winner ingredient. Here are the ones I use the most:
- french green clay
- kaolin pink clay
- kaolin white clay
- Ghassoul/Rhassoul clay, a moroccan red clay.
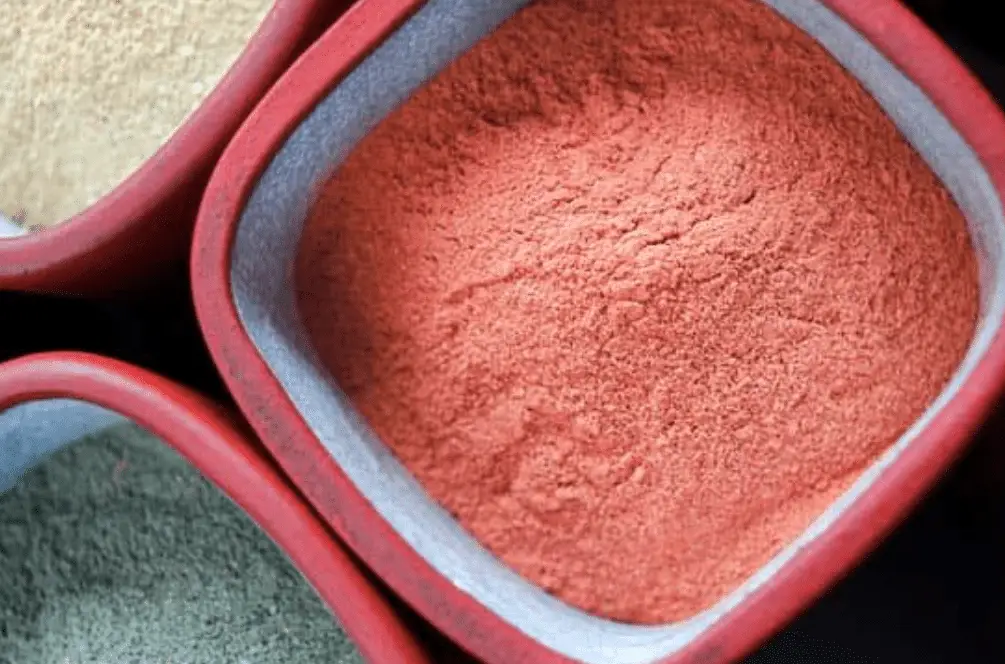
Spices are my second best option. Check out how a soap with infused oils in paprika get a wonderful orange, in this paprika hot process soap recipe. To get a pretty pinky-orange soap, use turmeric: Turmeric and Ylang-Ylang Soap Recipe.
Extracts and Anti-Oxidants: Optional Ingredients
These are natural anti-oxidant extracts to prolong the life of the soap (to not become rancid). The most used are:
- grapefruit seed extract (GSE)
- rosemary extract (ROE)
- Vitamin E
Herbs and Flowers: Optional Ingredients
They are only for decoration or exfoliation purposes, as their herbal properties usually do not survive saponification. Always, always add your herbs dried, in puree, or ground into powder. Something I learned from my experience was not to use large pieces of fresh herbs and flowers: they become brown, rotten and ugly (ugh!).
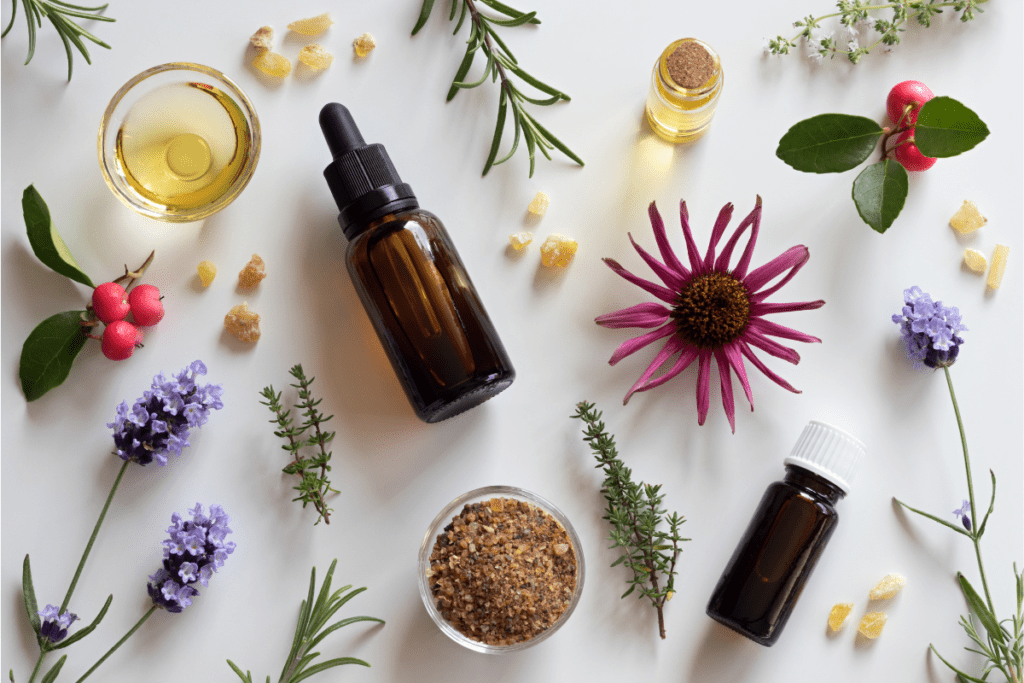
It’s not really worth it to purchase herbs only to make soap. Exception made to dry calendula petals as they serve as a natural yellow colorant when used infused in oils. As for the rest, use herbs from your tea bags or use some dried herbs from your kitchen: dried rosemary or dried spearmint/peppermint, for example.
Soap Making Equipment
Most soap making equipment can be adapted from your kitchen: a stick blender, a crock pot, pyrex bowls, silicone spatulas, stainless teel spoons, a kitchen thermometer (you might need to purchase that one but they cost a few dollars only).
As soap molds, I strongly recommend to use silicone molds at the very beggining. I never had a single issue unmolding soap, since I’ve always used silicone molds. Therefore, I really never used recycled packages. You don’t mess up on a winning team, right? You can use the ones for baking cakes, small or big. And then cut your soap into small bits if the silicone mold is for big cakes.
If you plan to make soap regularly I’d recommend to purchase a cheap kit: a wooden soap mold with silicone lining, a soap cutter, and a wooden cutter box. That way, you can make 1 Kg (2 lb) of soap
Read more about soap making equipment in Where To Buy Soap Making Equipment.
Some Soap Making Terms
When starting to read about soap making, we stumble on some strange definitions that we don’t really know about. Please, find below a soap making “micro-encyclopedia”, that explains the most common terms in soap making.
Trace
When soap batter reaches a certain consistence, similar to liquid pudding, it is said to have reached “trace”. The soap surface leaves marks when you mix it and then remove the stick blender or a spoon from the soap batter. This is called medium trace and it’s the easiest way to recognize it.
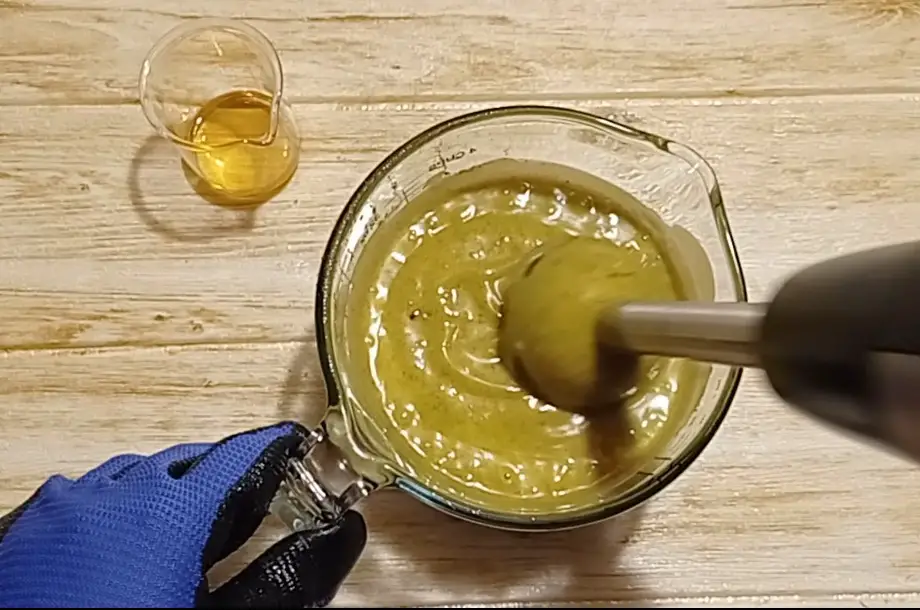
Light trace happens a bit before that, when the oils and lye water are fully emulsified, but the soap batter is still very liquid. Heavy trace is when the soap batter is now more like a paste, and stands well its shapes, similar to chantilly.
Only practice in making soap will teach you how to recognize trace, especially light trace. Start with medium trace, becuase it’s easy to recognize the tell-tale pudding markings.
Gel Phase
When soap is saponifying, it releases heat. If temperatures get high enough, soap might go to a phase called “gel phase”. The soap looks like translucid jelly. When it fully hardens, the color will be darker and stronger and it will not be fully opaque.
Gel phase might be wanted or not. Some soap makers make cold process soap at higher temperatures to force gel phase. Some others make at room temperatures to avoid it. It depends how you want your soap to look like.
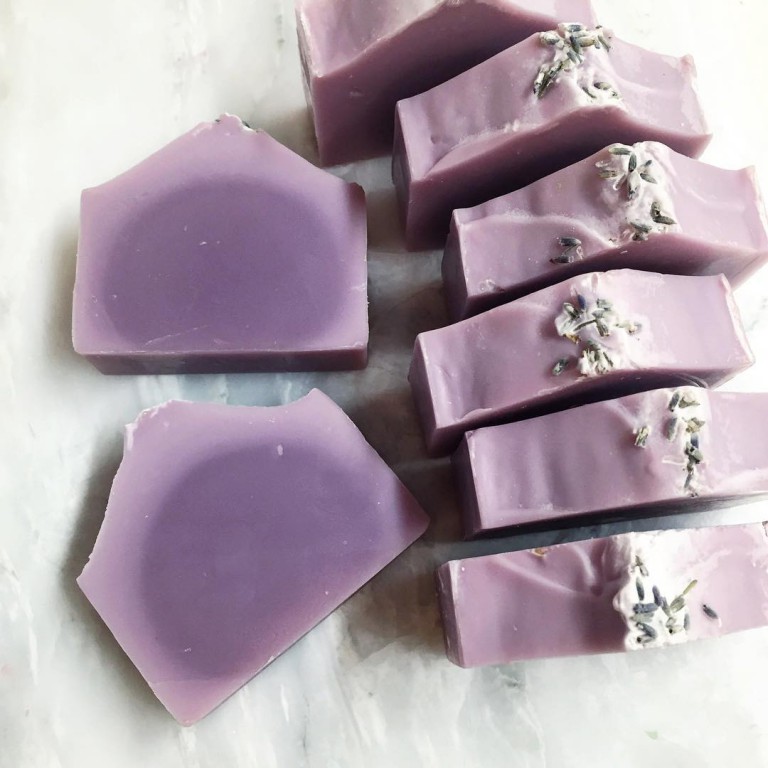
It’s easier to get gel phase in big batches of soap, molded in large loaf molds. With individual molds you usually don’t reach gel phase, as the soap batter cools down more efficiently. If you are making soap in a large loaf mold and you don’t properly isolate for temperature, you might get a darker circular mark in the middle of your soap.
Soap Acceleration
Soap acceleration, also known as trace acceleration, seizing or ricing, happens when saponificiation speeds up and develops much faster than expected. Several factors might contribute to soap acceleration, and it’s important to know about them, to avoid them when needed.
Soap acceleration is an enemy when you want your soap to remain liquid for swirls and designs. You need time to work with your soap batter: add colorants, mix them, pour layers in sequence, swirl the soap batter in the mold, etc. This is usually when you get acquainted with this phenomenom.
Learn everything about soap acceleration, in Soap Acceleration: Causes, How To Avoid It Or How To Fix It.
Soda Ash
Just this week, someone asked me why we need to spritz soap with alcohol or witch hazel at the end of molding soap. Soda ash formation is the reason why.
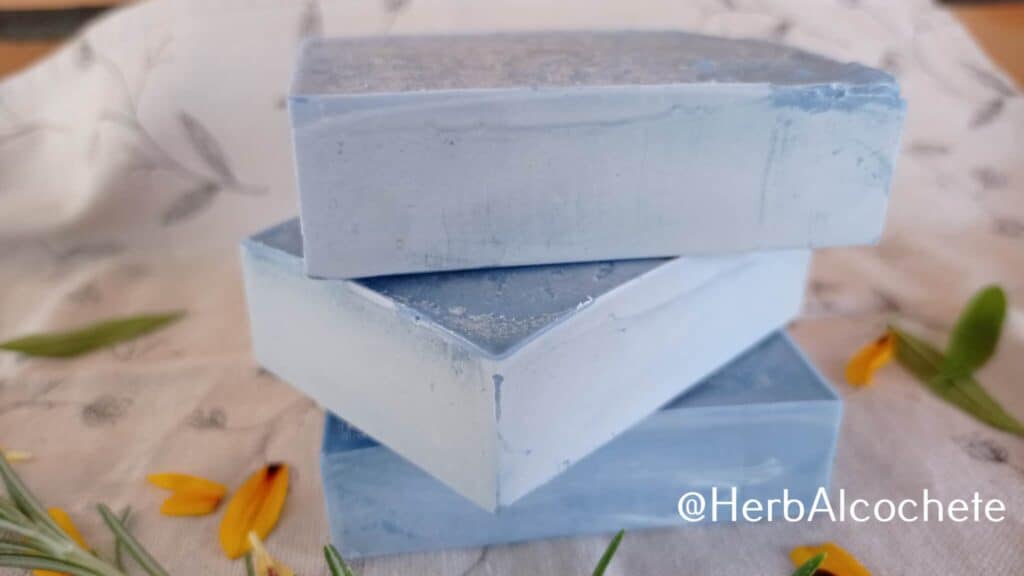
Soda ash is sodium carbonate, the result of a reaction between lye water and carbon dioxide present in the air. It is a white powder that covers your soap, and once it starts it has the tendency to be more abundant with time. Alcohol forms a protective film between the soap and air, avoiding most of it.
Soda ash is completely harmless and it may be only an aestetic issue. Actually, some people like the looks of soda ash in soap – it does look rustic.
DOS
DOS is an acronym for Dreaded Orange Spots. It’s a sign that the oils in your soap are getting rancid. Some soap makers defend that soap is still ok with DOS, some defend the soap is ready to go to the trash. I would advise to cut the part of the orange spots if possible, and use the soap only to wash your hands, or only for cleaning – as a stain remover, for example.
I hope you enjoyed this post! This blog as much more information about how to make soap at home, feel free to browse it!
