When you want to use effectively the plant properties from a given essential oil, the best is to use a soap process that had already gone through saponification, like “melt and pour”. Pre-made glycerin bases are great to make phytotherapeutic soaps, such as this tea tree soap.
Try this tea tree soap recipe for acne, using an olive oil soap base, tea tree essential oil and a green colorant (optional). This tea tree soap can be used to fight acne, as a hand sanitizer, to get rid of nail fungus, treat athlete’s foot, sooth skin inflammation, or relieve psoriasis, due to the fantastic medicinal properties from tea tree essential oil.
Learn how to make this soap and also what tea tree essential oil can do for your skin in this post.
Table of Contents
How Do You Make Tea Tree Soap At Home?
Make easily tea tree soap using a soap base, tea tree essential oil and a green colorant. Melt the soap base, and add the colorant, mixing well with a whisker. At a lower temperature (around 50ºC – 122ºF), when the soap is still liquid, add the tea tree essential oil. Mix well, then pour your soap in soap molds.
We’ll get back to the recipe in more detail down below.
Unlike in cold process, where the essential oils are partially destroyed with saponification, in this tea tree soap you can fully enjoy the medicinal properties of tea tree essential oil. The pre-made soap base won’t destroy tea tree plant properties. They will be much more effective than in cold process soap.
Therefore, using a pre-made soap base is the ideal choice to make an effective tea tree soap at home.
What Does Tea Tree Soap Do For Your Skin?
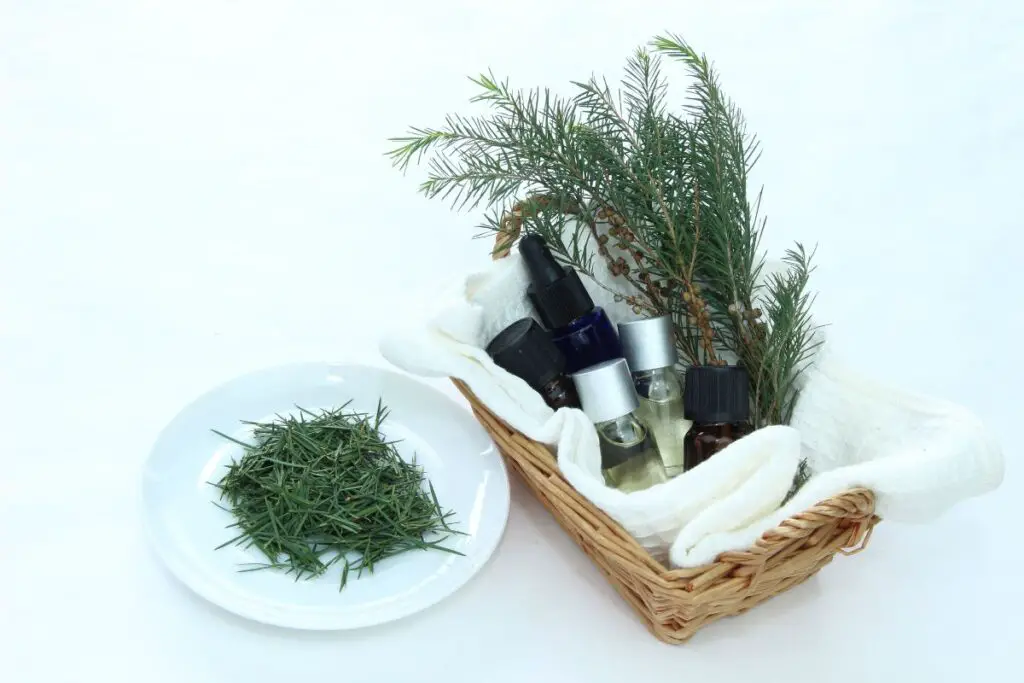
This tea tree soap recipe can help your skin treating acne, athlete’s foot, lice, nail fungus, dandruff and insect bites. It works as a great, natural antibacterial and anti-fungus soap. The main ingredient to achieve it is tea tree essential oil, a great antibacterial, antisseptic and antifungus.
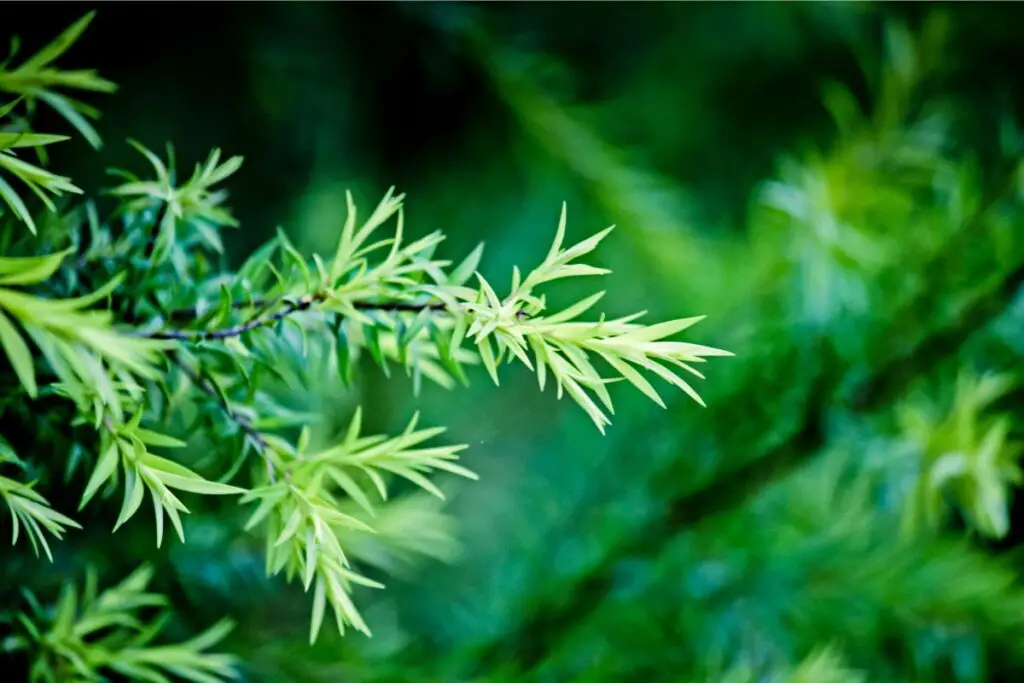
Tea tree essential oil, or melaleuca essential oil, is an essential oil that comes from steaming the leaves of the Australian tea tree. It is one of the strongest natural antibacterial, antisseptic and antifungus, showing also some insect reppelent and anti-inflammatory properties. It’s true many essential oils are advertised with all these properties but tea tree is not only strong in these properties, it has scientific studies that confirms them, like this one about acne.
Indeed, tea tree essential oil can be a powerful weapon against acne. Several studies have shown that it helps reduce the amount and overall severity of acne (Check out this post, and this post). Some acne is caused by bacteria that are becoming resistant to traditional antibiotics. Scientific examination of tea tree oil found that application not only reduced the activity of bacteria but also killed them in the lab after 4 to 6 hours.
According to this article from Heathline, tea tree essential oil can also be used as a hand sanitizer, insect repellent, antisseptic for minor cuts, to get rid of nail fungus, treat athlete’s foot, sooth skin inflammation, relieve psoriasis and fight dandruff, among other applications.
Fighting Dandruff
About dandruff, you can find this Charcoal Shampoo Bar Recipe that uses tea tree essential oil to help purify your scalp and fight dandruff. Other ingredients are also used, such as charcoal and the most effective against dandruff: salicylic acid.
How Much Tea Tree Do You Put In Soap?
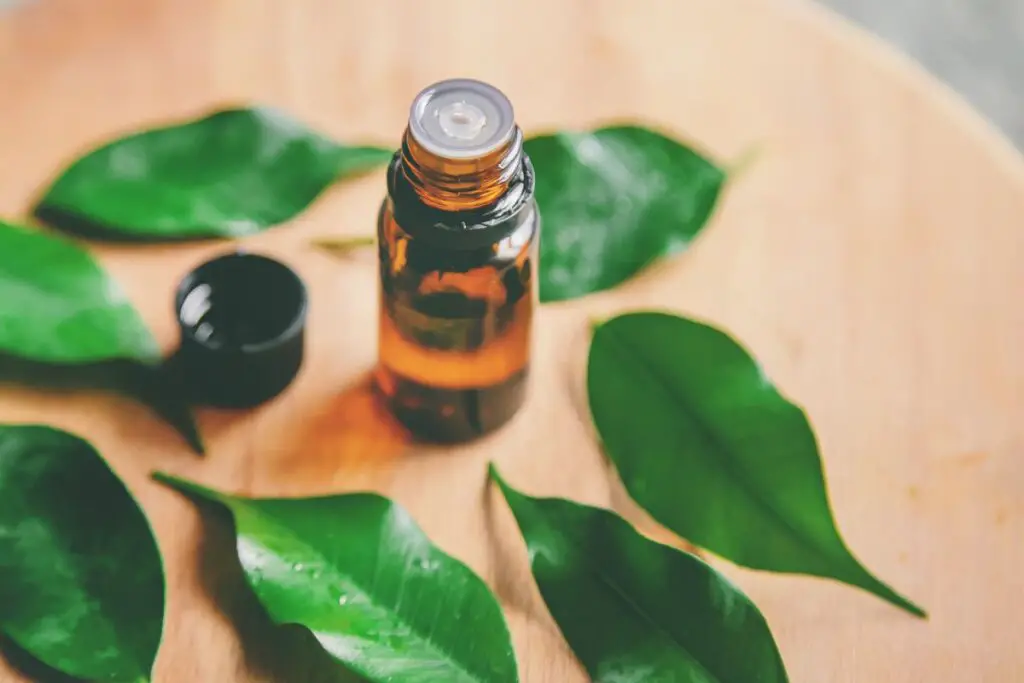
This recipe uses 15ml of tea tree essential oil and 5ml of lime essential oil (also a natural cleansing). You can’t truly feel lime essential oil by itself but it also helps enhance tea tree scent. These quantities are enough to just provide your soap with a lovely scent.
However, if you wish to make this a strong soap to fight acne or any other skin condition, you can go up to 30 ml or 30g (3% of soap base) and use tea tree essential oil alone. As an important note, I don’t recommend using tea tree essential oil directly on skin. But as part of this soap, as long as the maximum quantity of 3% is respected, it is safe. Still, it’s always a good idea to make a patch test if you have any doubts.
What Is Olive Oil Soap Base Good For?
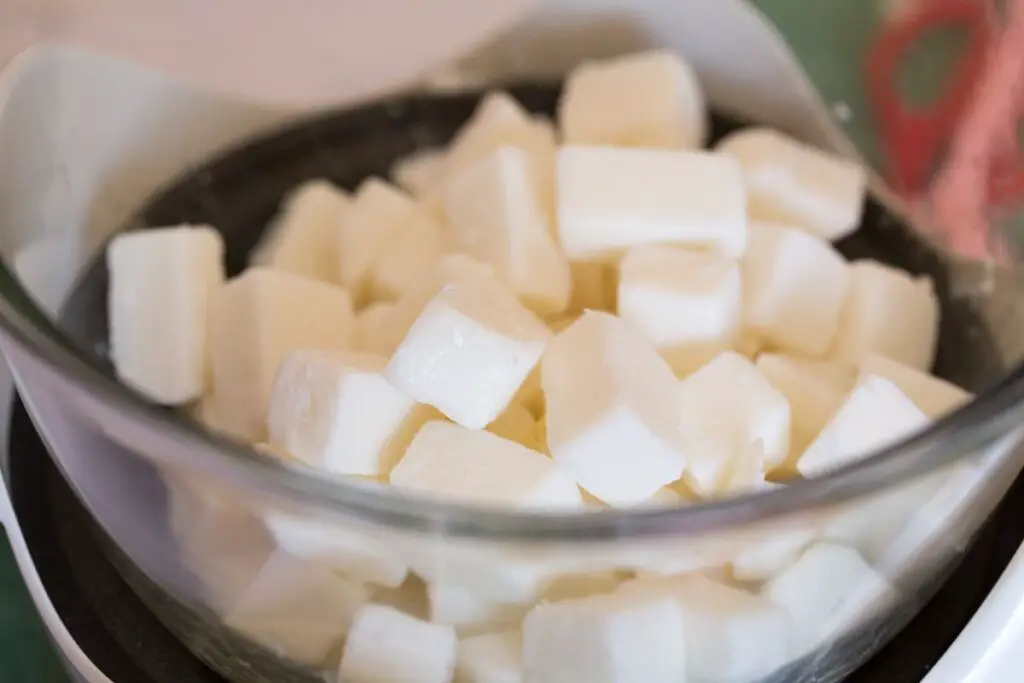
Any olive oil soap base will be very rich in moisturizing properties. Olive oil contains a high percentage of oleic acid, a natural and strong emmolient with anti-inflammatory properties. Olive oil may not be the best to apply directly on skin, especially if you have oily or acne-prone skin, because it might clog your skin pores. However, in soap, oleic acid adds conditioning properties without that issue.
Olive oil soap is highly moisturizing, conditioning and low-cleansing, making it the mildest of handmade soaps. It still cleans your skin, but if you have dry, aged skin or even sensitive skin, olive oil soap is perfect for you.
You can pruchase the soap base for this recipe. Or you can make it at home with this Olive Oil Soap Base Recipe: For Melt and Pour Soap. Besides olive oil, this soap base also contains coconut and castor oil, that gives this soap a generous, dense and fluffy foam. Coconut oil is also good to fight acne, due to its cleansing and antibacterial properties.
This mild soap base, used on this tea tree soap recipe, will help to fight acne and other skin conditions by … well, not being agressive to your skin. It will keep your skin moisturized and balanced, with sebum production under control, while tea tree essential oil keeps your skin disinfected and free from bacteria and fungus.
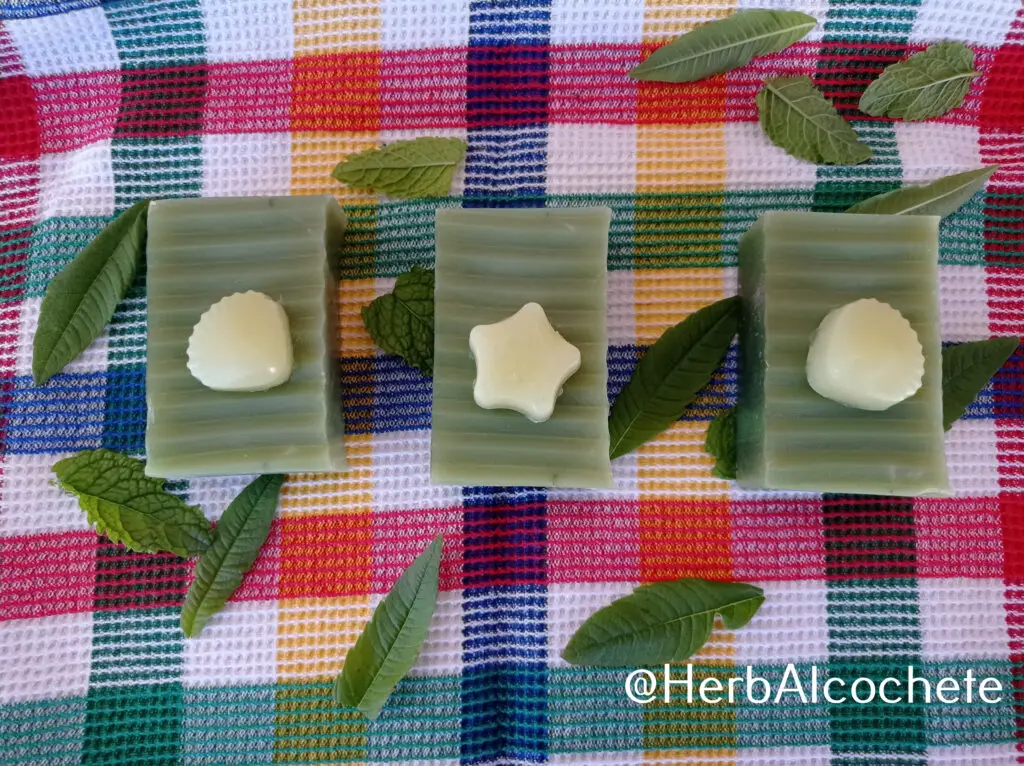
Tea Tree Soap Recipe
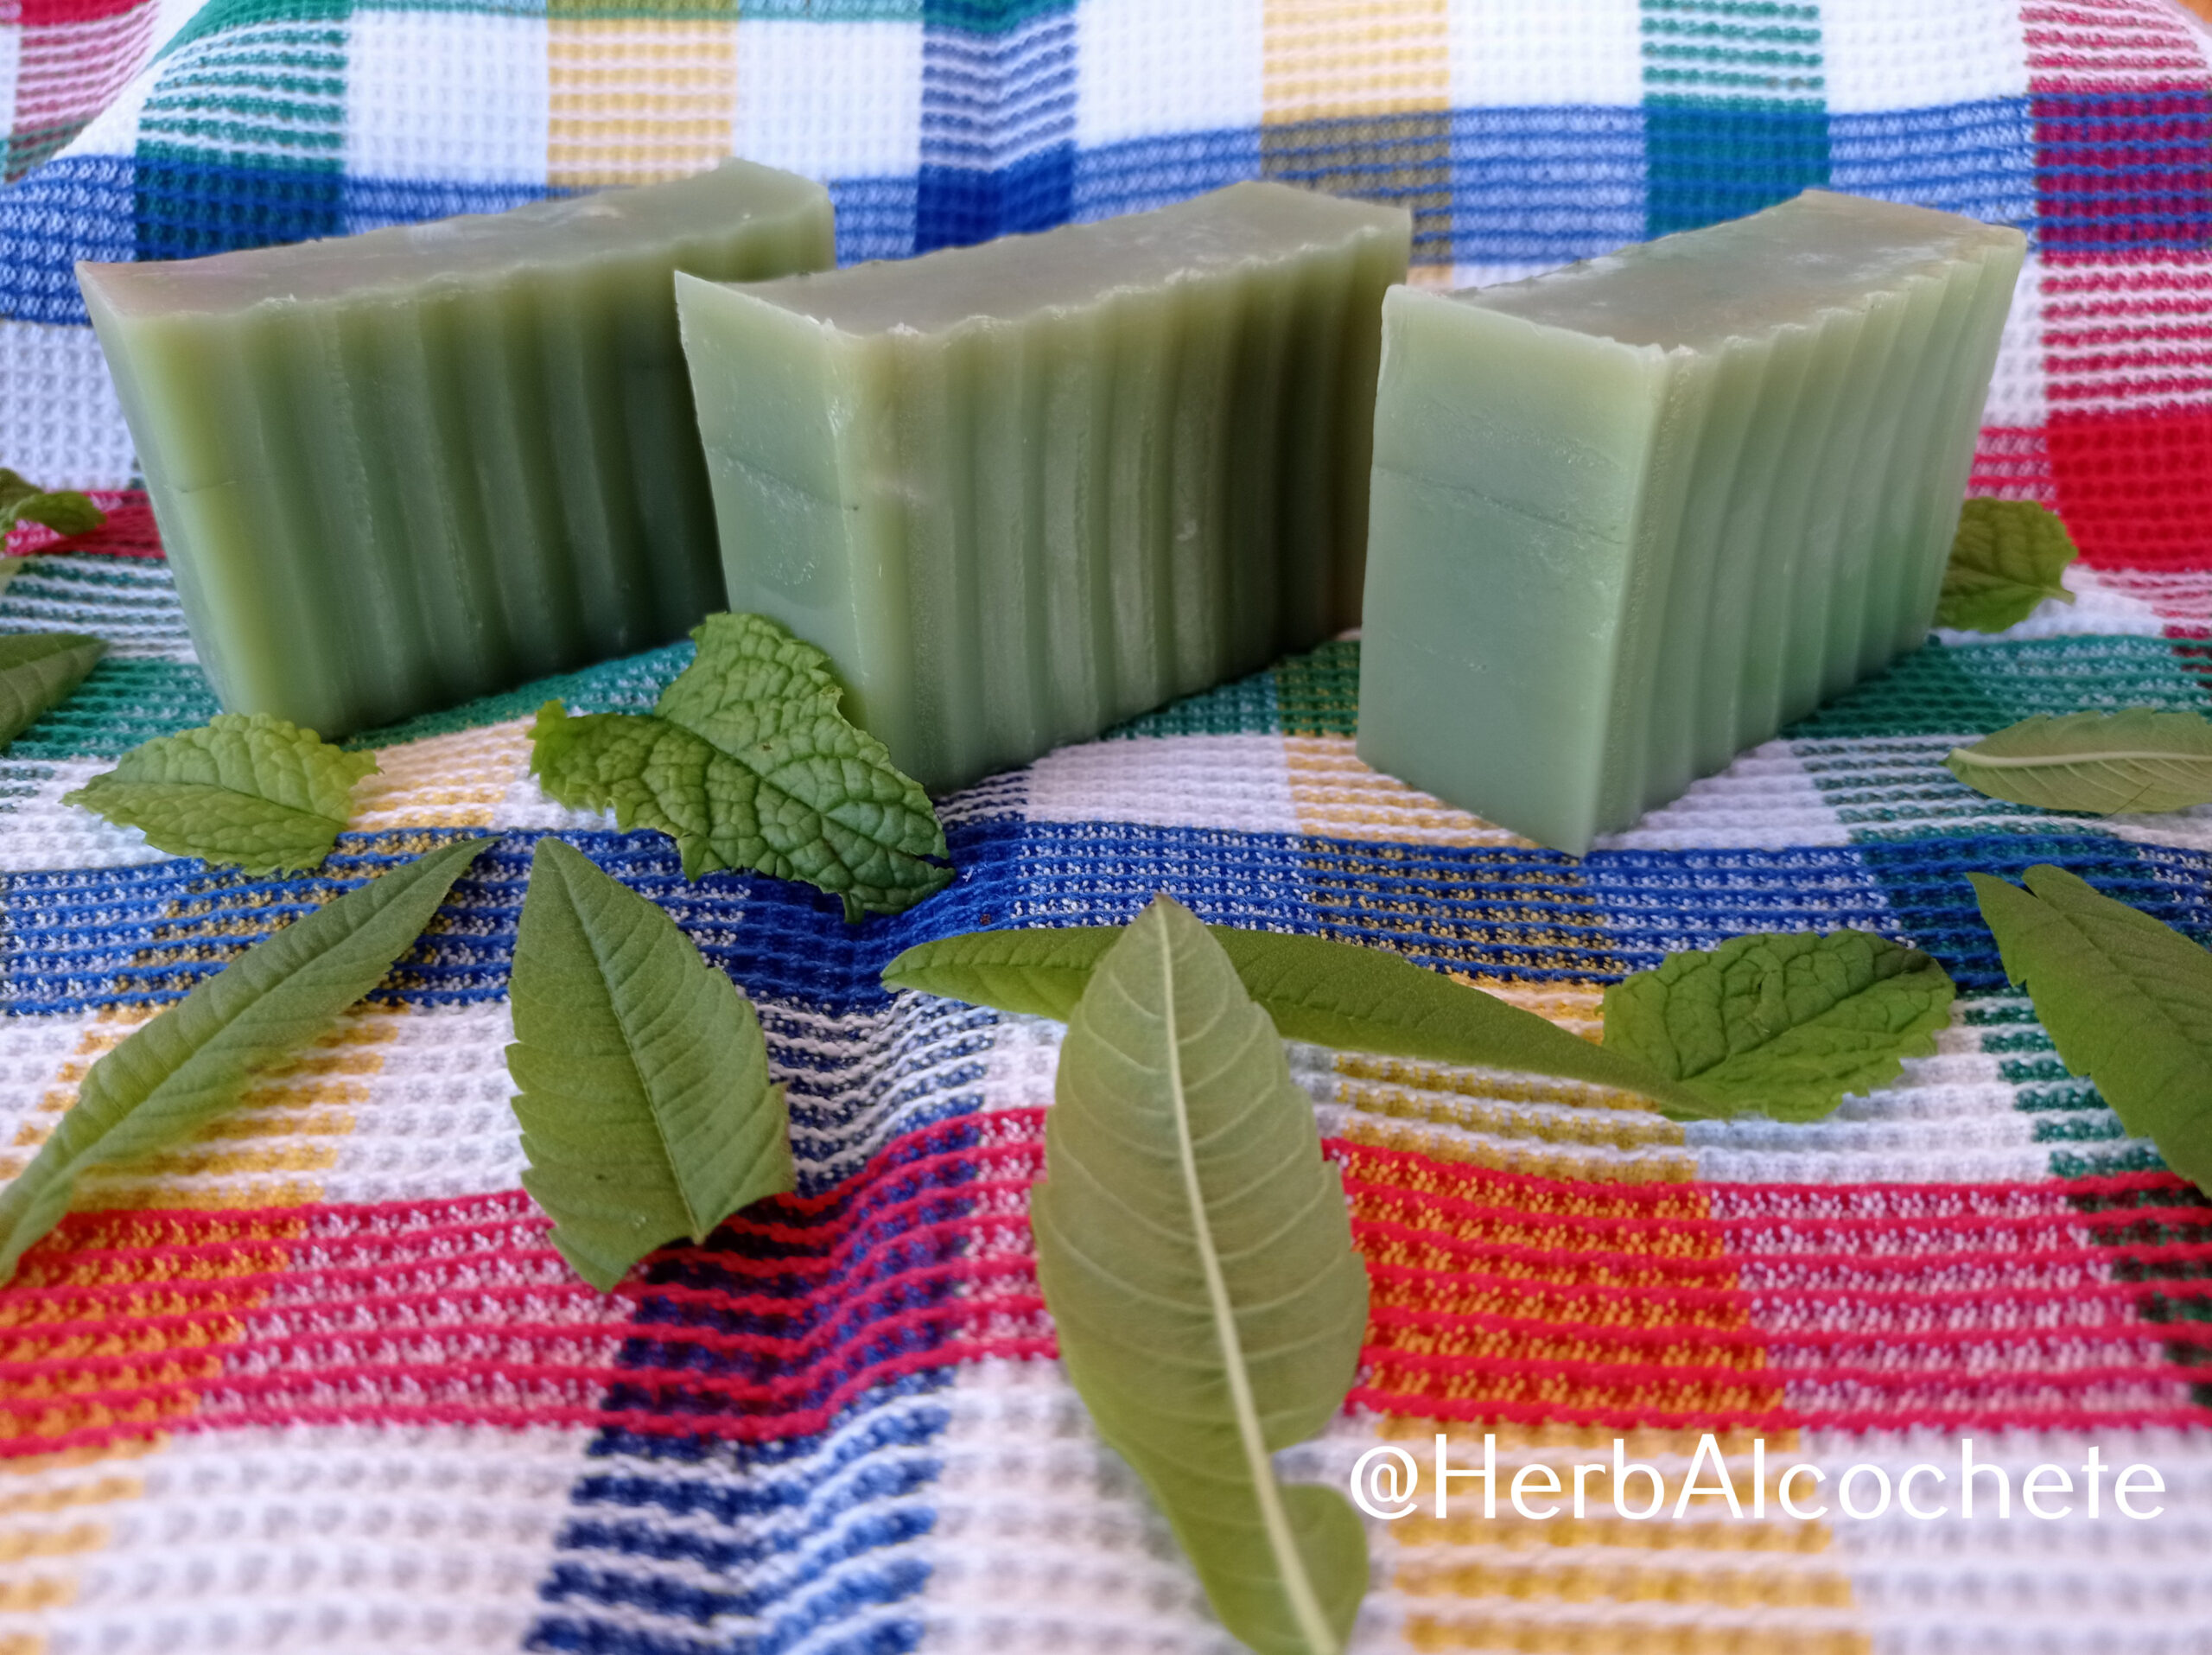
This recipe is a very simple melt and pour soap recipe, using an olive oil soap base, tea tree essential oil, and green chromium oxide colorant. And yet, the resulting soap is a pretty and rich glycerin soap with great medicinal properties and with a strong but very pleasant tea tree scent.
There are not many variants for this soap. You can either purchase the soap base, or make it at home. You can use tea tree essential oil alone or in a blend with other herbaceous essential oils (eucalyptus, rosemary, peppermint), but beware that tea tree is overpowering. And if you want to fully benefit from its properties, better to use it alone.
As colorants, I haven’t found a good natural green colorant so far. Therefore, I’ve simply used a mineral-equivalent green colorant. No need to use much of it. If you are afraid of allergies, skip it or use not more than 1/4 tsp. This is around 1g of colorant, for 1kg of soap is 0.1% of its ingredients. Add little bits of colorant until you are happy with the color.
I’ve used turmeric as well, as I was planning to make layers, but in the end decided to make this a plain green soap only with the small top decoration. Therefore, turmeric is optional, you can skip it.
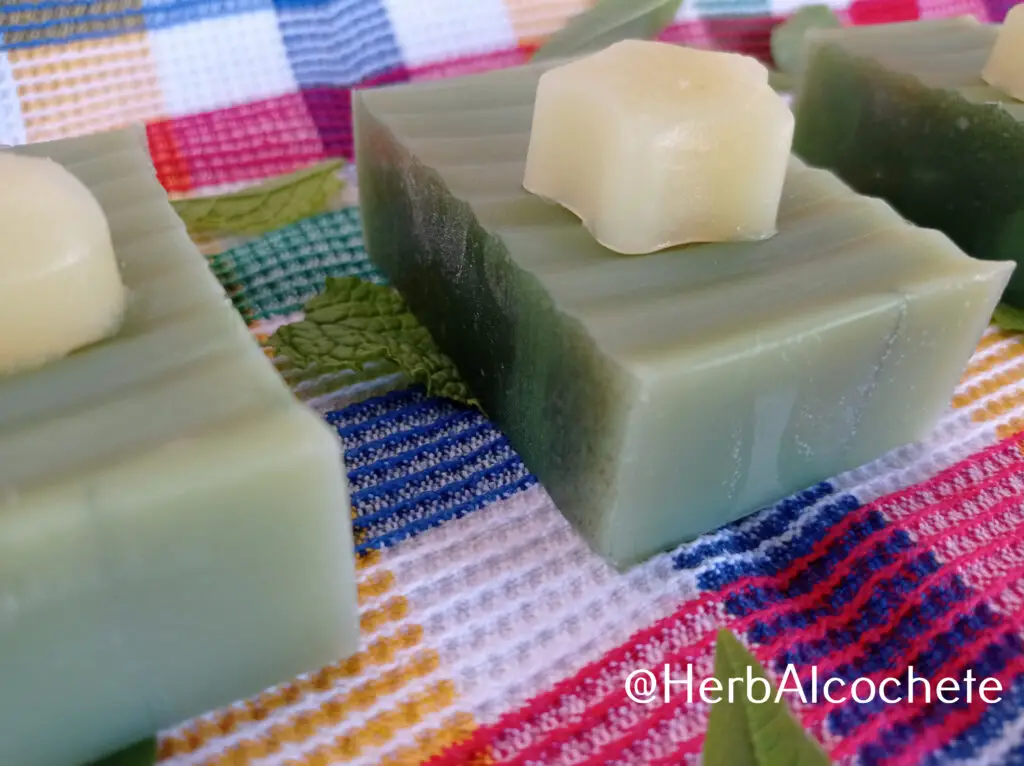
Adding Small Decorations To Your Soap
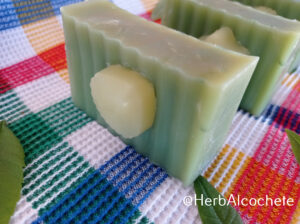
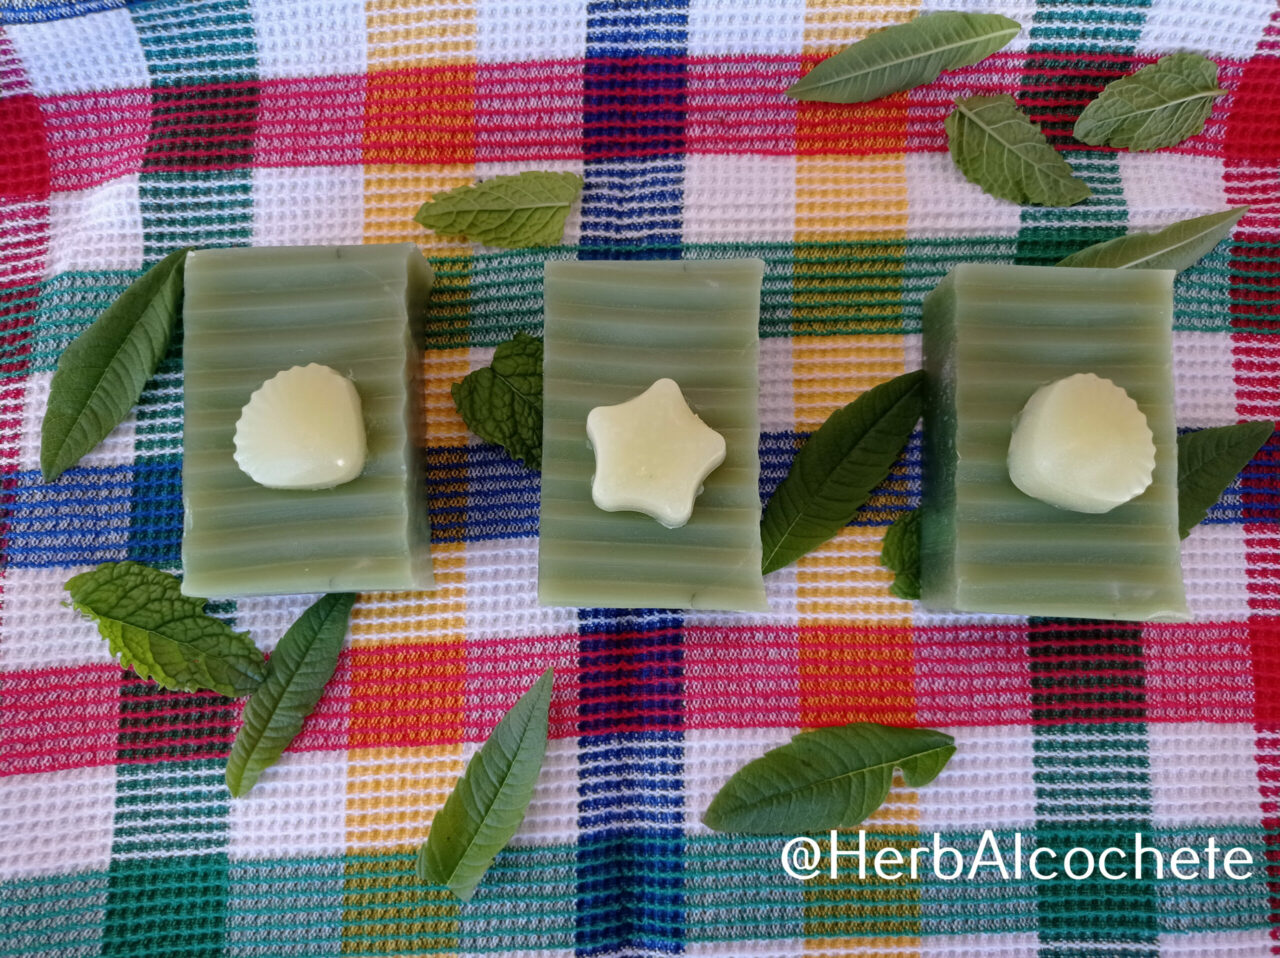
These small top decorative soaps are optional. They just make the soap cuter. I do like the plain green soap and left some bars without the small decorative soaps.
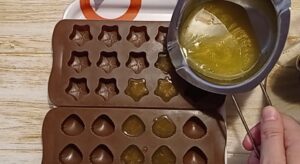
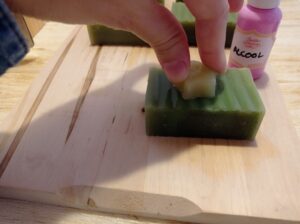
To make these small decorations in relief, you need to gather around 100g of soap base with a different colorant (I’ve used yellow) and small soap molds, like the ones used for chocolates. After your green soap bars have hardened, sprinkle its surface with alcohol, as well as the bottom of these small soaps. Place them where you want then press them hard for some seconds. Leave the soap to dry completely before handling the soap, or the small soap with slide away.
These small decorative soaps might get off easily from the soap bars with usage.
How To Use This Soap
In the shower or bath, wet your hands and rub your soap in them to create a lather. Wash your hands first, then repeat the process and apply soap to your whole body using the soap directly and your hands. You may also wash your face with it. Rinse hands and body abundantly. Also wash your soap from lather before placing it in your soap dish or bag saver.
Be aware that this soap might bleed color in first wash. It won’t stain your skin or any ceramics, and it will not release any color in coming washes.
Washcloths and sponges should be avoided. Avoid washing your intimate zone and your hair, soap pH in not adequate for those parts of your body. Avoid eye contact with soap to prevent stinging. Make a patch test before using your soap. Stop using your soap if you feel any immediate adverse reaction in your skin (red skin, rashes, itching).
To take best advantage of your handmade soap (made by yourself or store-bougth), read How Do You Use Handmade Soap?
Related Posts
- Melt And Pour Soap Base Recipes: Soap Bases Recipes Category
- Vegetable oils: Oil Properties For Soap Making
- Essential oils: Best Essential Oils for Soap Making
- Colorants: How To Color Your Soap With Kitchen Ingredients
- Melt and Pour Soap Tutorial: How To Make Melt and Pour Soap
- Melt and Pour Recipes: Recipes Using Melt and Pour Soap Base
- Beginner Recipes: Soap Recipes for Beginners
Melt and Pour Soap Making Tutorial Video
Melt and Pour Soap Making Lessons
The tutorials in this blog are a great – and free! – help to start with melt and pour soap making – even because it’s so easy to do. Practice is the next step to harness the art of making soaps at home. However, I understand if you prefer to have some formal lessons, where you will feel more supported with the steps. Feel free to join these courses at Udemy.
Equipment
- 2 Double boilers Simple water boiler
- Soap molds with small shapes
Ingredients
- 1 kg olive oil soap base
- 0.5 tsp green chromium oxide (CI 77288) green iron oxide
- 0.125 tsp yellow iron oxide (CI 77492) (optional)
- 0.125 tsp turmeric (optional)
- 2 tsp fine sea salt
- 20 ml essential oils blend
Essential Oil Blend
- 5 ml essential oil lime
- 15 ml essential oil tea tree
Instructions
Preparations
- You can make an olive oil soap base at home. Prepare it 2 weeks in advance.
- Gather all ingredients and equipment. A heat source will be required: microwave or a stove. I personally use a small eletrical stove.
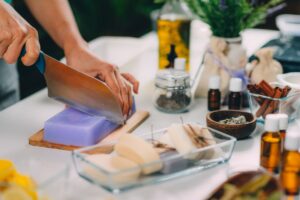
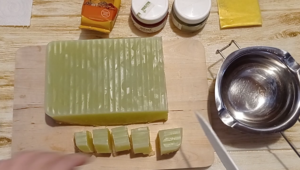
- Cut the melt and pour soap base into small cubes (2 cm x 2 cm x 2 cm). Pour them into your bowl or pan.1 kg olive oil soap base
Making Soap
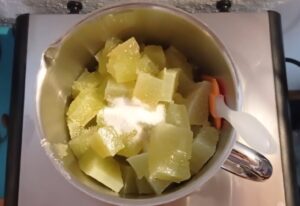
- Take it to an electric stove or the microwave and use medium-low heat (around 60 °C). Let the soap base melt completely. Spray with alcohol if bubbles or a solid pelicule at the surface.
- (Optional) Collect around 150 g of soap base and add a yellow colorant. You can use a tiny bit of turmeric or yellow mica. Pour it on a soap mold with small cute shapes to your liking.0.125 tsp yellow iron oxide (CI 77492)
- Remove the soap from heat. Add the colorants directly on the soap and mix very well. The soap color from this recipe was achieved with turmeric and green chormium oxide. But you can use only a green mica.0.5 tsp green chromium oxide (CI 77288), 0.125 tsp turmeric
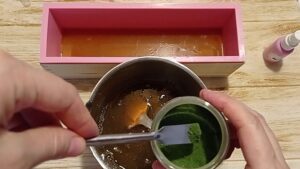
- Add the essential oils when the soap is at a low temperature without hardening (around 50 °C )20 ml essential oils blend, 5 ml essential oil lime, 15 ml essential oil tea tree
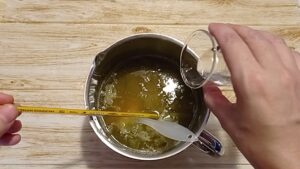
Mold and Cut The Bars
- Pour the soap into the large soap mold. Sprinkle the soap surface with alcohol to prevent bubbles and to even out the soap surface.
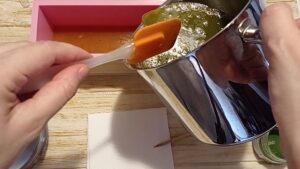
- Place the soap mold inside the fridge for 24 hours – it should harden in less time than that.
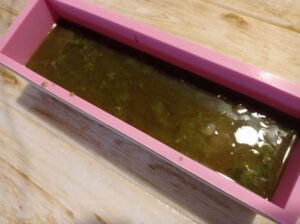
- Cut the soap into small bars with a soap cutter or a knife
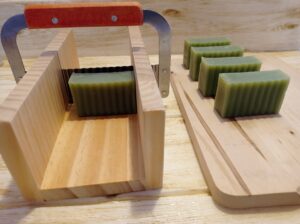
- If you made the small shaped soaps, it's time to apply them in your soap bars. Sprinkle the soap bars with alcohol then "glue" the small soap to the soap surface. You'll need to apply some pressure to "merge" both parts.
- Otherwise, your soap will still look pretty if you don't use the small soap bars.
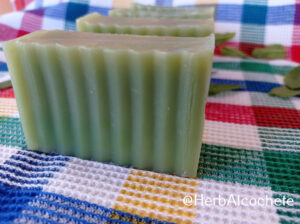
- Melt and pour soap should be wrapped in plastic wrapping film right after hardening. You can do that, especially if your soap starts to "sweat". However, my soap is curing in open air without any "sweating" signs.
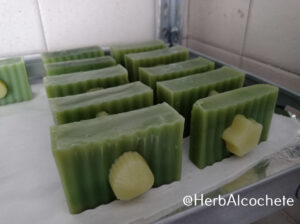
- Enjoy your lovely tea tree soaps!!
