
Servings: 10 soap bars
Cost: $5.3-$10.6 / 5€-10€
Equipment
- 3 Pitcher
Ingredients
Lye Water
- 398 g distilled water
- 145 g lye (100% sodium hydroxide)
- 20 g citric acid
- 2 tsp fine sea salt
Oils/Fat
- 300 g extra virgin olive oil
- 200 g sunflower oil
- 100 g castor oil
- 300 g refined or organic coconut oil
- 60 g sweet almond oil
- 20 g colloidal oat powder or oat flour
Add After Trace
- 10 drops grapefruit seed extract (GSE) (anti-oxidant)
- 30 ml essential oil blend blend1 or blend2 (avoid fragrances)
Essential Oil Blend 1
Essential Oil Blend 2
Colorants
Decoration
- cinnamon sticks
- star anise
Instructions
Get Ready!
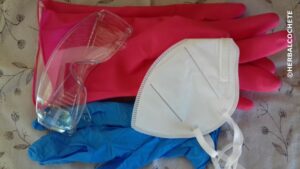
- Wear goggles and gloves! Look at “Safety Precautions” in the video above or in Soap Making Safety Precautions
- Watch the video above about "Cold Process Soap Making Tutorial" or read the post Learn To Make Cold Process Soap for instructions on cold process soap making before starting. These are generic but important steps for all recipes.

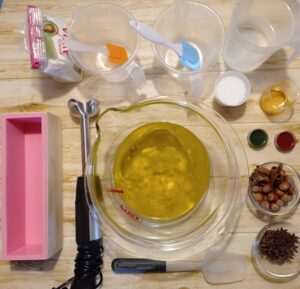
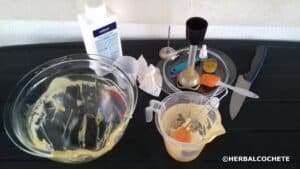
- Assemble everything: ingredients, equipment, safety equipment. Prepare your workstations. Measure all the ingredients. Don’t start the recipe without having everything ready!
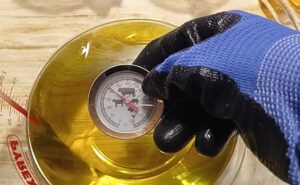
Heat The Oils
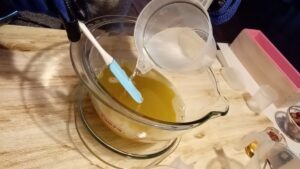
- Heat all your oils in a pyrex bowl at the microwave until the coconut oil melts completely. Use 1 min periods and check temperature. The oils shouldn't overheat (>
 60 °C)
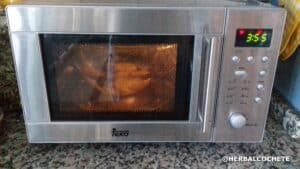
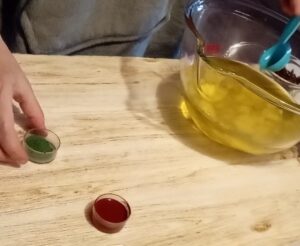
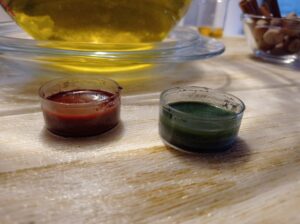
Prepare the Colorants
- Measure one tsp of red iron oxide into a small cup. Retrieve one tbsp of the heated oils into the cup and mix well. You can use a bigger cup than mine and use a milk frother to disperse the colorant well.
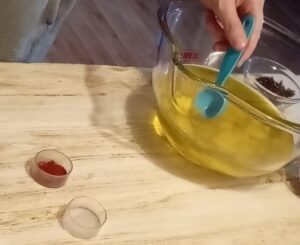
- Repeat the previous step with the green chrome oxide into another cup.
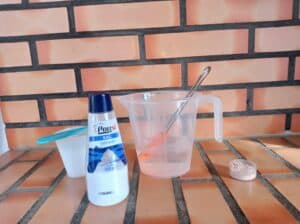
Make the Lye Water
- Make the lye solution according to How To Make Lye Water. Add the citric acid and fine salt before the lye (citric acid prevents soap rancidity and the fine salt helps harden the soap). Mix it until the vapors start to dissipate.
Make the Soap Batter
- Use as target temperature40 °C for the oil-solution mixture. The ideal would be to use lower temperatures but the palm oil and coconut oil may start to solidify. Lye can be hotter than the oils, but they should not have a difference of more than 10ºC/ºF between them.
- Add the oat powder to the oils and mix well. You can use the immersion blender to avoid any oat clumps.
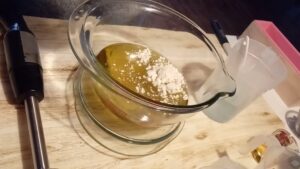
- Pour the lye into the oils carefully. Use a spatula or the edge of the bowl to avoid spillages.
- Mix oil and lye with the immersion blender.

- Reach a light trace with the immersion blender. Be very careful and spare the immersion blender pulses. It's very important to keep the soap batter very liquid along the recipe, so you have time to work the layers.

After Trace Ingredients
- Add the extract and your favorite essential oil blend. Mix with a spoon or spatula. You really should avoid to use fragrances in this recipe, as most of them cause soap acceleration.

Making Soap Layers
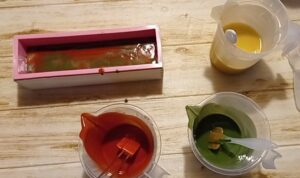
- From now onwards, be efficient and don't lose time. Divide your soap batter into 3 pitchers more or less 1/3 for each and have your colorant cups at the ready.
- Pour the red colorant into one pitcher and mix well with a spoon or spatula. Pour the green colorant into another pitcher and mix well, again with a spoon or spatula. The best is too keep a spatula or spoon per pitcher.
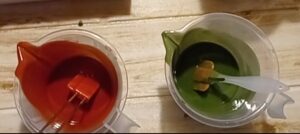
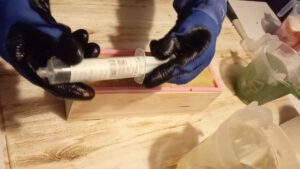
- Leave the third pitcher without any color, this will be the cream one. I've used red for the first layer, the cream for the last layer (top layer) and the green soap batter for decoration. But feel free to use a different order. Fill a cosmetic syringe with the green soap batter to use later on.
- Starting with the red soap batter, pour each color into the large soap mold with around 20 cm of height from the soap mold, back and forth, without being hasty. Learn the technique step-by-step in this cedarwood soap recipe. However, this soap batter should be more liquid and easier to work with.
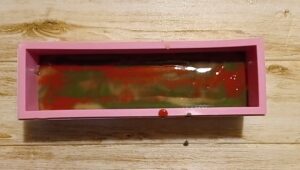
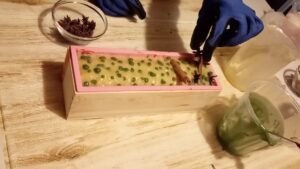
- Rotate the colors as you wish. Switch color more or less after covering a layer. At some point your soap mold should look like in the image.
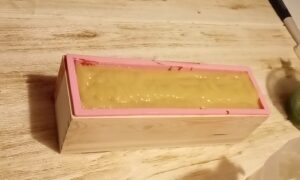
- Finish your last layer, making sure it covers the top of the soap. Your last layer should be now thick enough for some textures.
Decorating
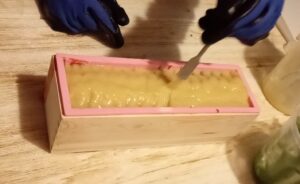
- As of now, you may follow these indications, or you may use your imagination to decorate the soap differently. Give texture to your last layer with a spoon.
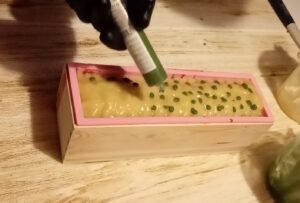
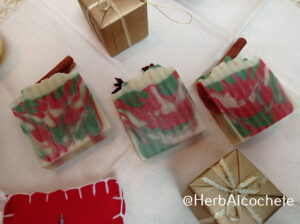
- With the cosmetic syringe filled with colored soap batter, make small cute "berries" at the top of the soap.
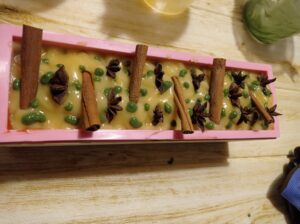
- Add cinnamon sticks and star anise to the top of the soap.
Cutting And Curing Soap Bars
- Sprinkle the soap with alcohol at the end to avoid soda ash.
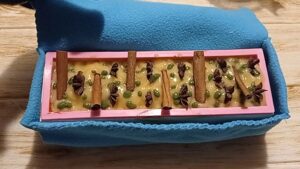
- To ensure your soap goes to gel phase uniformly, cover it with a blanket, or, best way, place it inside a preheated oven turned off.
- Learn how to clean all equipment with How to Clean Soap Making Equipment.
- Unmold and cut your soap bars using a soap cutter. Let the bars cure for 4-6 weeks. See How To Cure Soap and How Do You Store Homemade Soap?
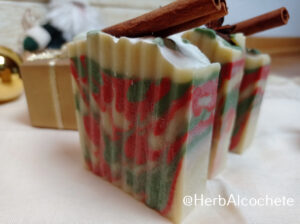
- Your Christmas soaps are ready for Christmas!! Enjoy!
Tried this recipe?Send a pic to @herbalcochete!