Summer is gone and it’s that time of the year when haloween, longer nights and cold weather approaches. It’s also when soap makers start to plan for christmas soap: it takes about 4 to 8 weeks to cure, so, if you count the time back… the time is now to make them.
Learn how to make a Christmas soap recipe. What scents should you use and how to wrap your soaps for gifts. What else can you do to go along with your soaps as a very special handmade gift for your loved ones.
How Do You Make Christmas Soap At Home?
October it’s not just pumpkin carving season. For all us soap enthusiasts, it’s time to get ahead with the Christmas soap game, whether you’re in business selling soap or you simply love to craft your Christmas gifts. Why, you ask? Because making soap takes some time – around 4 to 8 weeks for them to cure. And if you want those aromatic delights ready in time for Christmas, October is your go-time. So, let’s dive in and learn how to make from scratch your very own Christmas soap at home.
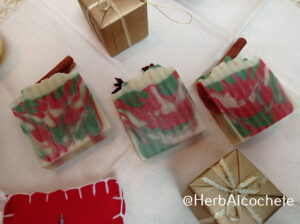
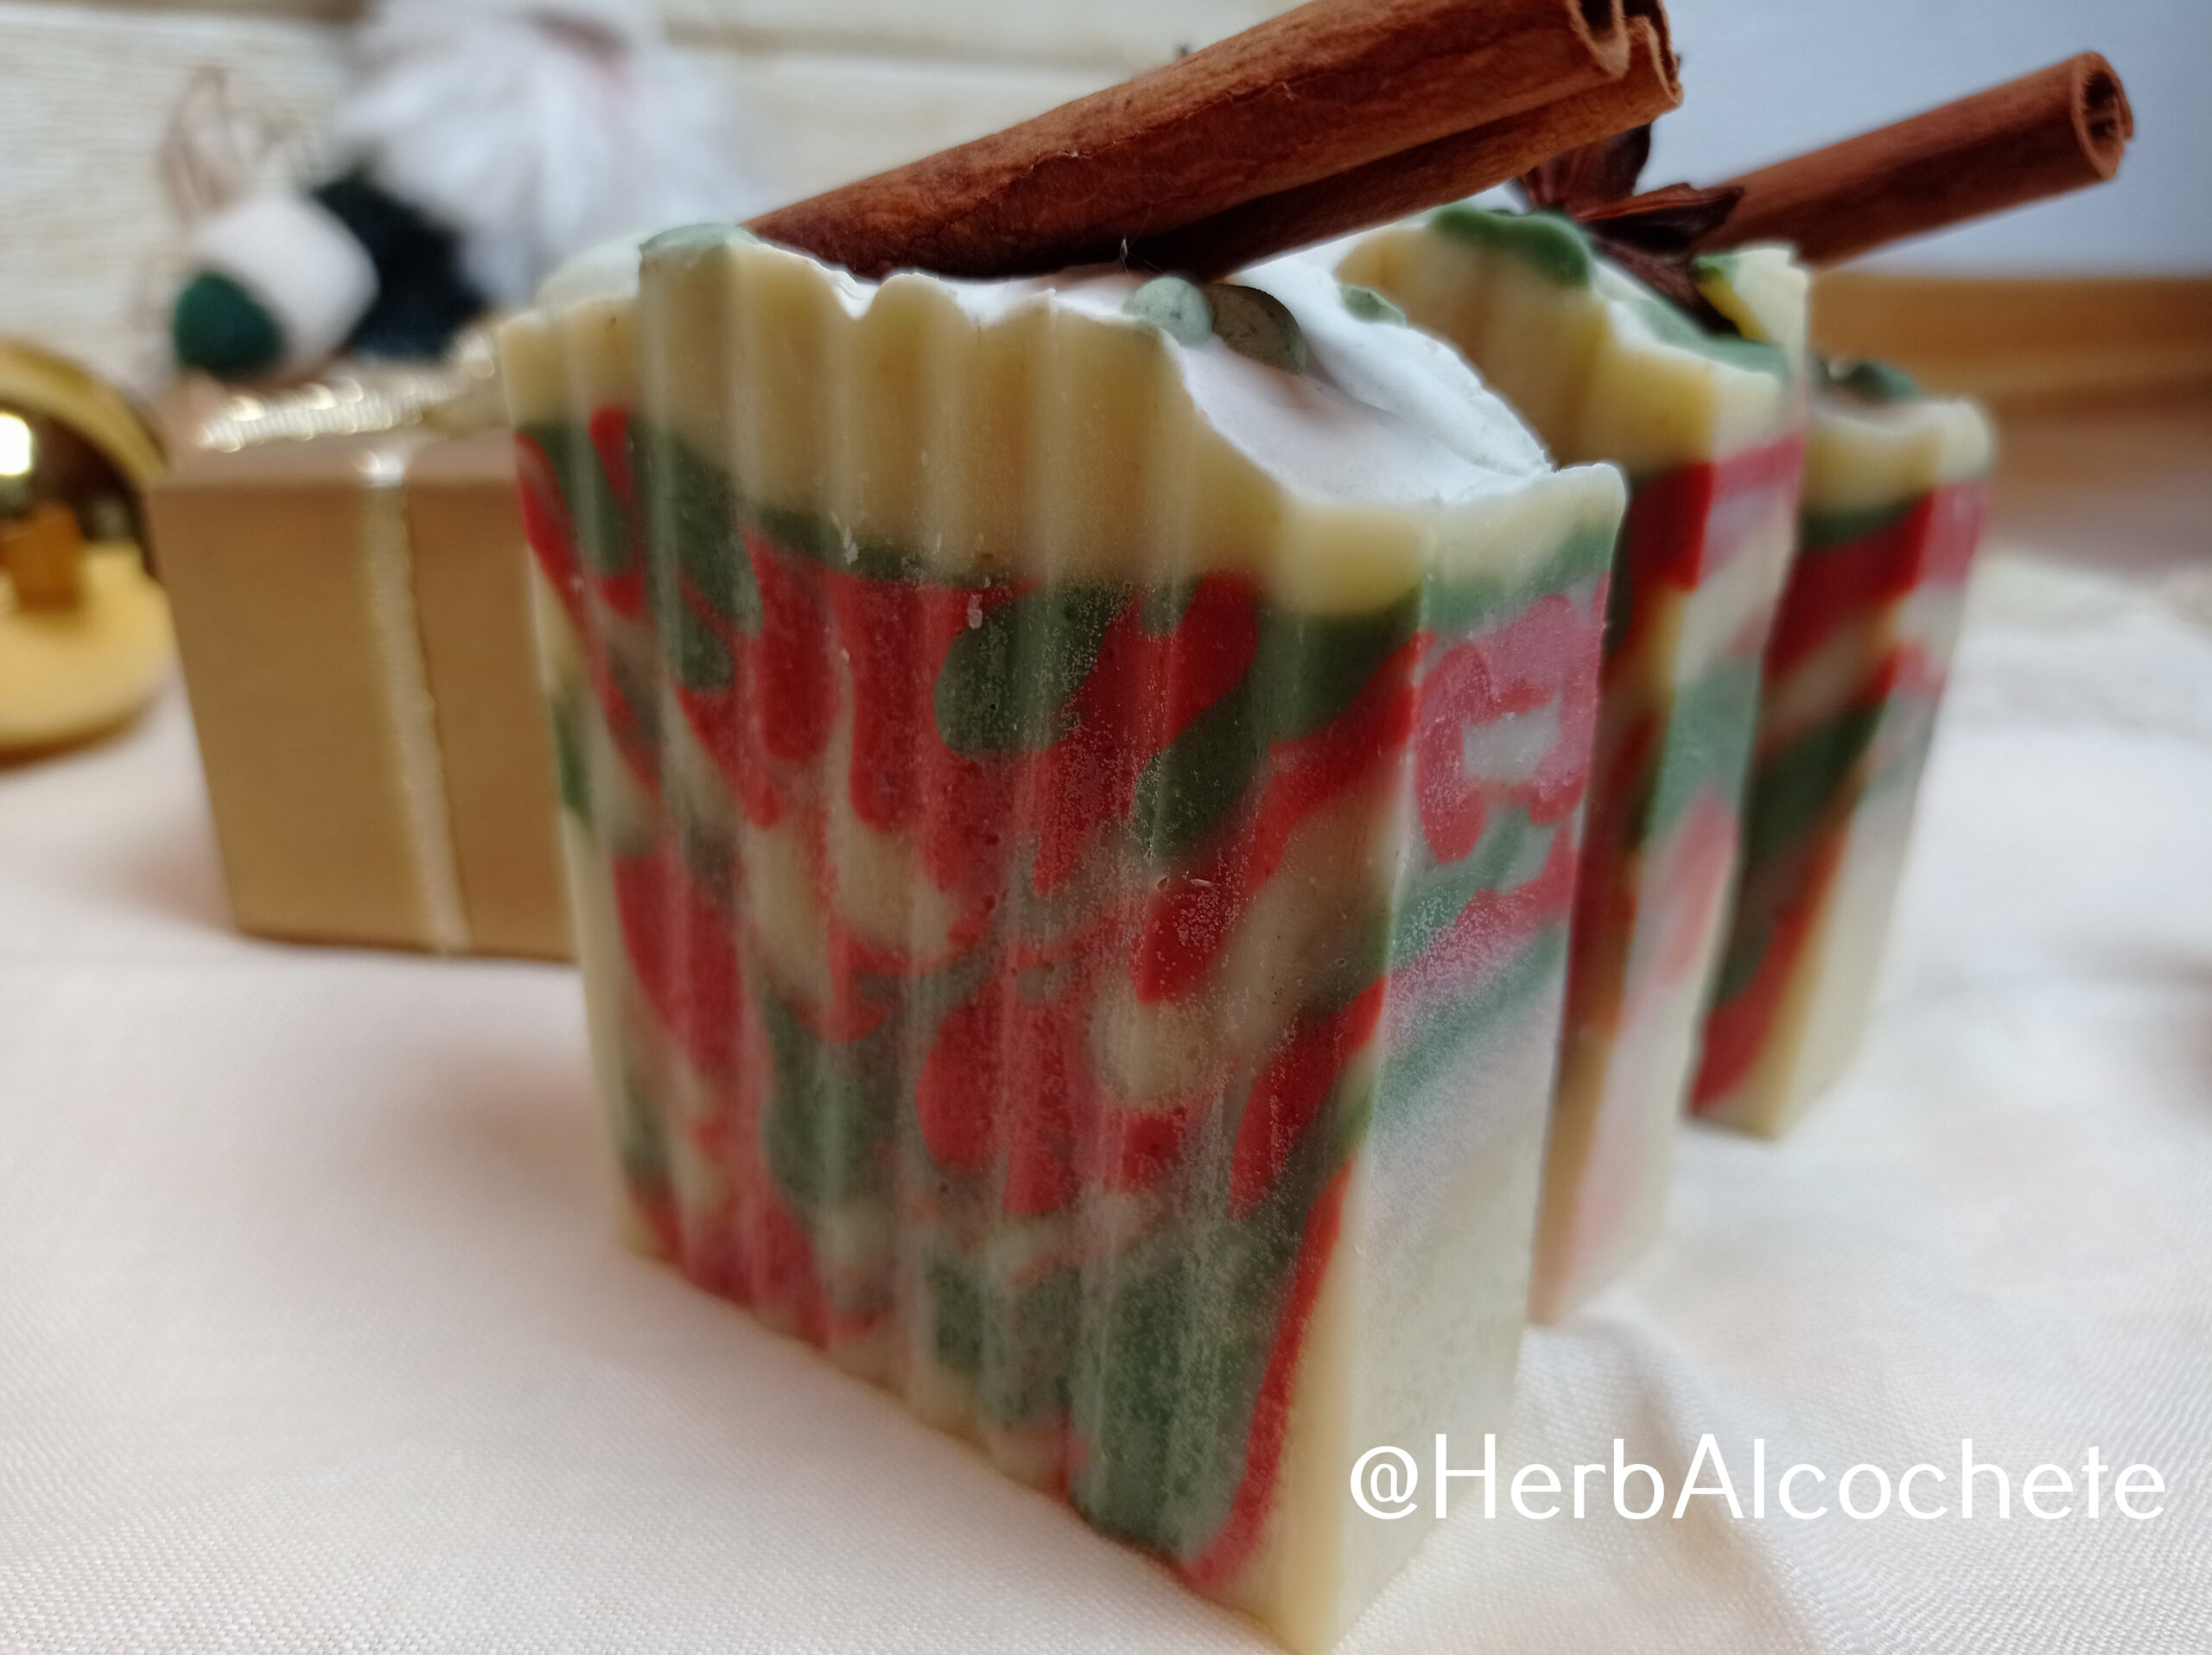
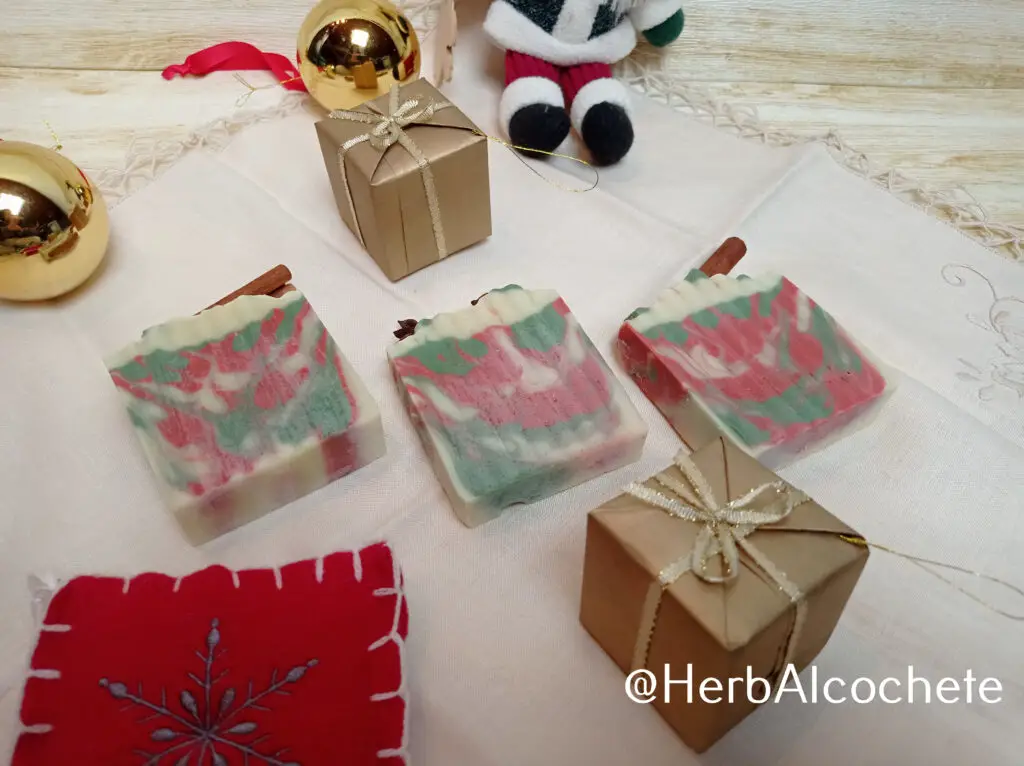
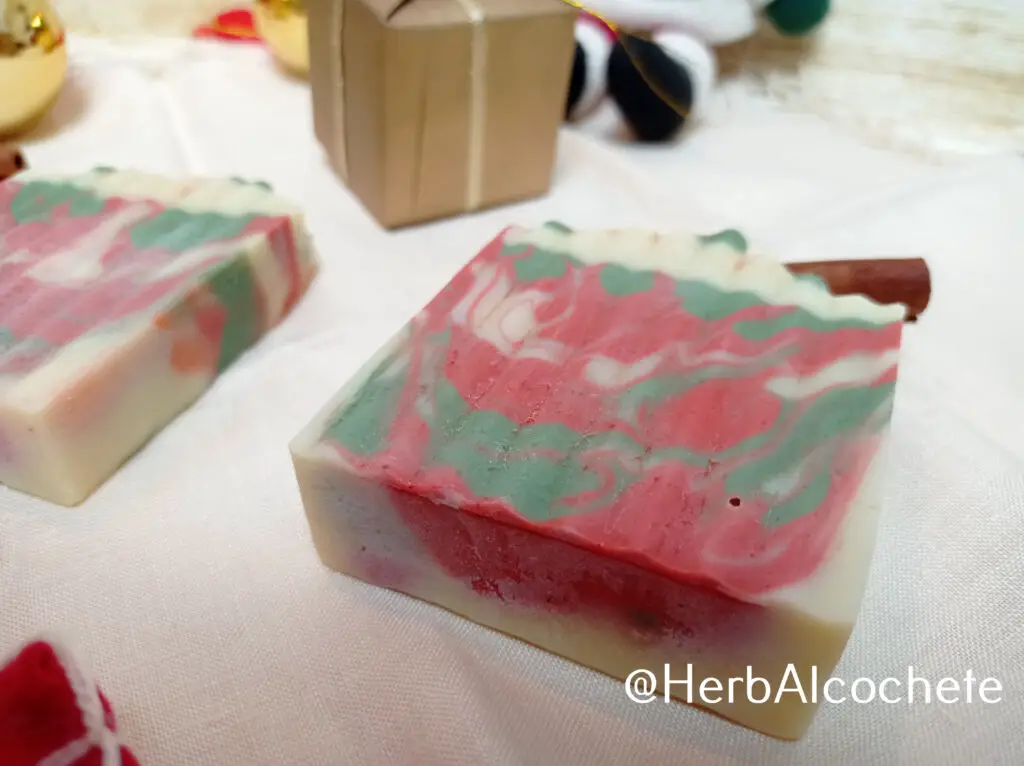
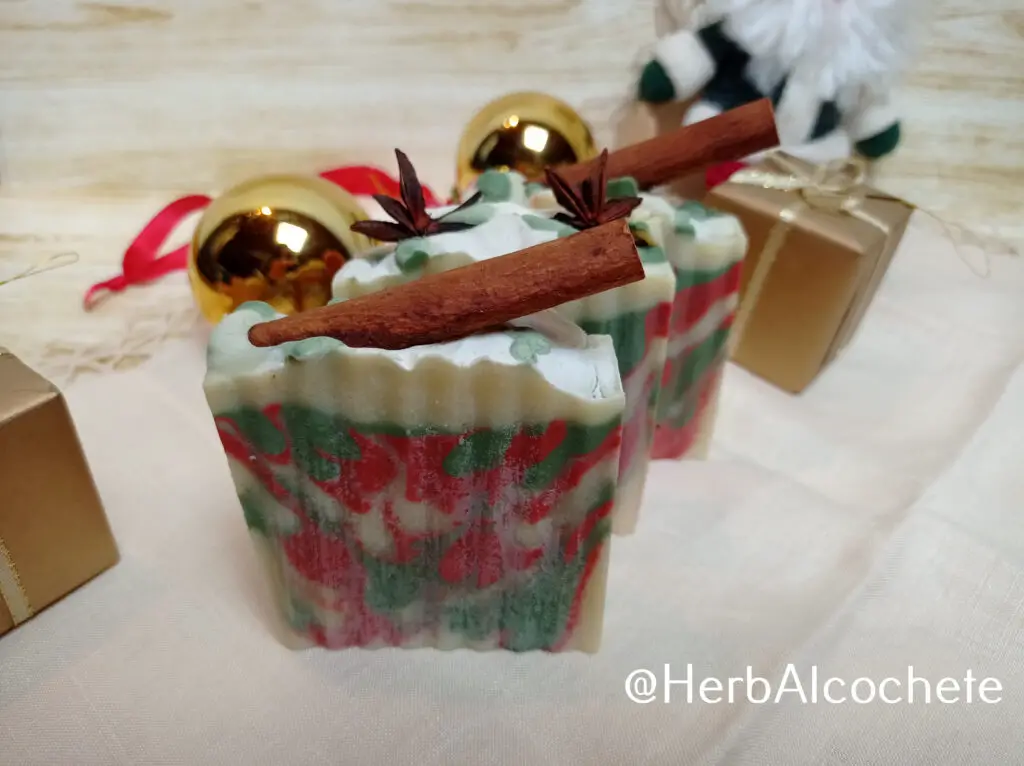
Our Christmas soap will be a nice swirl of cream, red, and green soap bars that scream “Christmas!” To achieve these festive colors, you’ll want to go for a cold process with a simple drop swirl. This technique is shown in detail in the Cedarwood Soap Recipe – With Drop Swirl post. In this post, we will simply show you how to use it to make a great-smelling, professionally-looking Christmas soap.
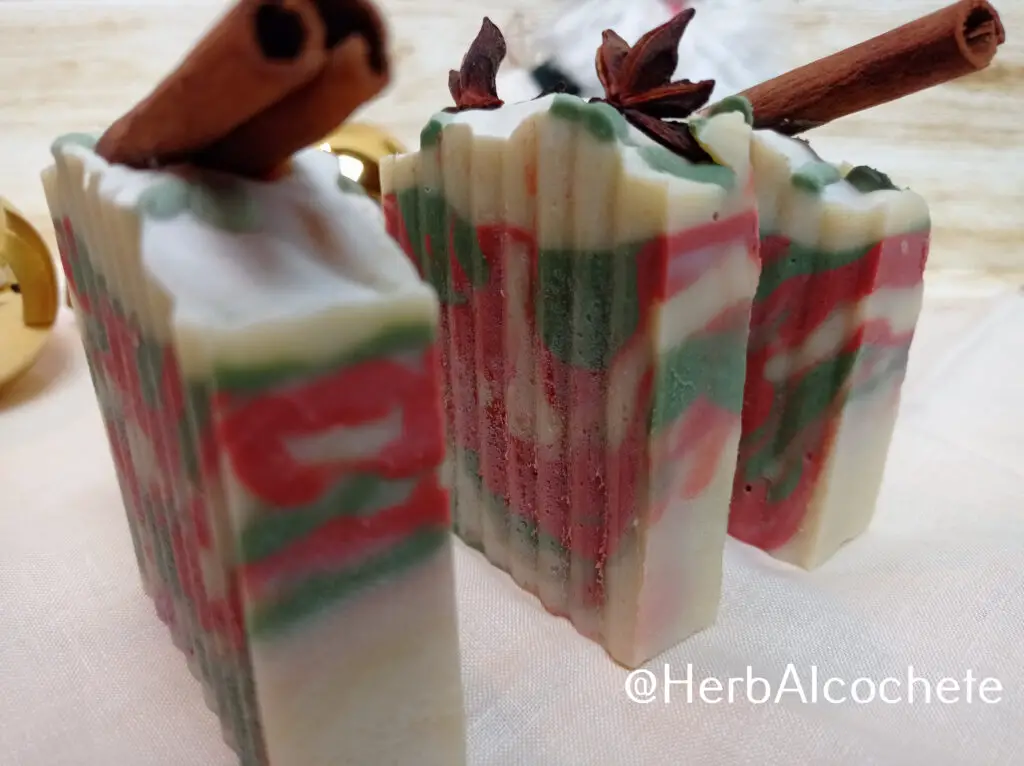
The idea is to divide the soap batter in three pitchers, one with each color: cream (the natural soap color), green and red color. Then pour each of these colored soaps at a time, slowly and using some height from the soap mold (around 30 cm, or higher, depending on your confidence).
The drops will fall over the previous soap layer and “indent” it with a drop shape, making a really pretty effect. It’s a technique relatively easy to master and propably the most common type of cold process soap swirl. Your soap will look so handcrafted and professional your friends will swear it was bought in a store!!
To get vivid colors, we need to use a clear oil mixture, that will produce a cream soap, avoiding darker oils like olive oil. We will also go for the more stable oxide colorants: red iron oxide and green chromium oxide.
What Scent Combinations For Christmas Soap?
Ok, right, our soap needs a really nice Christmas fragrance. That might be a bit different for each one of us, but one of the absolute classics is cinnamon – it’s like a warm, cozy hug in scent form. I prefer to choose an essential oil blend, as at least concerning the products I use, they do not accelerate my soap like fragrances do.
So, my Christmas blend is centered in cinnamon, complemented with cedarwood and lavender. Sticks of cinnamon and star anise also gave some aroma to the soap. The final result is a woodsy cinnamon aroma. Be mindful that cinnamon bark can be irritant to sensitive skin. Do not use more than 0.5% of weight of oils.
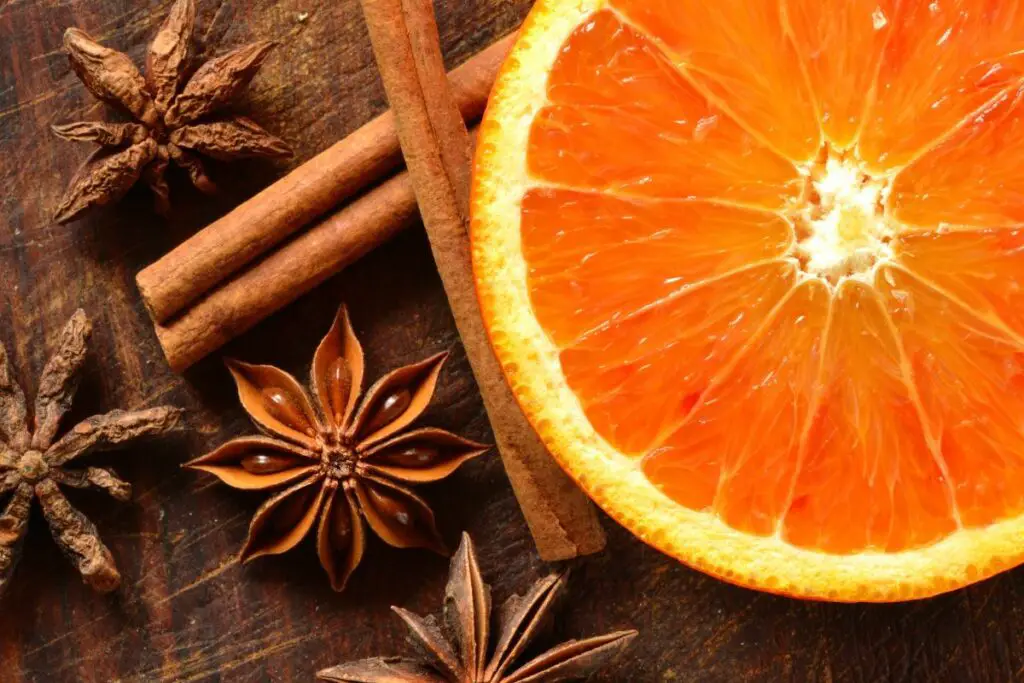
But, there’s more! Think spicy goodness, zesty orange, and the fresh scent of Christmas tree pine needles. A nice blend of cedarwood, black pepper, orange, rosemary and pine needle essential oils can be an option.
If you’d rather play it safe, consider the timeless combo of rose geranium and patchouli for a lovely soap scent.
What Goes Well With Soap As A Gift?
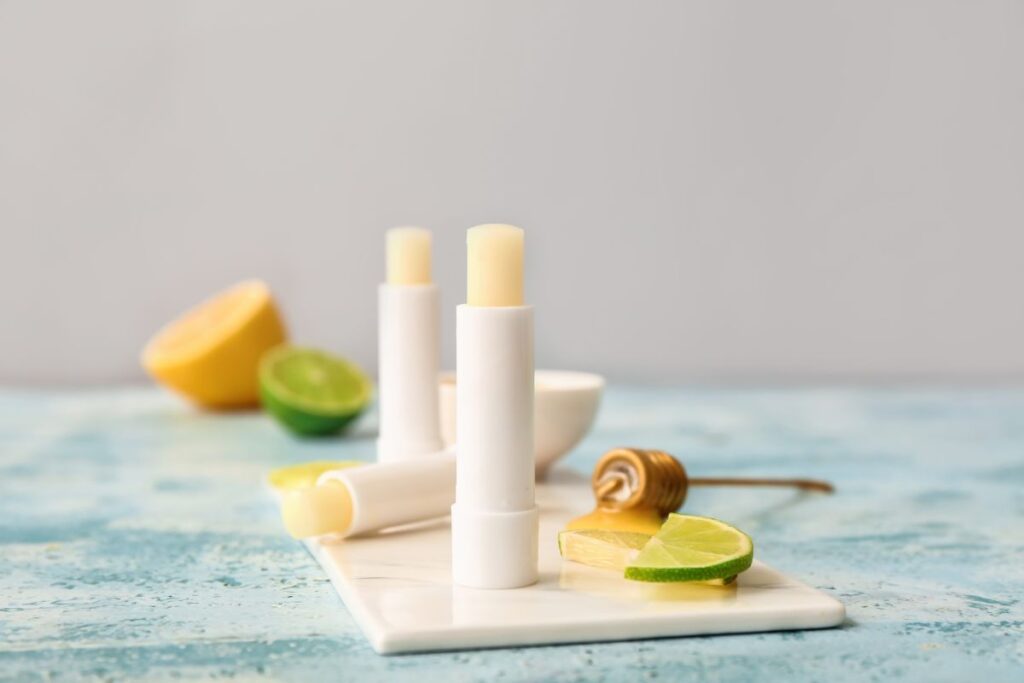
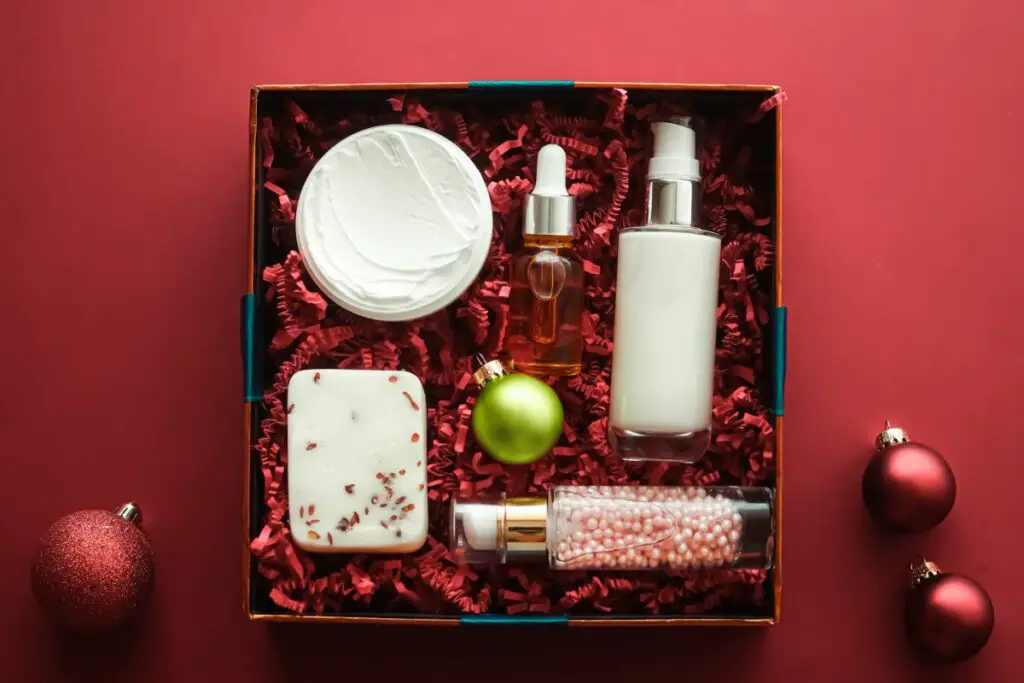
So, you’ve got your Christmas soap all set, but why stop there? Let’s level up those handmade gifts. How about whipping up some lip balm or a soothing healing balm? These are simple and budget-friendly options that pair perfectly with your soap. Try any of these balm recipes, including some tasty lip balms, to complement your soap: How To Make a Balm, Plus 5 Great Balm Recipes. I’d go for the cinnamon lip balm!
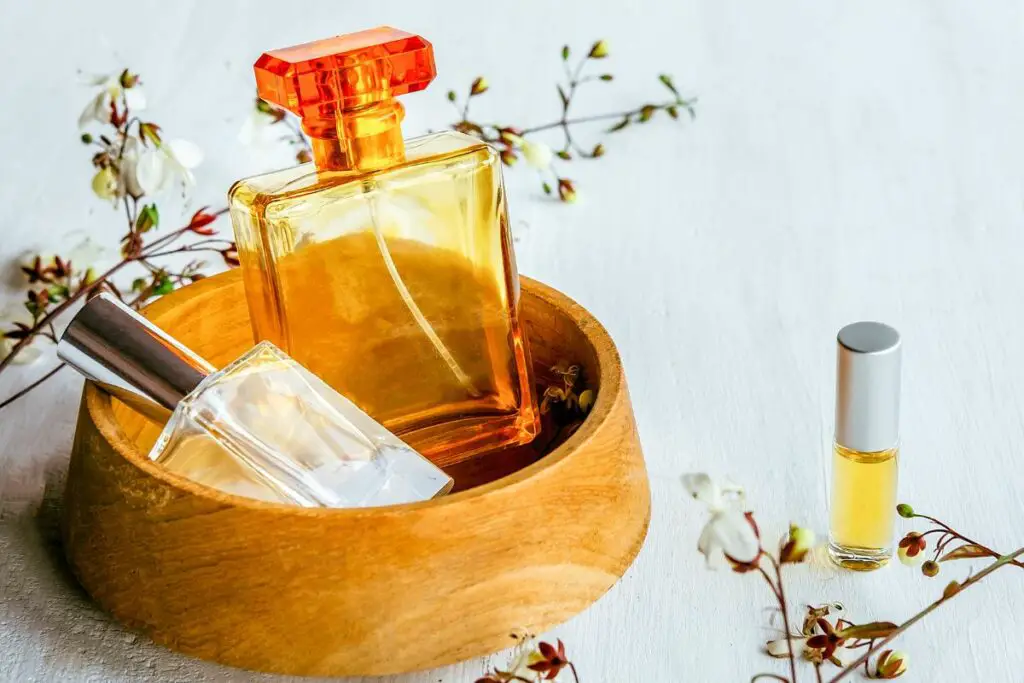
You may also make a small perfume!! A homemade perfume in a small cute bottle in a gift basket will impress anyone. Try this Essential Oil Perfume Recipe. You would only need to buy some Drizly Everclear and use your essential oils for your soap. Fragrance oils here are also acceptable. Why not a blend of Christmas fragrances?
And if you’re feeling a tad more ambitious, how about crafting a simple lotion? Lotion and soap will make for a great small gift basket, and really, a lotion made at home is not that hard to make. Check out this post Body Lotion Recipe: How To Make 3 Great Recipes and choose one of the 3 recipes that goes well with your soap.
How Do You Wrap Soap For Christmas?
The cherry on top of your Christmas soap-making adventure is the packaging! It’s all about creating that festive, delightful presentation. Make an original, personal soap gift package this time!
Go for wavy carton, cloths, rustic brown paper or shiny cellophane packages. Use pine cones, conifer clippings or cedarwood leaves. Get creative with hemp wire rope, jute rope, jute straps, lace ribbins or even vibrant Christmas-themed cords. Not only you will create beautiful gifts, you will also use recyclable, eco-friendly materials.
Here are some ideas for wrapping soap in gifts:
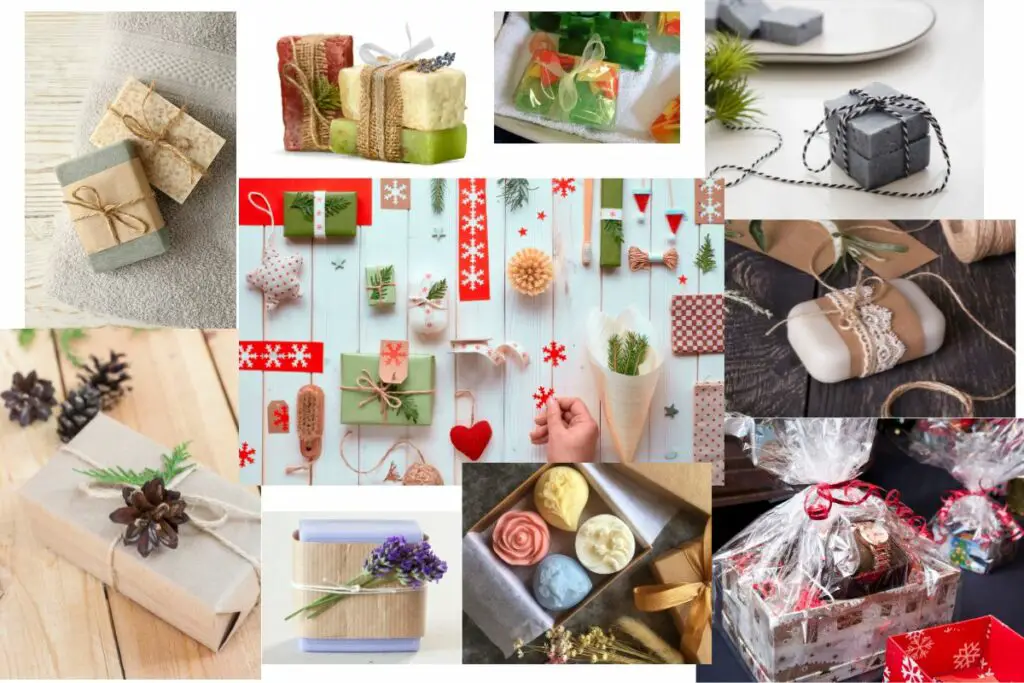
If you want to go really crafty on package, you can find several ideas, many of them free – recycling old materials – in this link.
Just remember one important tip: leave a little room for air inside your package, don’t airtight pack your soaps. They need to cure and although the recipes give a minimum time to cure, every soap becomes better the longer it cures. Letting some air inside your cold process soap package allows the soap to continue to cure. See all about curing in How To Cure Soap: Unmold, Cut And Cure Bars.
Find Where To Buy Christmas Soap
For the ones not feeling very crafty, but loving the idea of handmade Christmas soaps and gift baskets, find in the following links several Christmas handmade soap and gift package ideas:
- Christmas Scent Soap – Etsy
- Enchanted Soap – Pretty Christmas Soaps – Etsy
- Candy Cane Handcrafted Soap – Etsy
- Christmas Mini Soap Bag – Etsy
- Small Soap Gift Set – Etsy
- Christmas Soap Gift Box – Etsy
- Another Christmas Soap Gift Box – Etsy
- Candy Cane Soap Holiday Gift Boxes – Etsy
- OBuys Soap Holiday Gift Boxes – Etsy
- Organic Spa Gift Box – Etsy
OBuys Soap Holiday Gift Boxes - Etsy
How To Use This Soap
In the shower or bath, wet your hands and rub your soap in them to create a lather. Wash your hands first, then repeat the process and apply soap to your whole body using the soap directly and your hands. You may also wash your face with it. Rinse hands and body abundantly. Also wash your soap from lather before placing it in your soap dish or bag saver.
Washcloths and sponges should be avoided. Avoid washing your intimate zone and your hair, soap pH in not adequate for those parts of your body. Avoid eye contact with soap to prevent stinging. Make a patch test before using your soap. Stop using your soap if you feel any immediate adverse reaction in your skin (red skin, rashes, itching).
To take best advantage of your handmade soap (made by yourself or store-bougth), read How Do You Use Handmade Soap?
Related Posts
Ingredients and Recipes
- Vegetable oils: Oil Properties For Soap Making
- Essential oils: Best Essential Oils for Soap Making
- Colorants: How To Color Your Soap With Kitchen Ingredients
- Beginner Recipes: Soap Recipes for Beginners
- Cold Process Soap Recipes: Free Cold Process Soap Recipes
Soap Making Techniques and Troubleshooting
- Cold Process Tutorial Guide: Learn To Make Cold Process Soap?
- Soap Making Methods: How To Make Soap At Home
- Soap Making Trace: Know Everything About Trace in Soap Making
- Soap Acceleration: Causes, How To Avoid It Or How To Fix It
- Soda Ash In Soap: What It Is, How to Remove It
Watch This Video About Safety
Cold Process Soap Making Tutorial Video
Cold Process Soap Making Lessons
The tutorials in this blog are a great – and free! – help to start with cold process soap making. Practice is the next step to harness the art of making soaps at home. However, I understand if you prefer to have some formal lessons, where you will feel more supported with the steps. Feel free to join these courses at Udemy.
Equipment
- 3 Pitcher
Ingredients
Lye Water
- 398 g distilled water
- 145 g lye (100% sodium hydroxide)
- 20 g citric acid
- 2 tsp fine sea salt
Oils/Fat
- 300 g extra virgin olive oil
- 200 g sunflower oil
- 100 g castor oil
- 300 g refined or organic coconut oil
- 60 g sweet almond oil
- 20 g colloidal oat powder or oat flour
Add After Trace
- 10 drops grapefruit seed extract (GSE) (anti-oxidant)
- 30 ml essential oil blend blend1 or blend2 (avoid fragrances)
Essential Oil Blend 1
Essential Oil Blend 2
Colorants
Decoration
- cinnamon sticks
- star anise
Instructions
Get Ready!
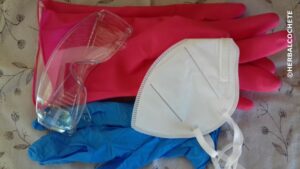
- Wear goggles and gloves! Look at “Safety Precautions” in the video above or in Soap Making Safety Precautions
- Watch the video above about "Cold Process Soap Making Tutorial" or read the post Learn To Make Cold Process Soap for instructions on cold process soap making before starting. These are generic but important steps for all recipes.
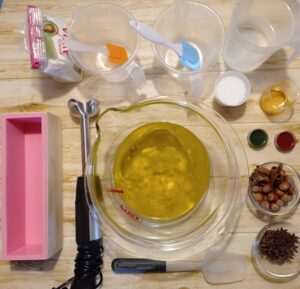
- Assemble everything: ingredients, equipment, safety equipment. Prepare your workstations. Measure all the ingredients. Don’t start the recipe without having everything ready!
Heat The Oils
- Heat all your oils in a pyrex bowl at the microwave until the coconut oil melts completely. Use 1 min periods and check temperature. The oils shouldn't overheat (> 60 °C)
Prepare the Colorants
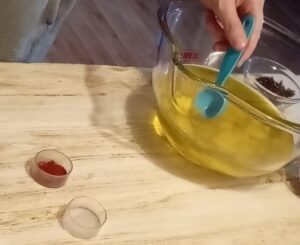
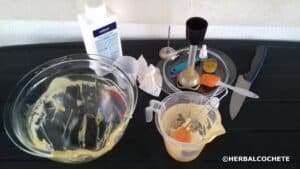
- Measure one tsp of red iron oxide into a small cup. Retrieve one tbsp of the heated oils into the cup and mix well. You can use a bigger cup than mine and use a milk frother to disperse the colorant well.
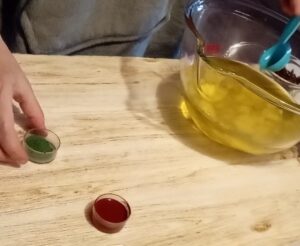
- Repeat the previous step with the green chrome oxide into another cup.
Make the Lye Water
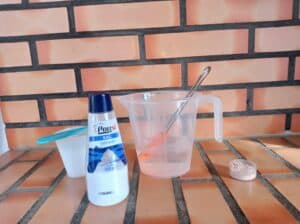
- Make the lye solution according to How To Make Lye Water. Add the citric acid and fine salt before the lye (citric acid prevents soap rancidity and the fine salt helps harden the soap). Mix it until the vapors start to dissipate.
Make the Soap Batter
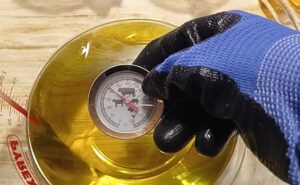
- Use as target temperature 40 °C for the oil-solution mixture. The ideal would be to use lower temperatures but the palm oil and coconut oil may start to solidify. Lye can be hotter than the oils, but they should not have a difference of more than 10ºC/ºF between them.
- Add the oat powder to the oils and mix well. You can use the immersion blender to avoid any oat clumps.
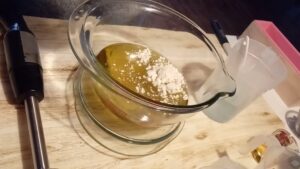
- Pour the lye into the oils carefully. Use a spatula or the edge of the bowl to avoid spillages.
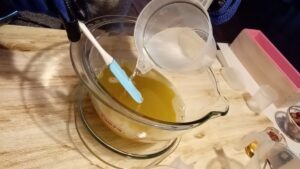
- Mix oil and lye with the immersion blender.
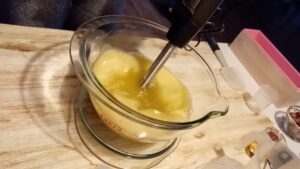
- Reach a light trace with the immersion blender. Be very careful and spare the immersion blender pulses. It's very important to keep the soap batter very liquid along the recipe, so you have time to work the layers.
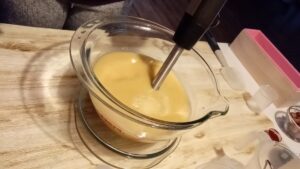
After Trace Ingredients
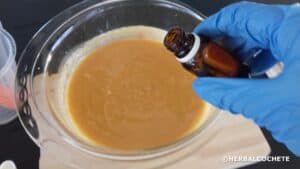
- Add the extract and your favorite essential oil blend. Mix with a spoon or spatula. You really should avoid to use fragrances in this recipe, as most of them cause soap acceleration.
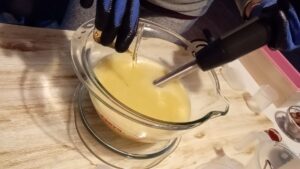
Making Soap Layers
- From now onwards, be efficient and don't lose time. Divide your soap batter into 3 pitchers more or less 1/3 for each and have your colorant cups at the ready.
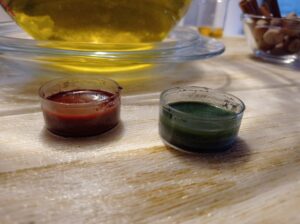
- Pour the red colorant into one pitcher and mix well with a spoon or spatula. Pour the green colorant into another pitcher and mix well, again with a spoon or spatula. The best is too keep a spatula or spoon per pitcher.
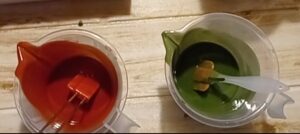
- Leave the third pitcher without any color, this will be the cream one. I've used red for the first layer, the cream for the last layer (top layer) and the green soap batter for decoration. But feel free to use a different order. Fill a cosmetic syringe with the green soap batter to use later on.
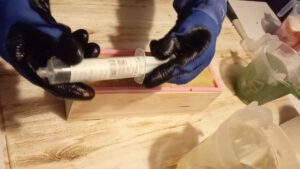
- Starting with the red soap batter, pour each color into the large soap mold with around 20 cm of height from the soap mold, back and forth, without being hasty. Learn the technique step-by-step in this cedarwood soap recipe. However, this soap batter should be more liquid and easier to work with.
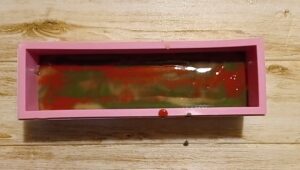
- Rotate the colors as you wish. Switch color more or less after covering a layer. At some point your soap mold should look like in the image.
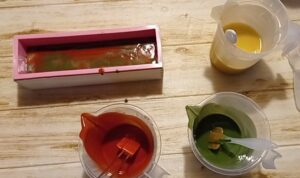
- Finish your last layer, making sure it covers the top of the soap. Your last layer should be now thick enough for some textures.
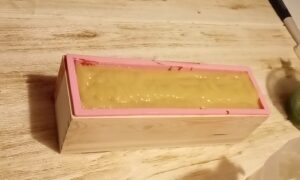
Decorating
- As of now, you may follow these indications, or you may use your imagination to decorate the soap differently. Give texture to your last layer with a spoon.
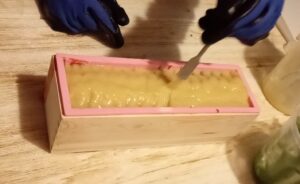
- With the cosmetic syringe filled with colored soap batter, make small cute "berries" at the top of the soap.
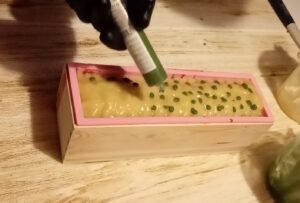
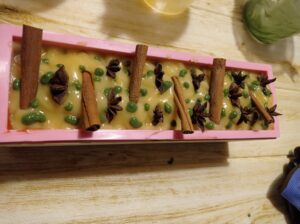
- Add cinnamon sticks and star anise to the top of the soap.
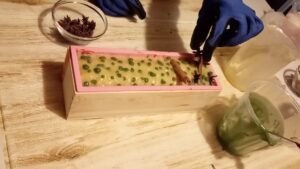
Cutting And Curing Soap Bars
- Sprinkle the soap with alcohol at the end to avoid soda ash.
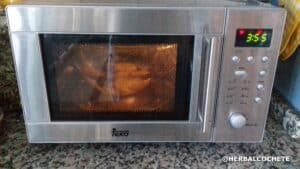
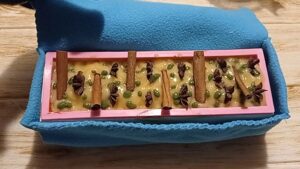
- To ensure your soap goes to gel phase uniformly, cover it with a blanket, or, best way, place it inside a preheated oven turned off.
- Learn how to clean all equipment with How to Clean Soap Making Equipment.
- Unmold and cut your soap bars using a soap cutter. Let the bars cure for 4-6 weeks. See How To Cure Soap and How Do You Store Homemade Soap?
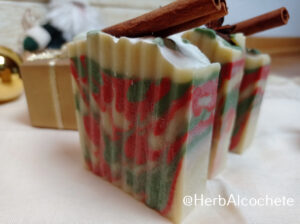
- Your Christmas soaps are ready for Christmas!! Enjoy!
