Are you intrigued by the elegance of clear soap and wondering how to create it yourself? Well, you’re in luck because today we’re going to learn how to make beautiful, simple soaps with this clear soap recipe. Get ready to embark on a soapy adventure!
Table of Contents
How Do You Make Clear Soap?
First and foremost, if you’re looking to make clear soap, it’s essential to start with a high-quality clear melt and pour soap base. This is the foundation of your recipe, so it’s crucial to choose the right one. When shopping for a soap base, look for a product specifically labeled as clear. This ensures that your soap will have a translucent appearance, giving it that beautiful transparent quality. Avoid bases that have a yellowish or cloudy tint, as this can affect the clarity of your final product.
If you’re feeling adventurous and want to take your soap-making skills to the next level, you can make a clear, ice-like soap base at home! Check out the recipe and instructions in How to Make Transparent Soap Base.
The secret for making glycerin soap is the addition of solvents to the oils-lye water mixture. And the secret to make a crystal-clear soap base at home is to use stearic acid with the oils and the right temperatures. It’s very easy to turn your soap base yellowish (the sugar syrup will go brown easily with high temperature), so make sure you don’t overheat the soap batter.
Have in mind that a homemade soap base is not exactly as a commercial one. The later ones are designed for stability, good foam, and the ability to remelt and add addictives without compromising its properties. A homemade soap base is definitely more natural, but also more sensitive. If possible, make your soaps right after your prepare the soap base (when it’s still liquid), for the best possible soap quality. Of course, you can use your soap base later on by remelting it. But it can turn a bit yellowish, or addictives might not be able to incorporate so well.
Colorants, Fragrances and Addictives
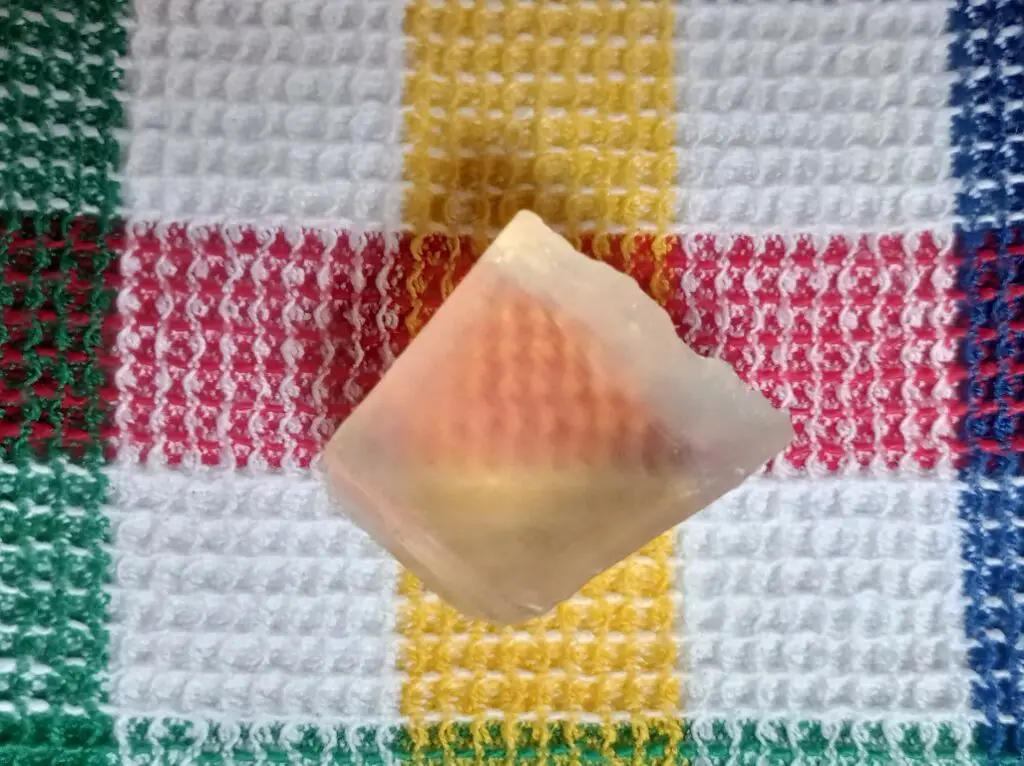
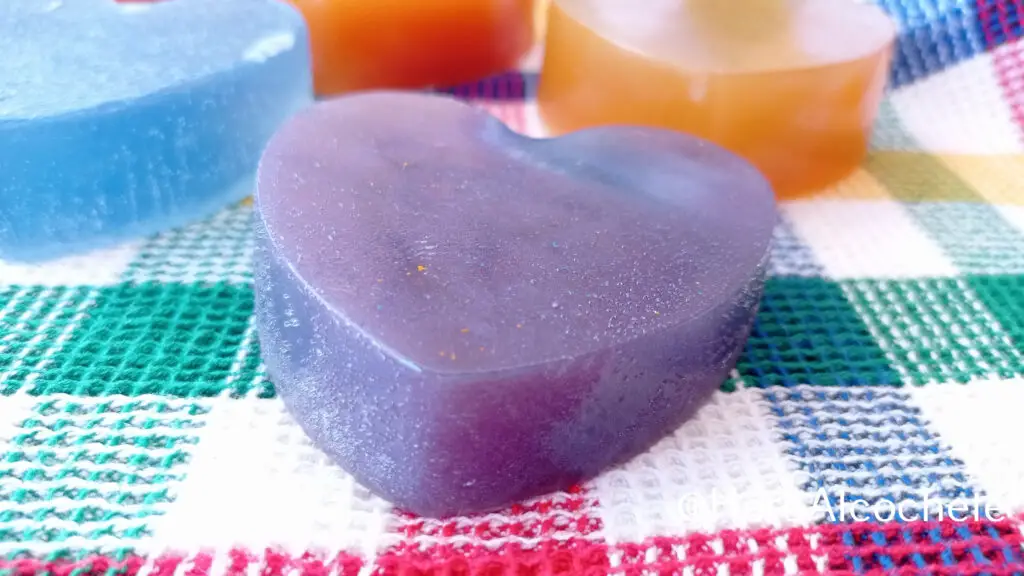
Once you have your clear soap base ready, the next step is to personalize it with colors, fragrances, and additives. You can incorporate natural colorants such as clays or spices like turmeric or paprika. Beware, the color of some of these natural ingredients will fade with time.
For more vibrant, stable colors, go for mineral colorants: ultramarines, iron or chromium oxides. These mineral colorants for soap making are still considered natural ingredients, even though they are manufactured to make the minerals safe (by removing harmful heavy metals).
Use little quantities of colorant if you really want to keep your soap highly transparent. More than 1/16 of a teaspoon, depending on the colorant, and the soap becomes opaque. The best way is to add very little colorant at a time until you are satisfied with the color and soap transparency.
Essential oils or fragrance oils can add delightful scents to your soap. As your soap has gone through saponification already, the addition of essential oils will also add plant properties to your soap, without the concern of having them destroyed by saponification. In theory, fragrances and certain additives can sometimes alter the clarity of the soap or cause discoloration. In practice, I didn’t observe it with transparent soaps so far. But beware, as it might happen. Make a test on small batches or only on one soap, to be on the safe side.
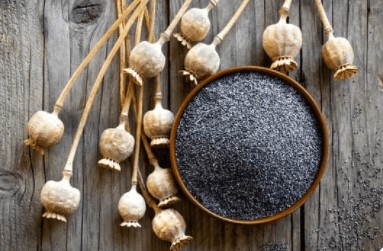
If you prefer, you can also include exfoliants like finely ground oatmeal, poppy seeds, or coffee grounds to enhance the texture and exfoliating properties of the soap. A great, beautiful exfoliant soap is achieved by using loofah slices.
Some recipes use oils as addictives (superfat). With this, I did have bad experiences, with the oils separating from the soap base, therefore, I don’t advise it. If you make the soap base at home, add your superfat when making the soap. Use Mendrulandia soap calculator to adjust oils and lye water quantities. However, my soap base recipes already have a superfat of 5%, so you don’t really need to worry about it. If you are purchasing your soap base, follow the manufacturer’s instructions about addictives, and see if you can add an oil or butter.
When it comes to molding and pouring your soap, remember to work quickly. Clear soap bases tend to solidify faster than opaque ones, so pour your mixture into the mold promptly to prevent any premature setting. After pouring, allow your soap to cool and harden completely before removing it from the mold. This ensures that your bars will maintain their clarity and structural integrity.
Is Glycerin Soap Transparent?
Ok, before we dive into the recipe, let’s take a moment to talk about glycerin soap and address some common misconceptions. Transparent or translucent handmade soap is often referred as glycerin soap. This unique characteristic can be achieved by incorporating solvents like alcohol into the soap mixture, which helps break down the soap crystals and allows light to pass through, resulting in a transparent appearance.
The extra liquid glycerin is included in glycerin soaps to counteract the potential drying effect caused by the addition of solvents. While solvents contribute to the soap’s transparency, they can also strip the skin of its natural oils, leaving it feeling dry and tight. By incorporating additional liquid glycerin, soap makers aim to retain the moisturizing benefits of glycerin while maintaining the soap’s transparency.
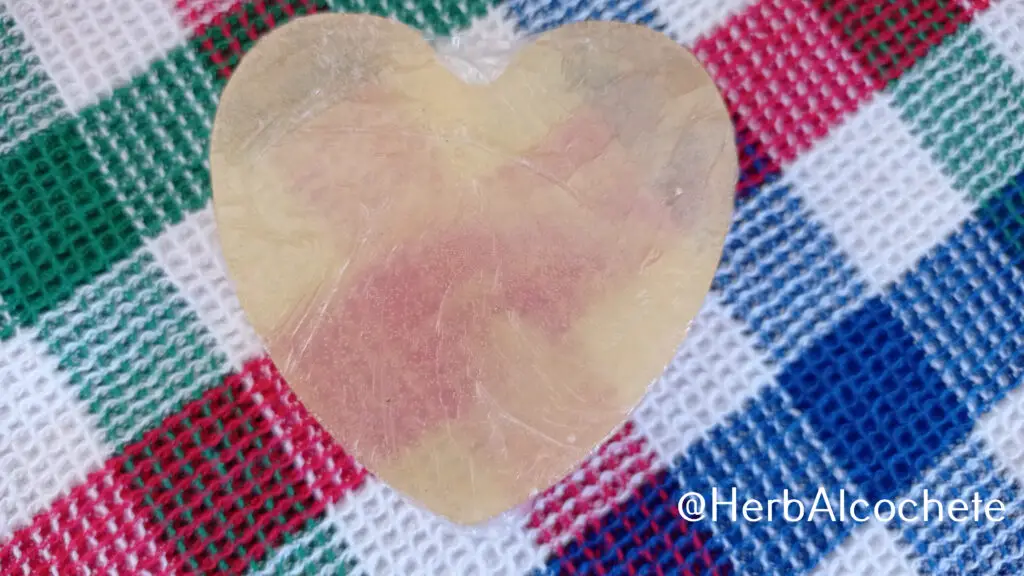
It’s important to understand that all handmade soaps contain natural glycerin. Glycerin is a byproduct of the saponification process, which is the chemical reaction that occurs when oils or fats combine with an alkali, such as lye, to create soap. So, technically speaking, any handmade soap is, in fact, glycerin soap. What sets apart the soaps we commonly refer to as glycerin soap is the addition of extra liquid glycerin and solvents. And, obviously, being transparent.
Glycerin soap is often favored for its clarity, which allows you to see any embedded botanicals, colors, or other decorative elements within the soap. It also gives the soap a luxurious and visually appealing look.
Is Glycerin Better Than Non Glycerin Soap?
All handmade soap is glycerin soap, as we know now, including what we know as glycerin soap (clear soap). On the other hand, commercial soaps usually use synthetic detergents or see their natural glycerin removed, becoming non-glycerin soaps. Non-glycerin soaps are more drying and less mild to skin, because glycerin acts as an humectant, trapping moisture in your skin. Therefore, glycerin soap, or any handmade soap, is usually better than non-glycerin soap.
The only exception might be when you use a soap with synthetic detergents with low pH. Handmade soap has high pH, which is usually not a problem for a healthy skin. However, if your skin is sensitive, or you wish to use soap over baby skin, a 5.5 pH soap might be a better alternative. Why? High pH is also drying for skin, and can be irritant.
Again, there’s another misconception that handmade soap, because it has a high pH, is drying and irritating. Most handmade soap recipes and formulas available on the net contain superfat, or unsaponified oils, which helps moisturize your skin, along with natural glycerin. The high pH effect, on healthy skin, is eliminated a couple of hours after your bath, when your skin has produced enough natural sebum, which is acidic, to balance skin pH.
Several of the substances used in gel baths and commercial soaps are more drying and irritating to skin than high pH natural soap salts, natural glycerin and vegetable oils. But don’t take my word on it: use a commercial soap for one month, then switch to a handmade soap, and use it for one month. Check out the differences for yourself with this test.
But let’s not divert any further from the main topic: this clear soap recipe, where you can make simple but cute transparent soaps.
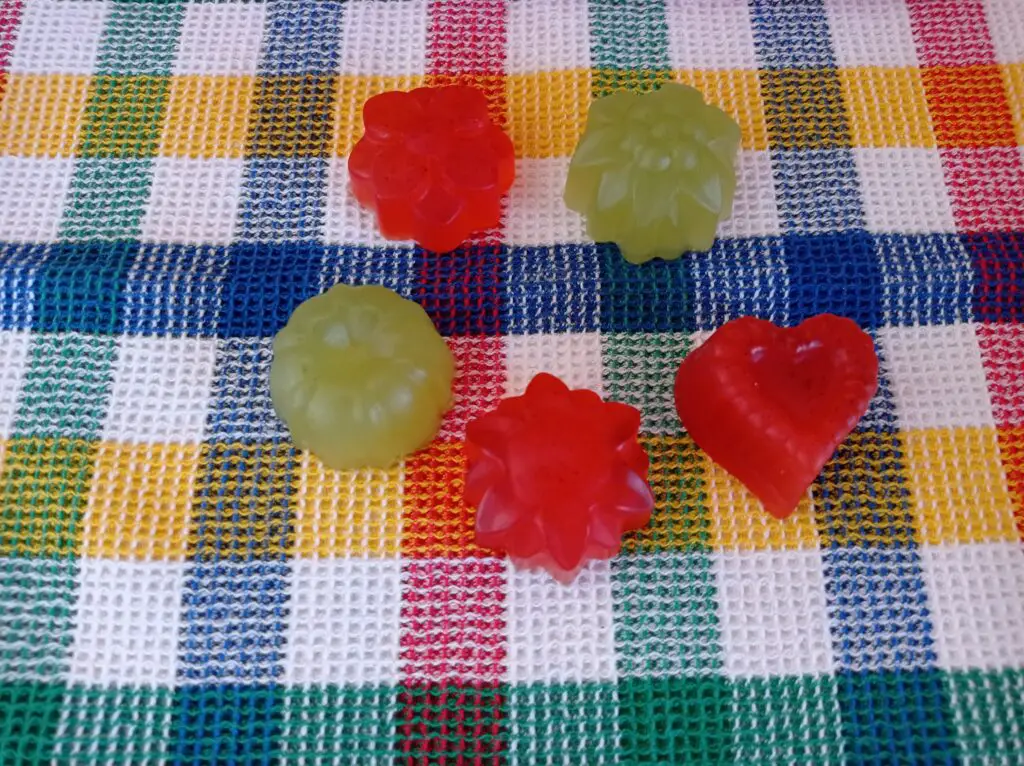
Clear Soap Recipe
This clear soap recipe is actually very simple, once you have available a transparent soap base. You can either purchase a clear soap base, or make it at home with this recipe: How to Make Transparent Soap Base.
Then, after cutting and melting the soap base, we will only add a bit of colorant and fragrance. No fancy techniques. The suggested colorants and fragrances can be changed to the ones of your choice, to make your soap unique for you. A soap mold with cute shapes can also make for a more personalized soap.
You can add also exfoliating ingredients, like poppy seeds, or ground coffee, but I really want to keep this soap simple, and show you how good a soap can look without overdoing with addictives or techniques.
Find Where To Buy Handmade Clear Soap
So, you’ve read this post, but you’re still not convinced about trying this clear soap recipe at home. However, you’d love to try some handmade clear soap or give it as a gift for a special person. Don’t worry, the following links show you some nice clear soaps you can purchase:
- Scentabound Clear Soap (Etsy)
- Scentabound Clear Soap EtsyHoneybee Glycerin Soap (Etsy)
- Natural Clear Glycerin Soap (Etsy)
- Glycerin Soaps (Etsy)
How To Use This Soap
In the shower or bath, wet your hands and rub your soap in them to create a lather. Wash your hands first, then repeat the process and apply soap to your whole body using the soap directly and your hands. You may also wash your face with it. Rinse hands and body abundantly. Also wash your soap from lather before placing it in your soap dish or bag saver.
Washcloths and sponges should be avoided. Avoid washing your intimate zone and your hair, soap pH in not adequate for those parts of your body. Avoid eye contact with soap to prevent stinging. Make a patch test before using your soap. Stop using your soap if you feel any immediate adverse reaction in your skin (red skin, rashes, itching).
To take best advantage of your handmade soap (made by yourself or store-bougth), read How Do You Use Handmade Soap?
Related Posts
Ingredients and Recipes
- Vegetable oils: Oil Properties For Soap Making
- Essential oils: Best Essential Oils for Soap Making
- Colorants: How To Color Your Soap With Kitchen Ingredients
- Beginner Recipes: Soap Recipes for Beginners
- Melt And Pour Soap Base Recipes: Soap Bases Recipes Category
- Melt and Pour Recipes: Recipes Using Melt and Pour Soap Base
Soap Making Techniques and Troubleshooting
- Melt and Pour Soap Tutorial: How To Make Melt and Pour Soap
- Soap Making Methods: How To Make Soap At Home
Melt and Pour Soap Making Tutorial Video
Melt and Pour Soap Making Lessons
The tutorials in this blog are a great – and free! – help to start with melt and pour soap making – even because it’s so easy to do. Practice is the next step to harness the art of making soaps at home. However, I understand if you prefer to have some formal lessons, where you will feel more supported with the steps. Feel free to join these courses at Udemy.
Equipment
- Soap molds with small shapes
Ingredients
- 1 kg crystal clear soap base
- 0.0625 tsp yellow iron oxide (CI 77492)
- 0.0625 tsp red iron oxide (CI 77491)
- 0.0625 tsp ultramarine blue (CI 77007)
- 0.0625 tsp green chromium oxide (CI 77288)
- 0.0625 tsp ultramarine violet (CI 77007)
- 20 ml sea salt and orchid fragrance oil or any of your preference
Instructions
Preparations
- You can make crystal clear soap base at home. Prepare it 2 weeks in advance.
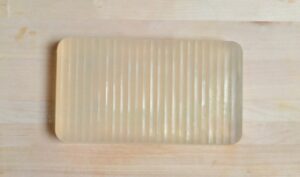
- Gather all ingredients and equipment. A heat source will be required: microwave or a stove. I personally use a small eletrical stove.
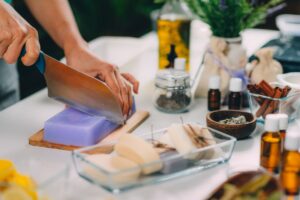
- Cut the melt and pour soap base into small cubes (2 cm x 2 cm x 2 cm). Pour them into your bowl or pan.1 kg crystal clear soap base
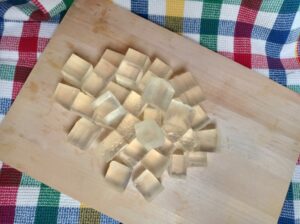
Making Soap
- Take it to an electric stove or the microwave and use medium-low heat (around 60 °C). Let the soap base melt completely. Spray with alcohol if bubbles or a solid pelicule at the surface.
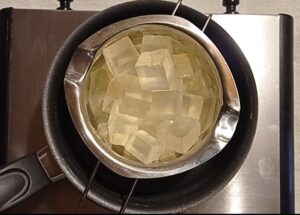
- Remove the soap from heat. Add the fragrance oil when the soap is at a lower temperature without hardening (around 50 °C ). Keep the soap under 50 °C from now on.20 ml sea salt and orchid fragrance oil
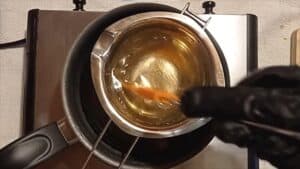
- Pour around 200g of soap into another bowl. Add one of the colorants, starting with half the quantity (half of 1/16 tsp). Mix well. Add the rest of the colorant if the color is too faded or as per your own taste.0.0625 tsp red iron oxide (CI 77491)
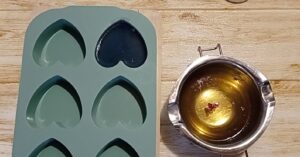
- Pour the soap into the soap molds. Sprinkle with alcohol to remove any soap bubbles or foam.
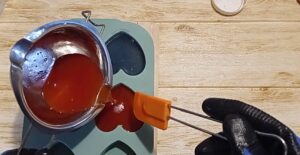
- Pour more 200g of soap and add another colorant the same way, by adding only half at first, then adding more to define the soap color to your taste. Mix well and pour the soap into soap molds.
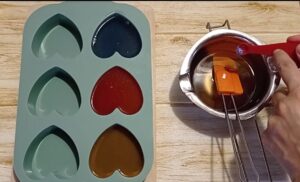
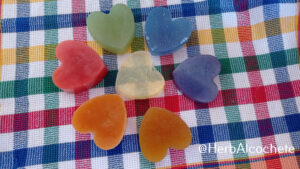
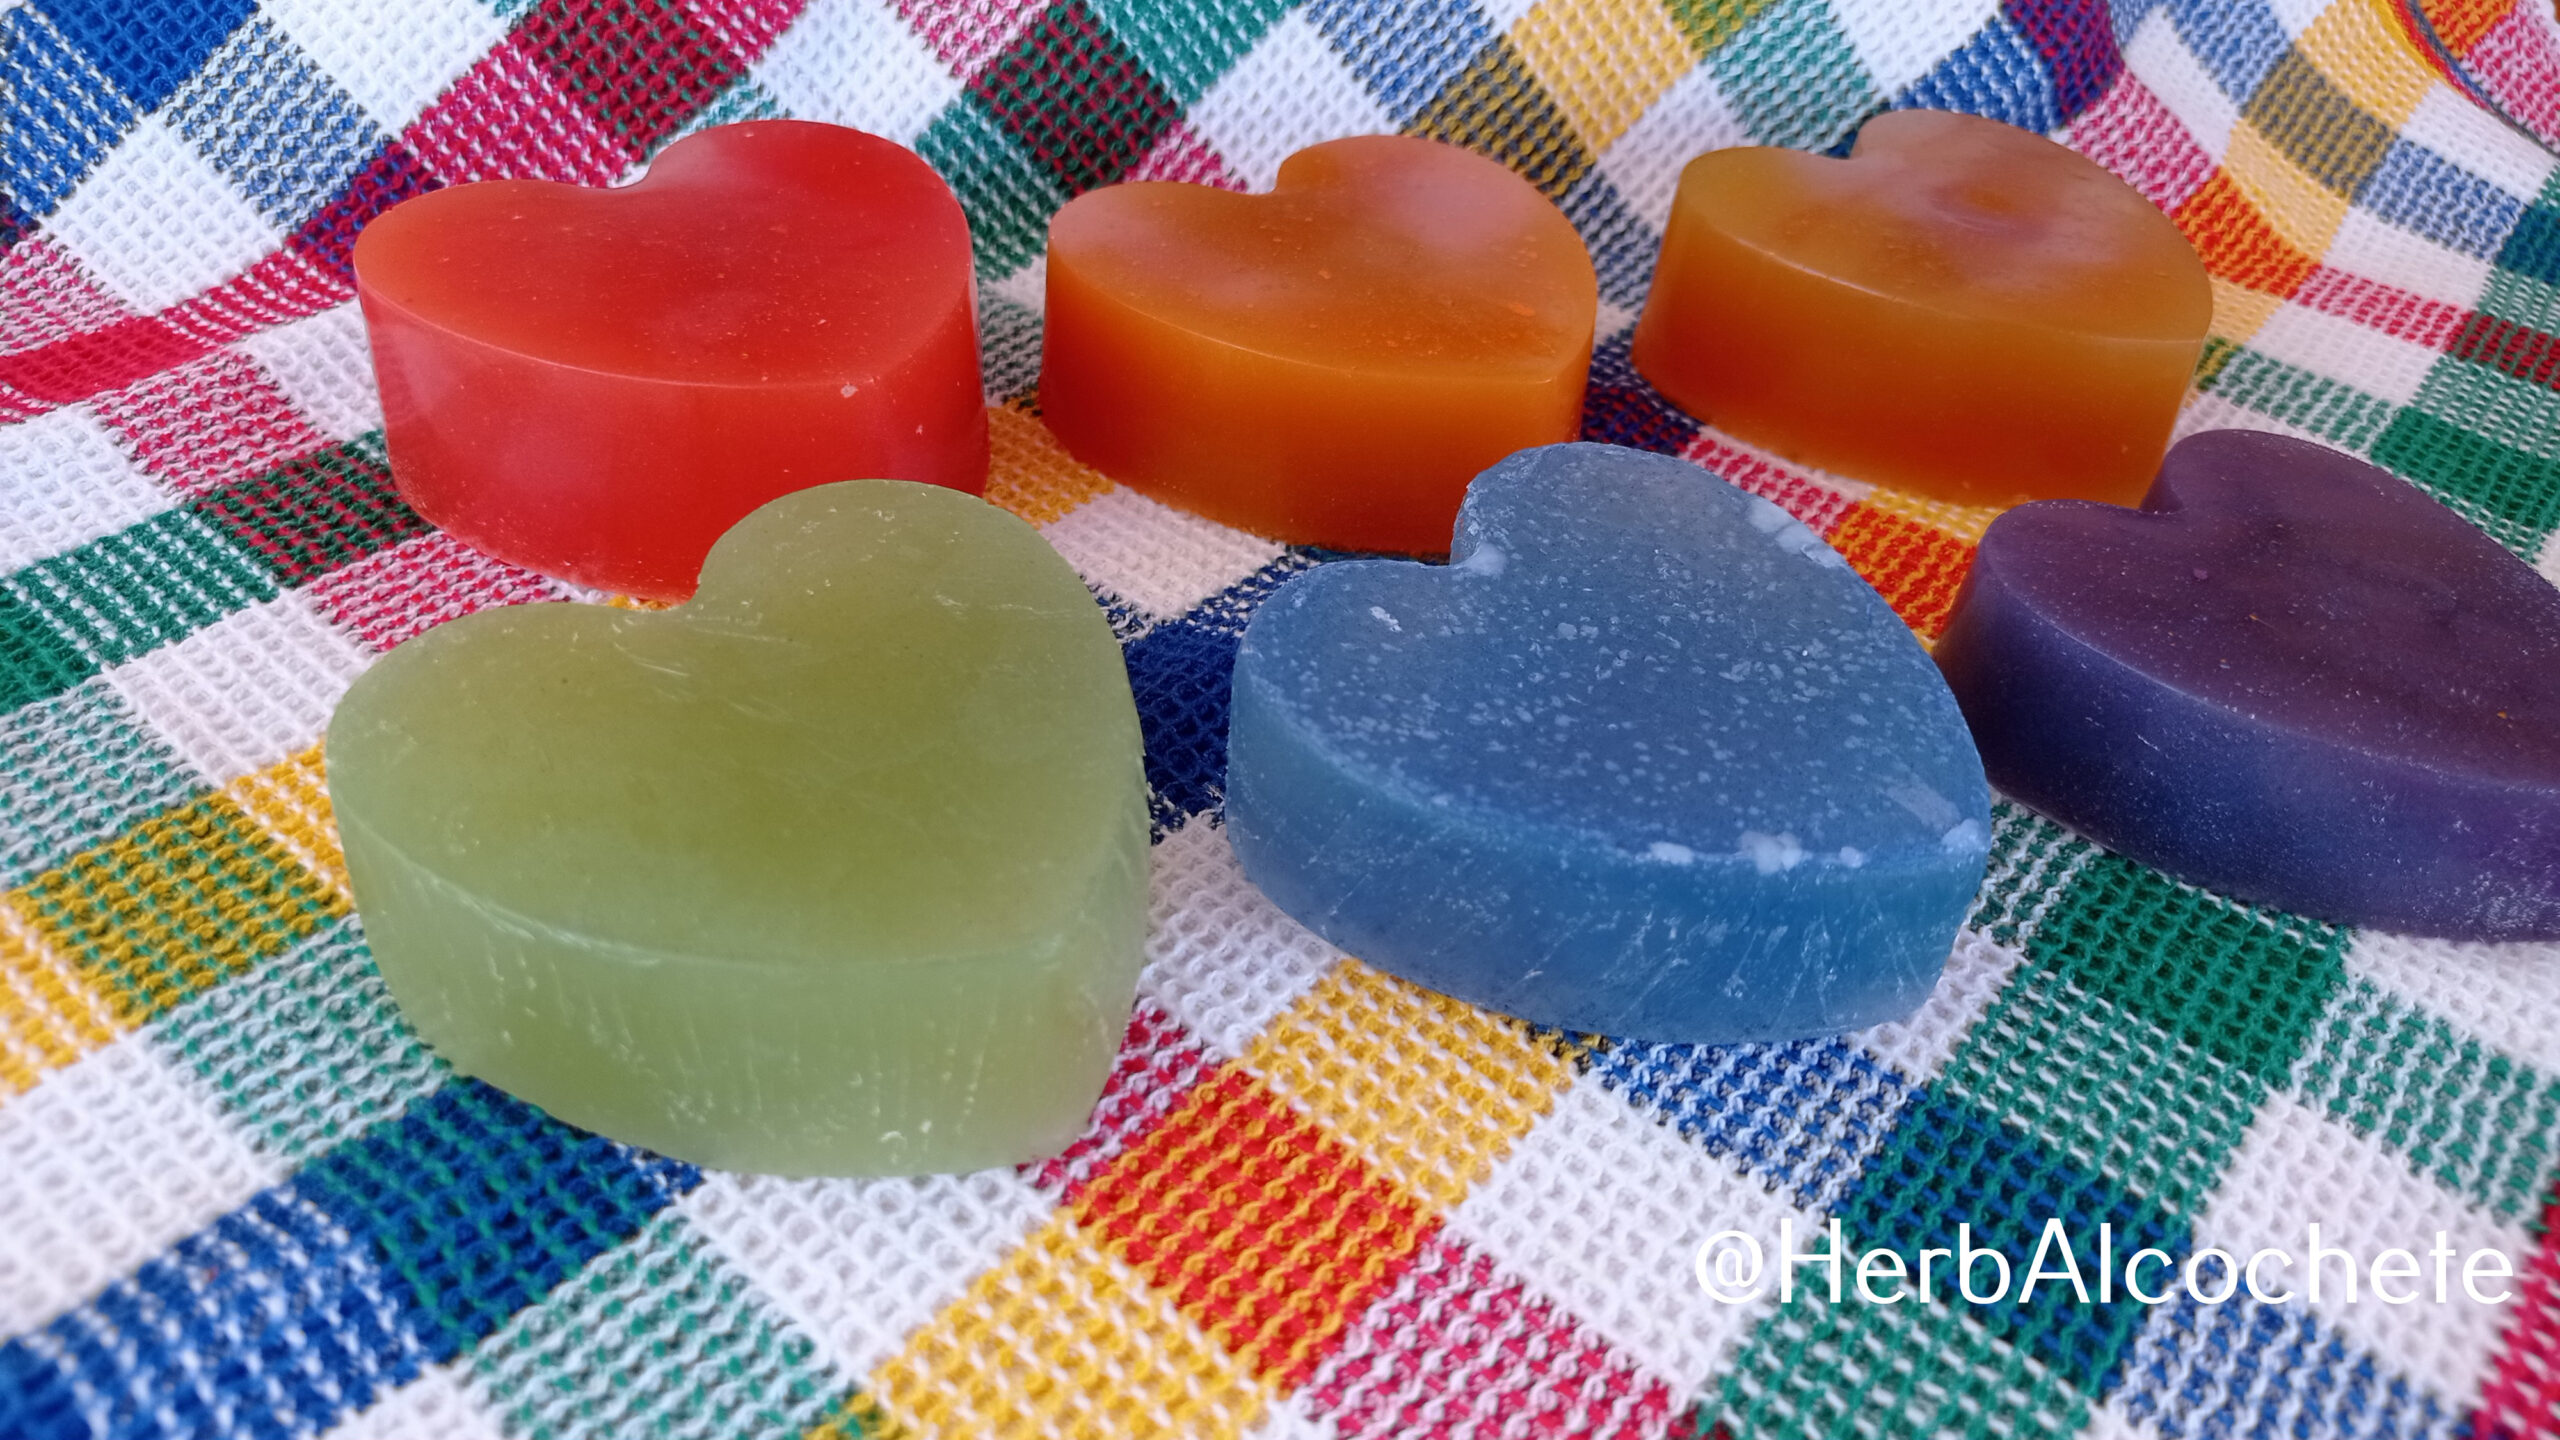
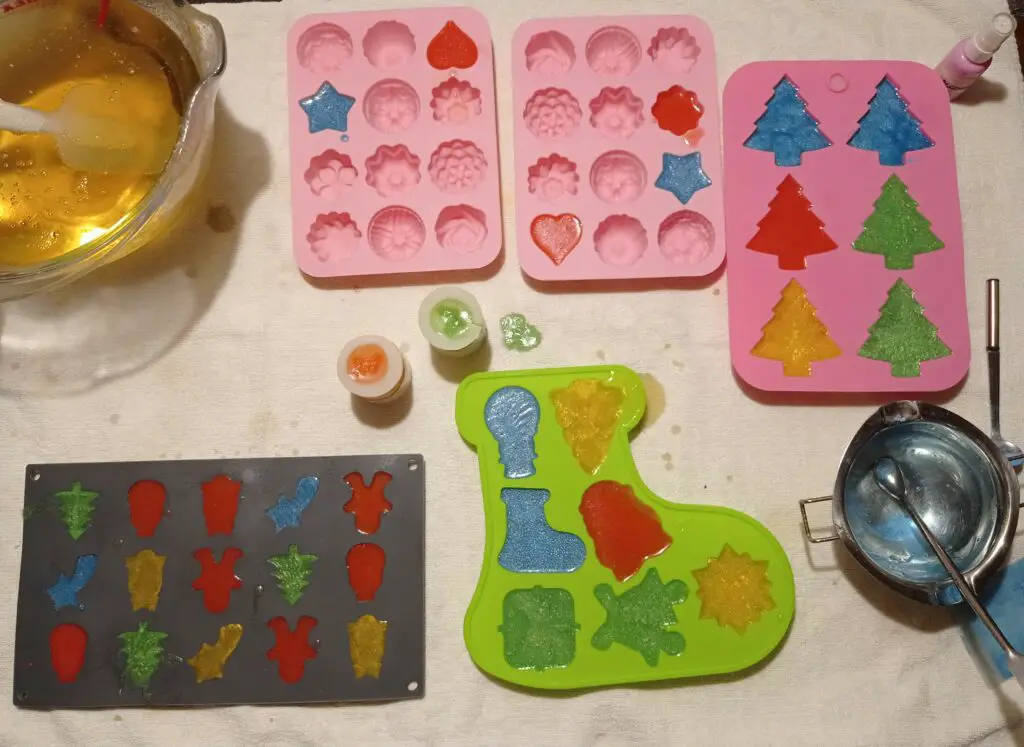
- You can use a soap mold with small shapes to make cute little soaps like these ones.
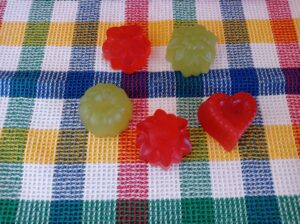
- If you wish to make gifts for Christmas, use a dedicated soap mold and several bright colors with your clear soap base. They will make for very cute gifts!
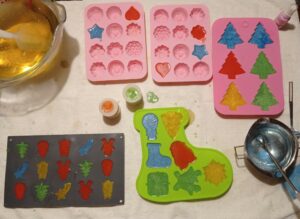
Molding and Finishing the Soap
- When you are done will all the soap, place the soap mold inside the fridge for 24 hours – it should harden in less time than that.
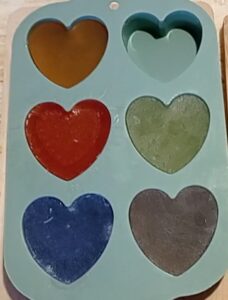
- Once fully solid, unmold your soaps.
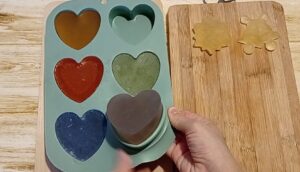
- Melt and pour soap should be wrapped in plastic wrapping film right after hardening, to avoid soap "sweating".
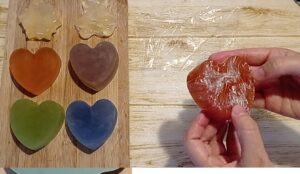
- Enjoy your lovely colorful clear soaps!!
