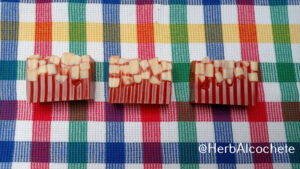
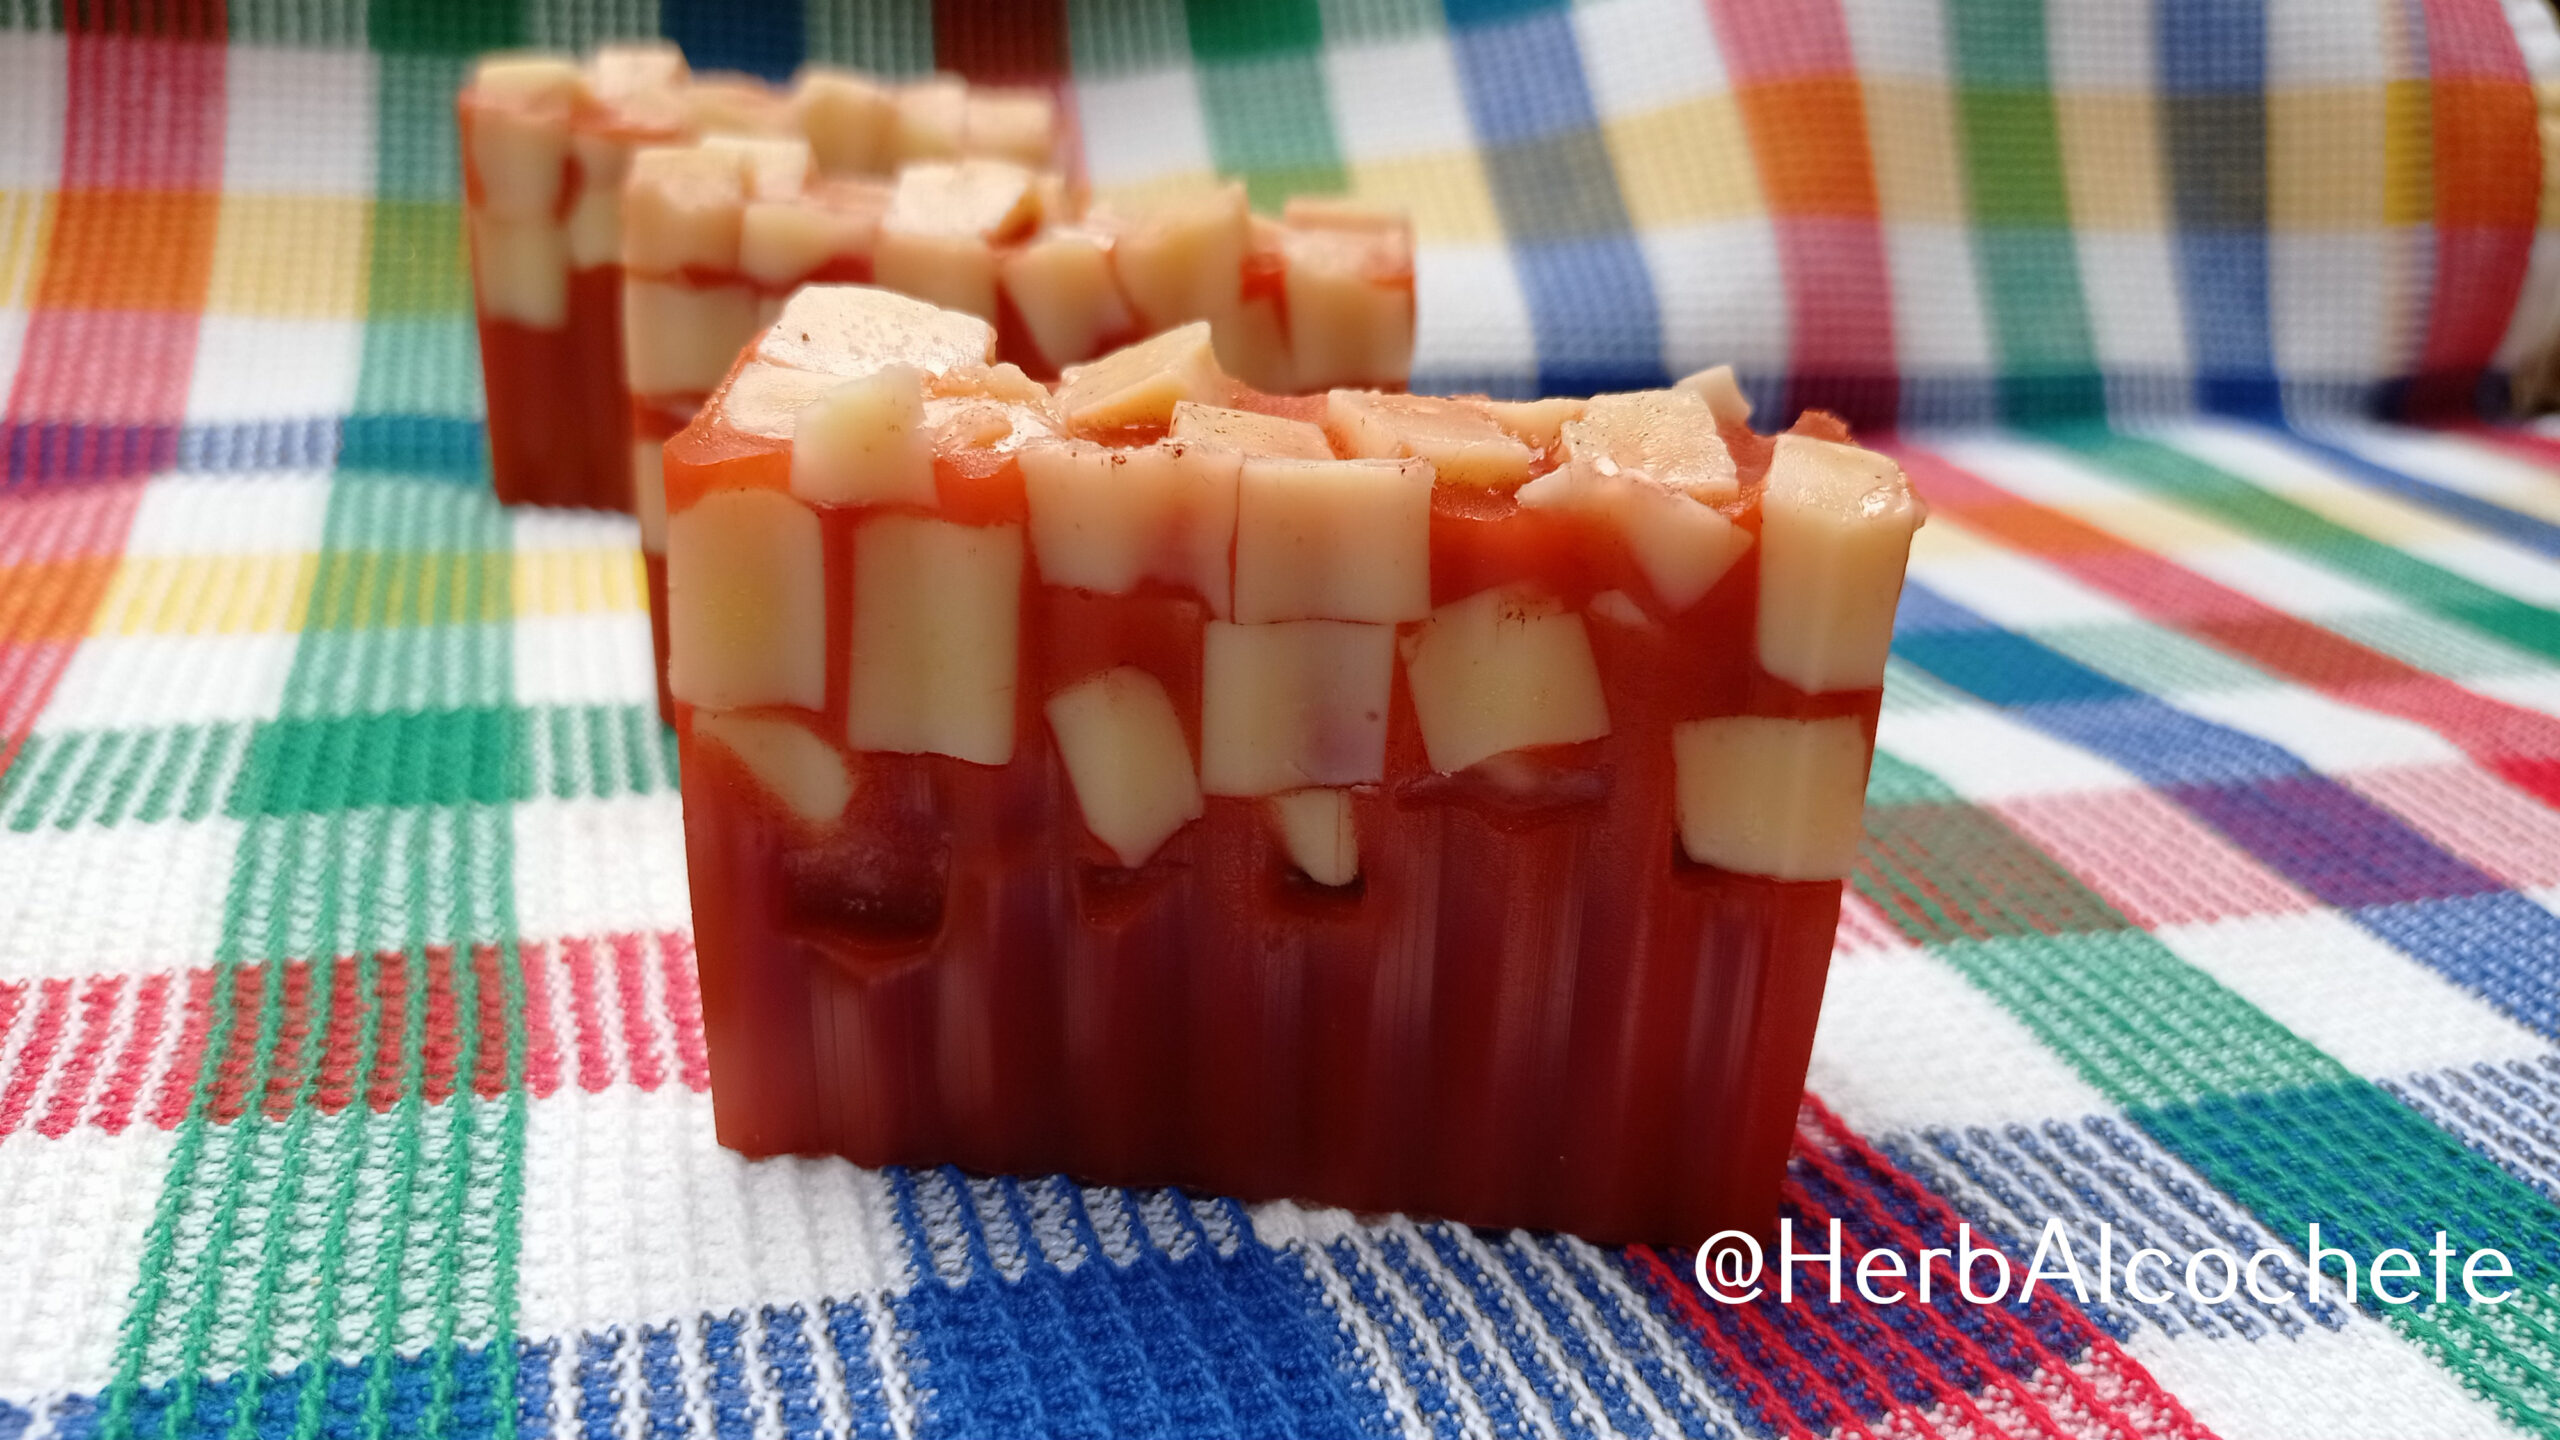
Looking to add a pop of color to your soap collection? Follow this simple red soap recipe made with melt and pour soap base, a natural-equivalent red colorant and a couple of cream soap bars. Learn how to make a fun red soap so delicious that looks like marmelade topped with cheese cubes! One piece of advice: refrain from eating it!
Table of Contents
What Is The Natural Red Pigment For Soap?
In this soap recipe, we are going to use a natural pigment called red iron oxide. This earthy mineral has been used for centuries to add vibrant shades to various products, including cosmetics and, of course, soap.
Red iron oxide, also known as ferric oxide, is derived from—you guessed it—iron ore. It’s carefully processed to create a fine, powdered pigment that’s safe for cosmetic use. Therefore, it’s not purely natural, since it’s processed to remove the toxic substances that are part of iron ore present in nature, but it’s considered a natural-equivalent colorant.
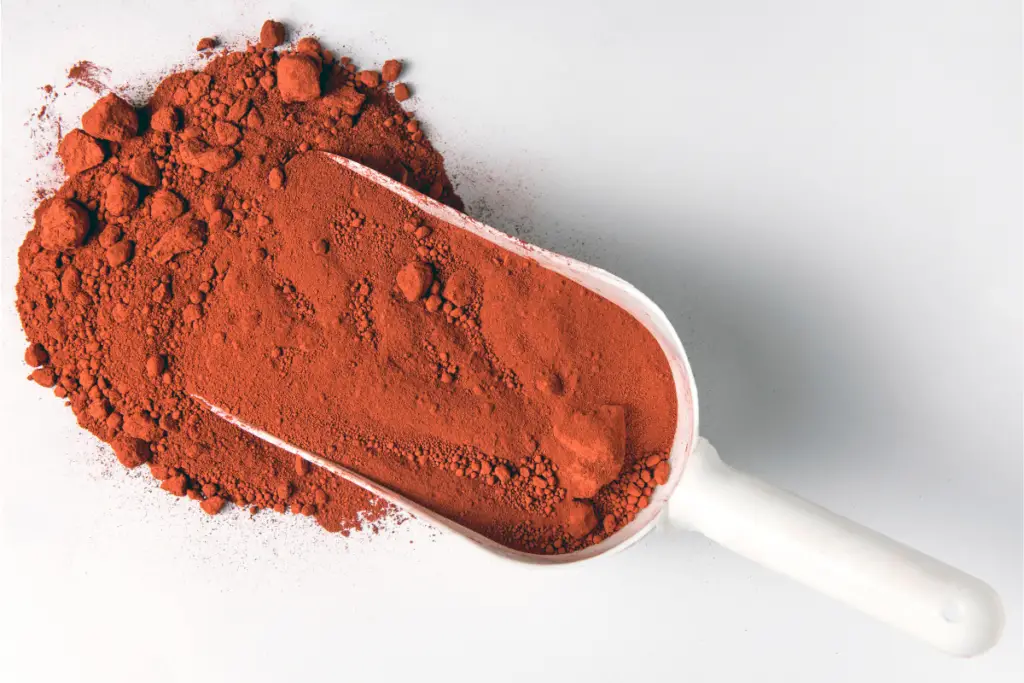
What makes it a go-to choice for soap makers is its excellent stability, meaning your red soap won’t fade over time. Plus, it’s free from harsh chemicals, making it a perfect pick for those who prefer natural ingredients. You don’t need to use much: a 1/4 of teaspoon, which is less than a 1g for 1 Kg of soap. It is such a little quantity, that it won’t irritate your skin. It gives soap a brick-like, earthy red hue that resembles red clay.
Soap makers love iron oxides like this red hue, because it’s easy to work with, stable, and it’s natural-equivalent. Just a pinch can transform your soap base from plain to vibrant.
How Do You Make Red Soap – Red Soap Recipe
Now that we know the secret to the red hue, let’s talk about how to make red soap. Since this is a melt and pour soap recipe, the process is simpler than you might think.
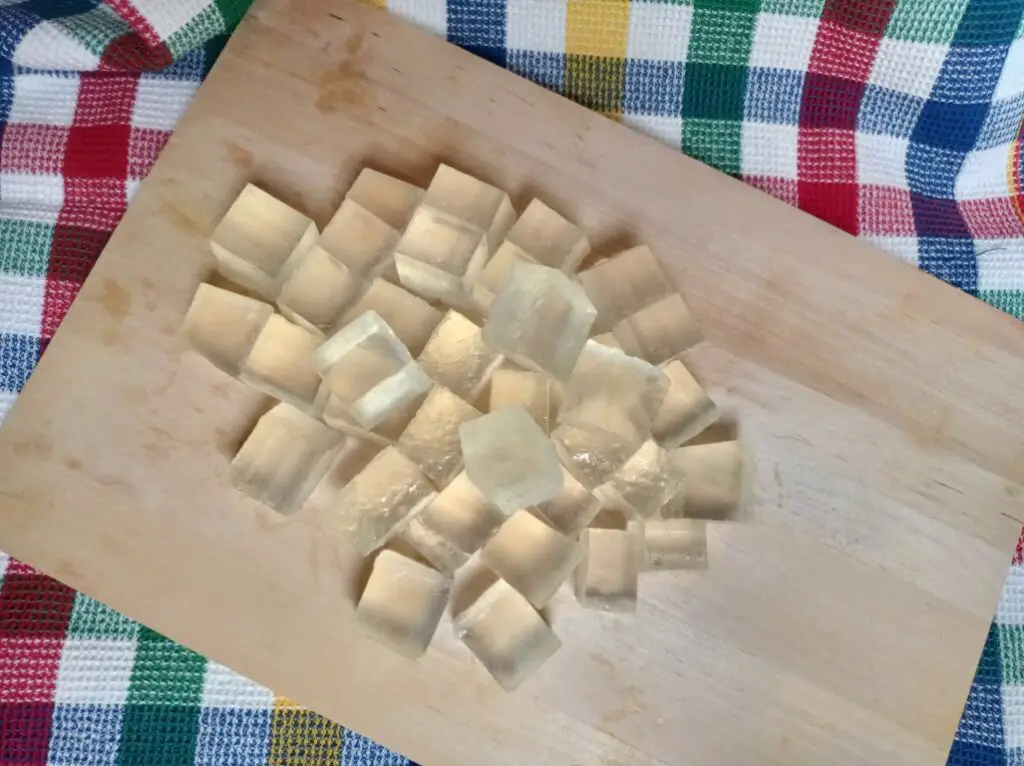
We use a clear soap base for this recipe. It’s typically glycerin-based and melts easily, allowing you to add your chosen pigment effortlessly. You can either purchase your soap base or make it at home by following this transparent soap base recipe.
To achieve that perfect shade of red, add the red pigment gradually. The recipe uses 1/4 of a teaspoon, but you can start with even less, stir it in thoroughly, and assess the color. You can always add more if needed. Remember, less is more when working with pigments.
One warning: the soap will bleed some of the color at first wash. It’s best to use it to wash your hands on the first use. A friend of mine tried the soap in the shower and got scared with so much red near the water drain!
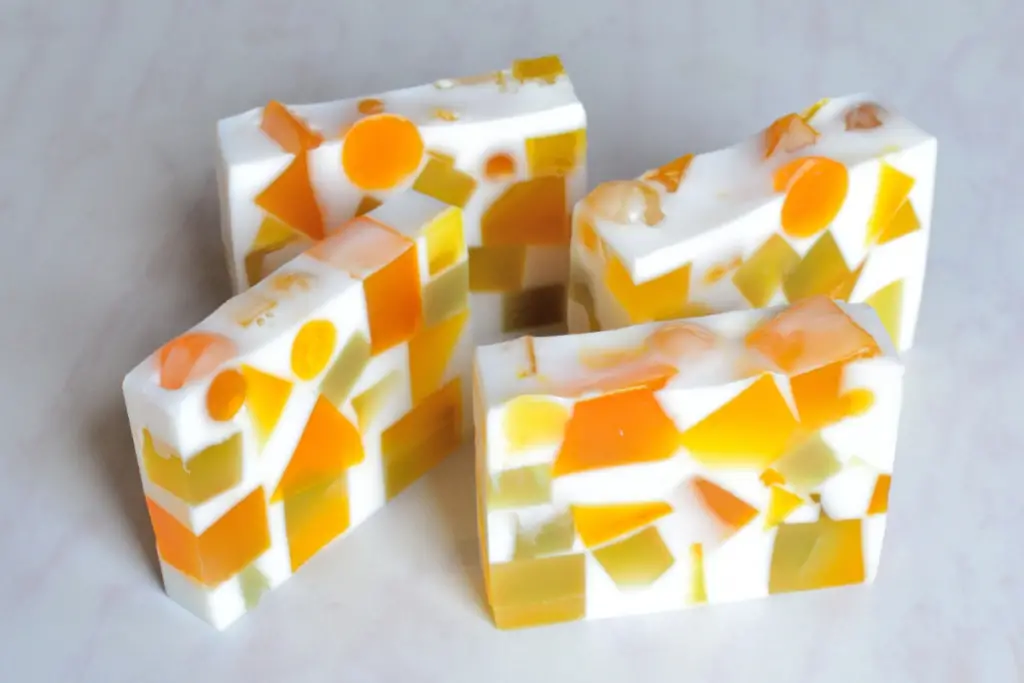
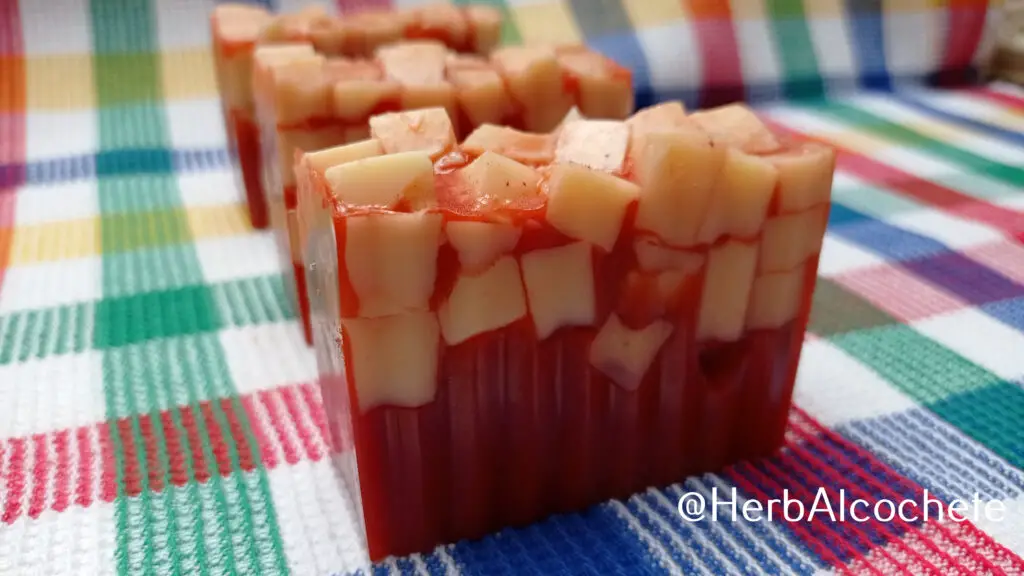
What makes this recipe unique, is the addition of homemade soap bars cut into cubes. These cubes, embedded within your soap, will create a visually appealing pattern. You can use this technique to create several patterns, just make sure you use colors with high contrast. You may also use soap cubes with different tones. With the chosen colors for this recipe, my soap resembled a lot like marmelade with cheese cubes on top!
I’ve actually came up with this recipe idea because I had some soap bars that were not performing well on their own. The soap was good, but the soap bar was turning too soft with usage. Therefore, I’ve decided to use these soap bars embedded in a soap base as cubes.
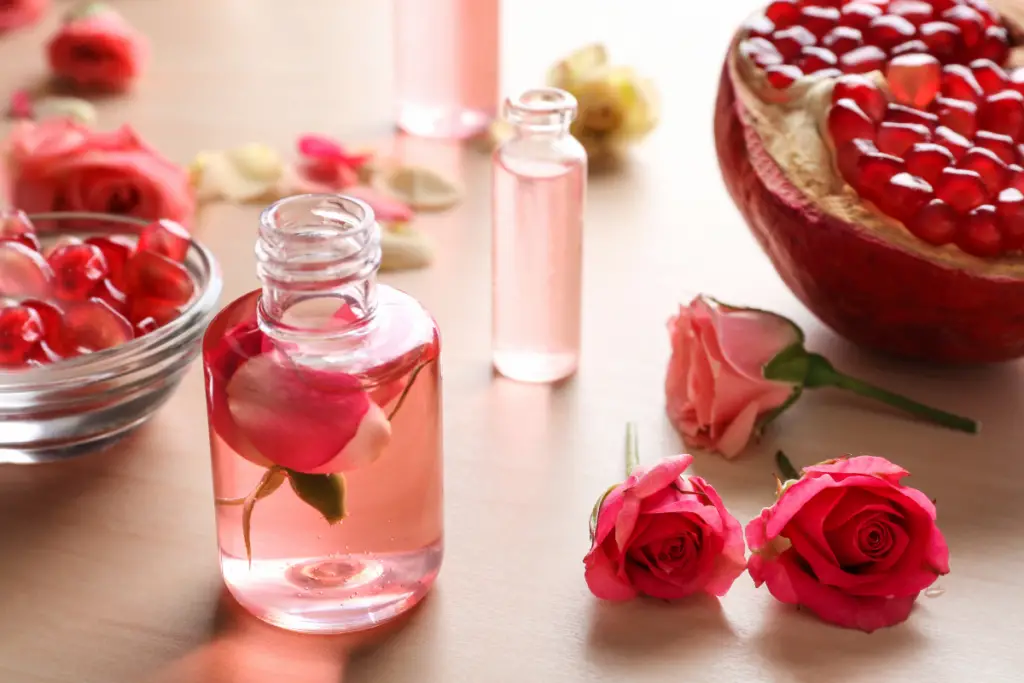
The final ingredient is the fragrance. A rose fragrance sounded appropriate for a red soap, and my soap became even more delicious, with this wonderful fragrance. Of course, you can choose another fragrance of your preference, just don’t use more than the mentioned quantity.
So, there you have it! With a clear soap base, red iron oxide, and a couple of soap bars, you’re on your way to crafting stunning homemade red soap that’ll leave everyone impressed. The resulting soap bars are visually appealing and they smell great: delicious in every way! The soap bars are hard and perform well with usage, apart from bleeding some of the colorant at the beggining.
Have fun experimenting with this new recipe!
Find Where To Buy Homemade Red Soap
I get it. You actually want this homemade soap, but you don’t feel like trying this recipe at home. No problem. You can buy handmade red soaps in the following links:
- Red Strawberry Soap (Etsy)
- Forever Red Soap (Etsy)
- Uncorked Red wine Soap (Etsy)
Forever Red Soap (Etsy)
How To Use This Soap
In the shower or bath, wet your hands and rub your soap in them to create a lather. Wash your hands first, then repeat the process and apply soap to your whole body using the soap directly and your hands. You may also wash your face with it. Rinse hands and body abundantly. Also wash your soap from lather before placing it in your soap dish or bag saver.
Be aware that this soap might bleed color at first wash. It won’t stain your hands on any ceramics, and in following washes it won’t release any color.
Washcloths and sponges should be avoided. Avoid washing your intimate zone and your hair, soap pH in not adequate for those parts of your body. Avoid eye contact with soap to prevent stinging. Make a patch test before using your soap. Stop using your soap if you feel any immediate adverse reaction in your skin (red skin, rashes, itching).
To take best advantage of your handmade soap (made by yourself or store-bougth), read How Do You Use Handmade Soap?
Related Posts
- Melt And Pour Soap Base Recipes: Soap Bases Recipes Category
- Vegetable oils: Oil Properties For Soap Making
- Essential oils: Best Essential Oils for Soap Making
- Colorants: How To Color Your Soap With Kitchen Ingredients
- Melt and Pour Soap Tutorial: How To Make Melt and Pour Soap
- Melt and Pour Recipes: Recipes Using Melt and Pour Soap Base
- Beginner Recipes: Soap Recipes for Beginners
Melt and Pour Soap Making Tutorial Video
Melt and Pour Soap Making Lessons
The tutorials in this blog are a great – and free! – help to start with melt and pour soap making – even because it’s so easy to do. Practice is the next step to harness the art of making soaps at home. However, I understand if you prefer to have some formal lessons, where you will feel more supported with the steps. Feel free to join these courses at Udemy.
Equipment
Ingredients
- 1 kg crystal clear soap base
- 3 soap bar
- 1 tsp red iron oxide (CI 77491)
- 20 ml rose fragrance oil or any of your preference
Instructions
Preparations
- You can make crystal clear soap base at home. Prepare it 2 weeks in advance.
- Gather all ingredients and equipment. A heat source will be required: microwave or a stove. I personally use a small eletrical stove.
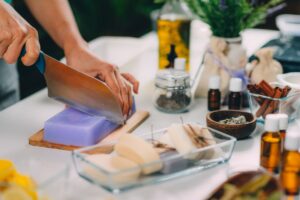
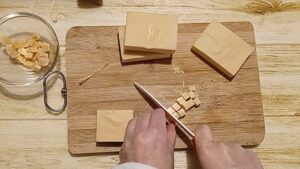
- Cut the soap bars into very small cubes (0,5 cm x 0,5 cm x 0,5 cm)
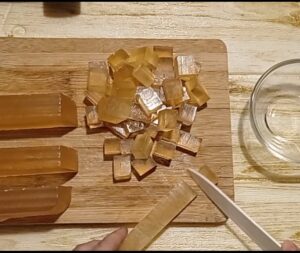
- Cut the melt and pour soap base into small cubes (2 cm x 2 cm x 2 cm). Pour them into your bowl or pan.1 kg crystal clear soap base
Making Soap
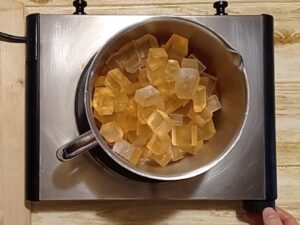
- Take it to an electric stove or the microwave and use medium-low heat (around 60 °C). Let the soap base melt completely. Spray with alcohol if bubbles or a solid pelicule form at the surface.
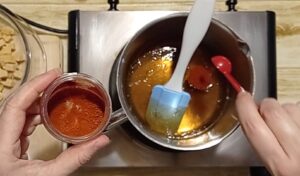
- Turn off the heat. Add the red colorant and mix well.20 ml rose fragrance oil
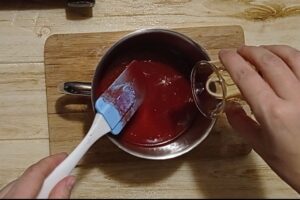
- Add the fragrance oil when the soap is at a lower temperature without hardening (around 50 °C ), and mix well. Keep the soap around 50 °C from now on.1 tsp red iron oxide (CI 77491)
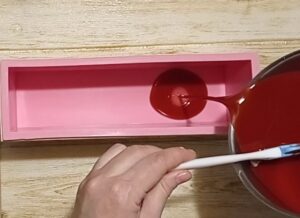
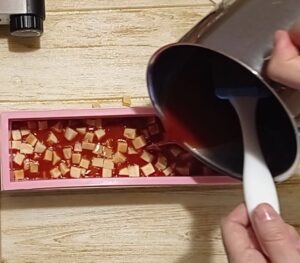
- Pour a small layer of soap into the large soap mold.
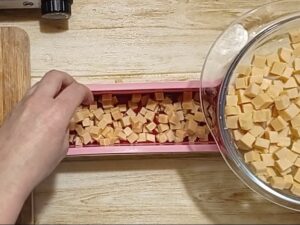
- Add the small soap cubes you cut at the beggining
- Pour the rest of the soap into the soap mold.
Unmolding and Cutting the Soap
- Let the soap set for 24 hours until it hardens completely. If needed, put the soap mold inside the fridge.
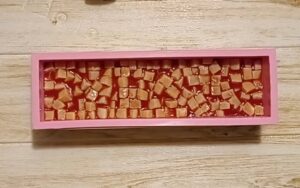
- Unmold your soap bulk bar and cut it into small soap bars.

- Melt and pour soap should be wrapped in plastic wrapping film right after hardening, to avoid soap "sweating". You may also keep them inside an airtight closed box.

- Enjoy your lovely red soaps!!
